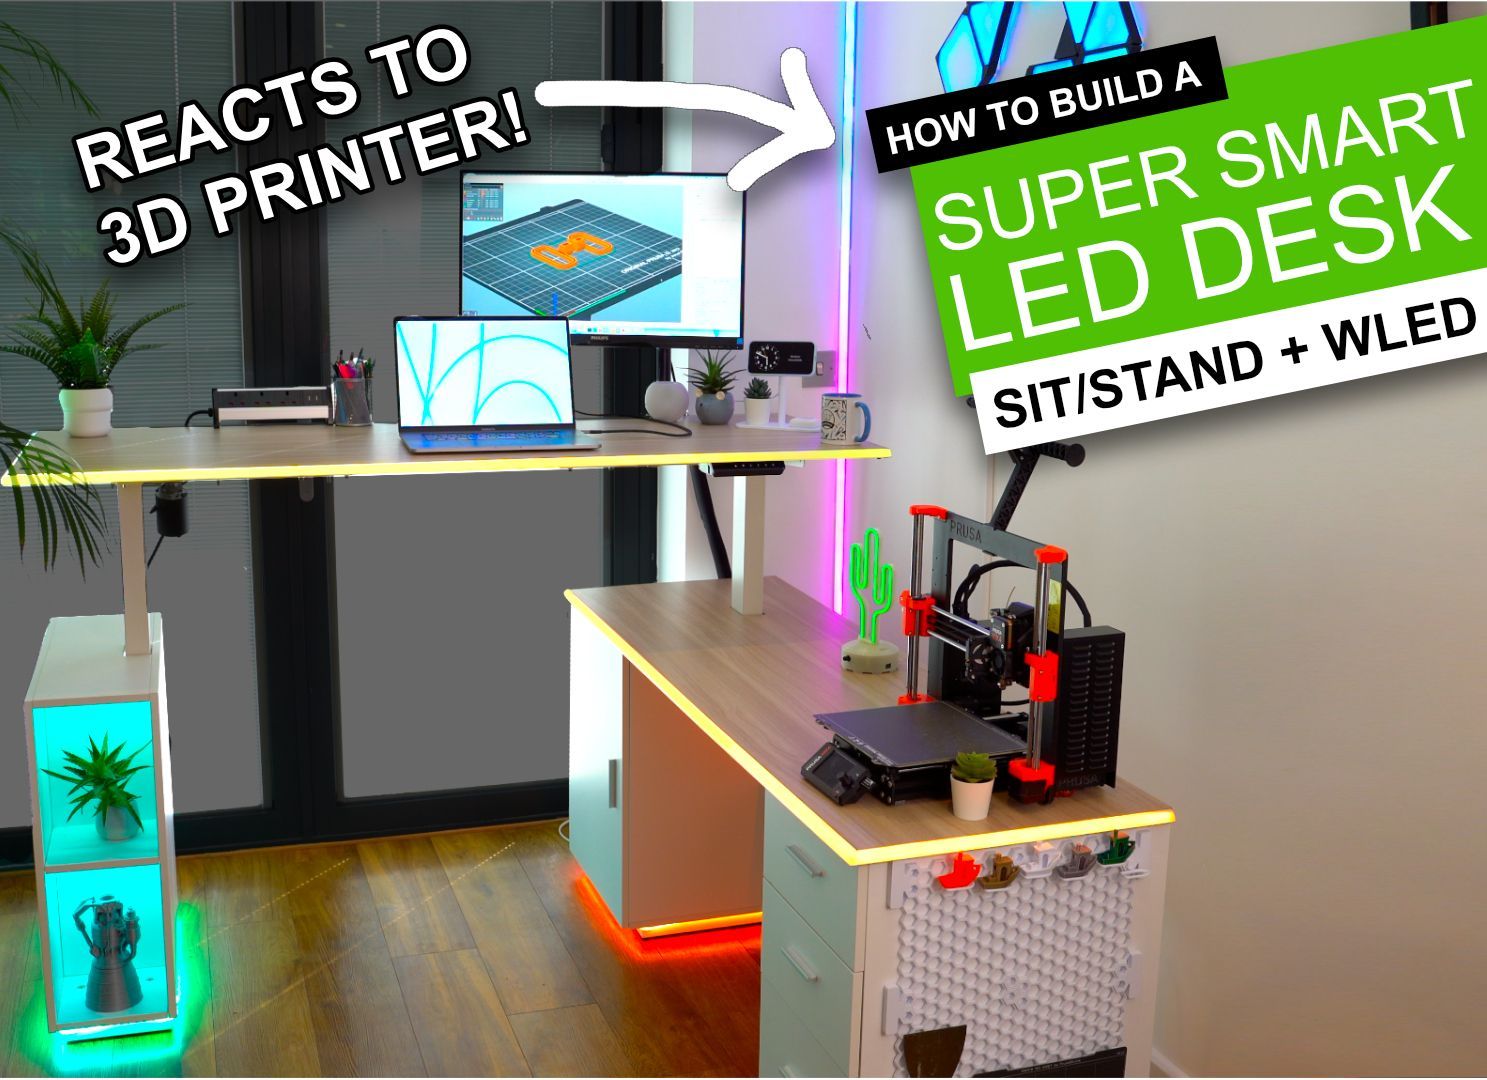
Make your own Kinetic Coasters
KINETIC COASTERS with a TWIST! Laser or 3D Printable
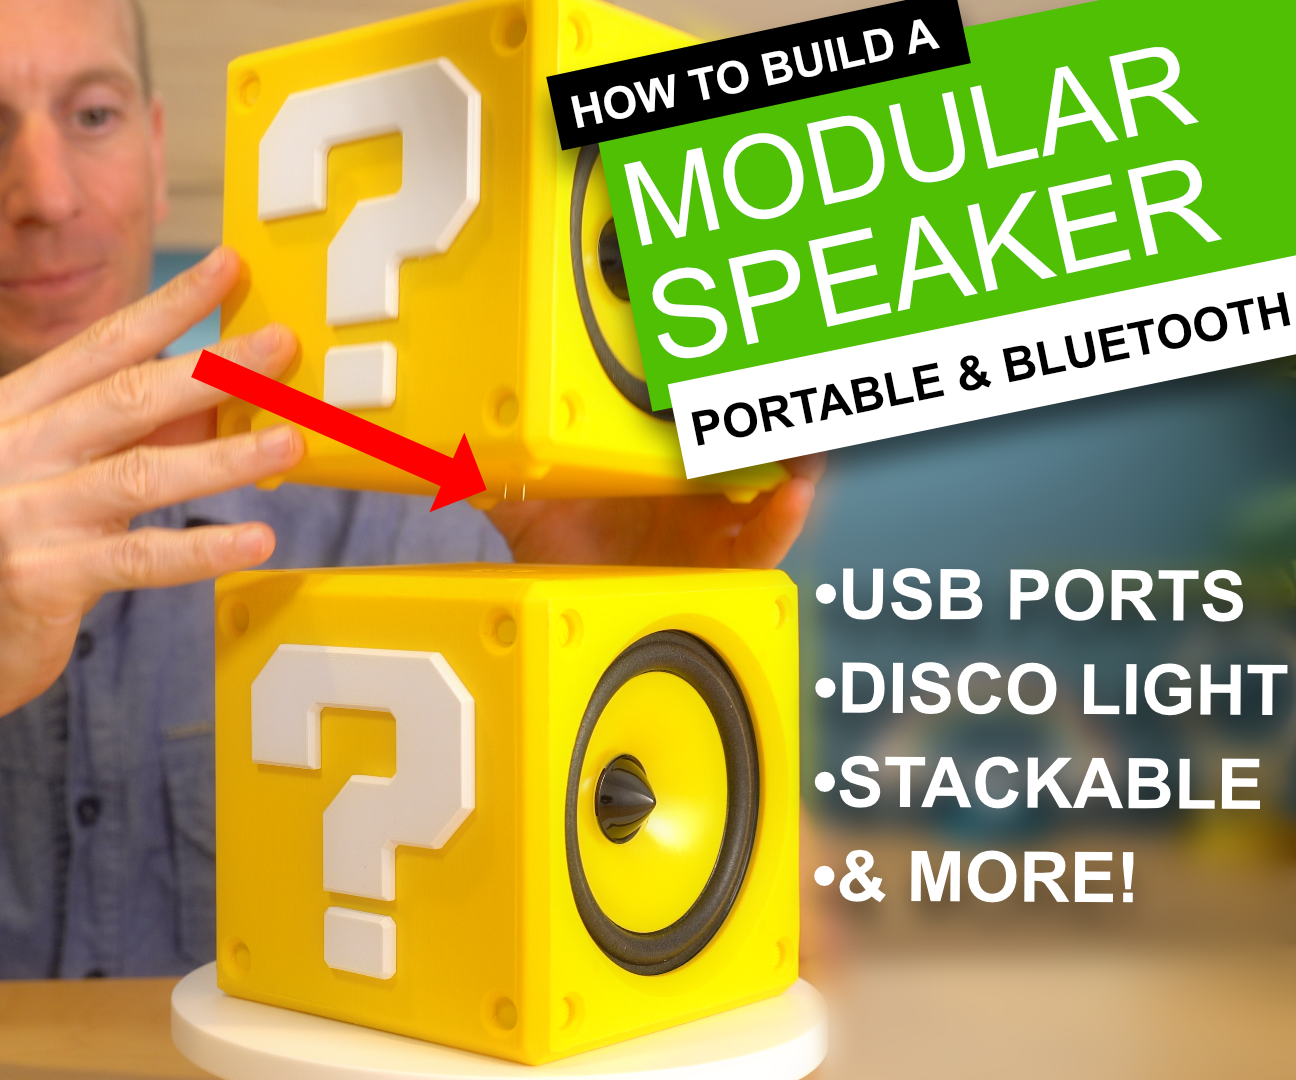
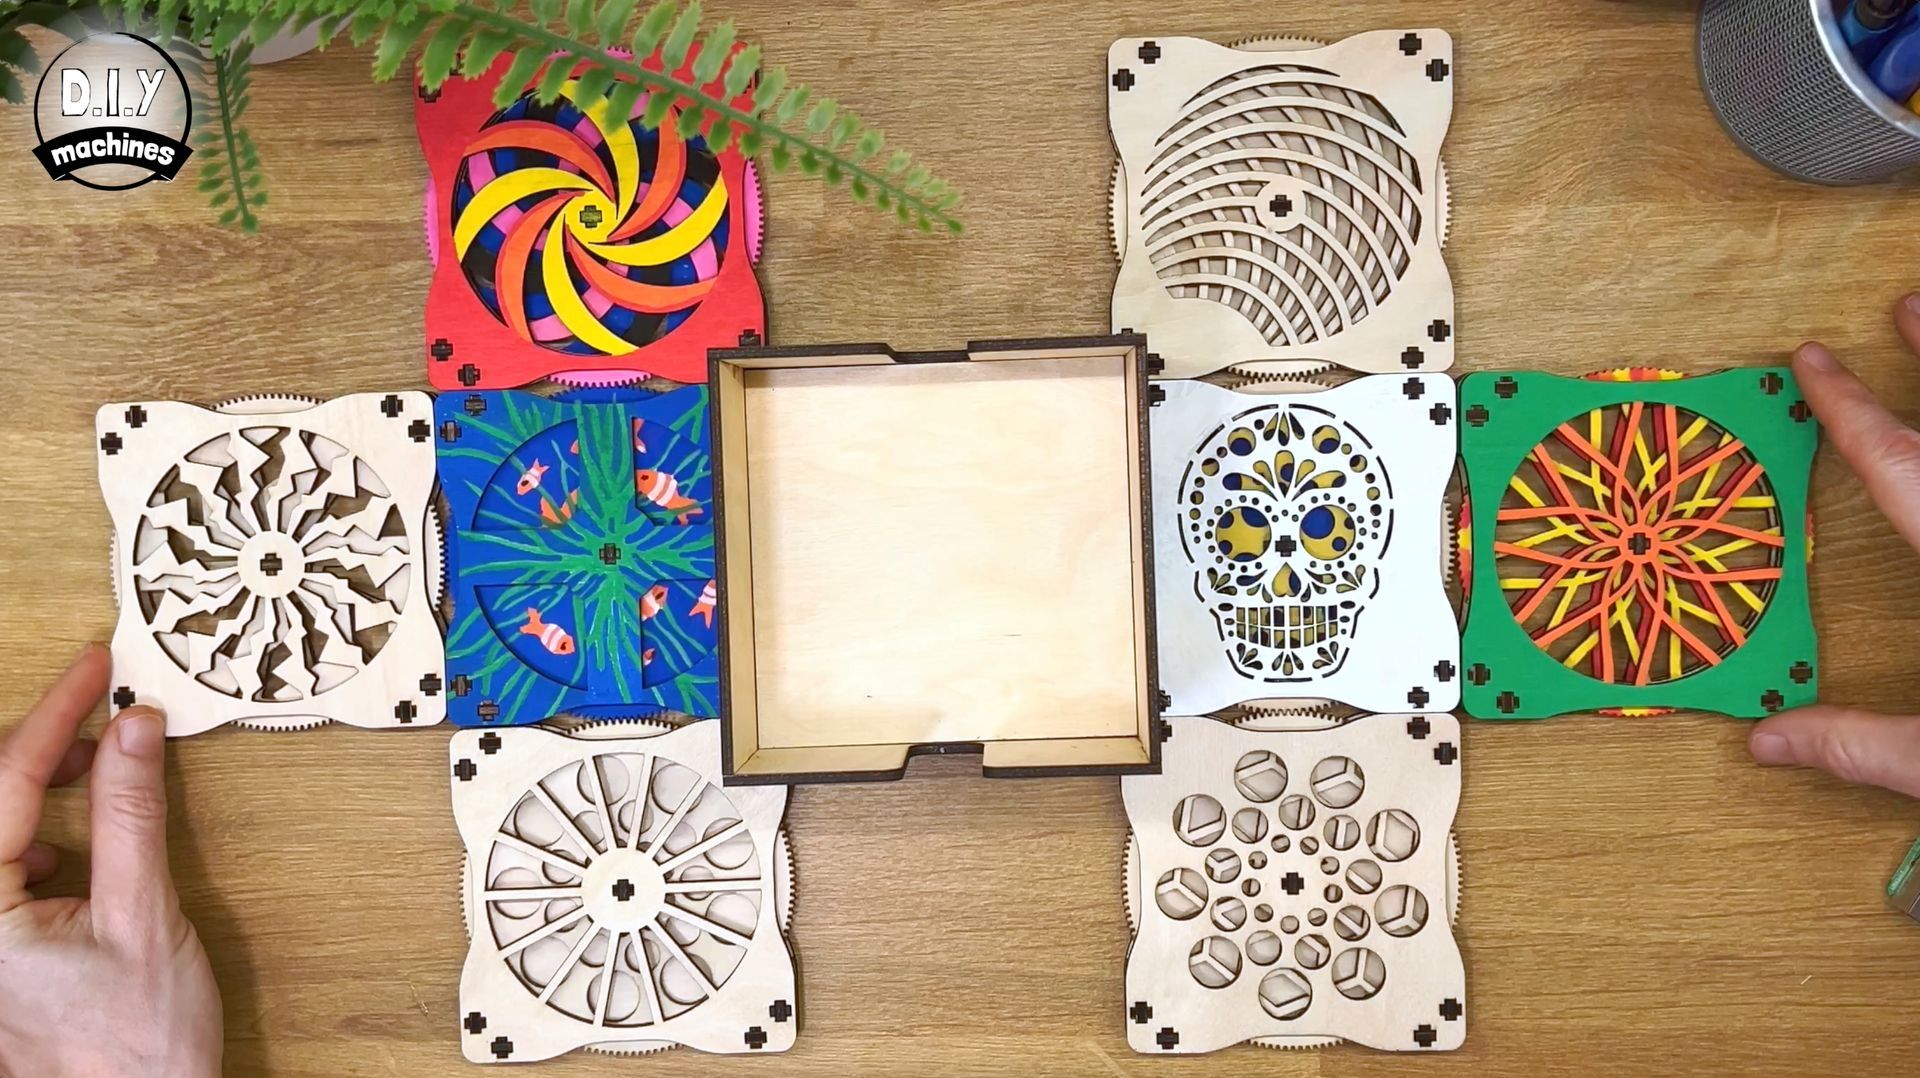
Today I’ll show you how to create these amazing self-moving Kinetic Coasters.
I’ve created loads of designs for you to make, in fact, so many that you can mix and match them to create literally thousands of unique combinations and effects. Keep them in their natural colour or paint and decorate them however you desire.
Not only can you satisfy your fidgety fidding fingers by turning any coaster by hand - the base, of course, conceals a hidden secret. Place a coaster against the base and it will automatically detect the presence of a coaster and begin to turn it for you automagically. And thanks to some tiny concealed magnets you connect several up in chain and watch as they all turn mesmerisingly beneath your glasses.
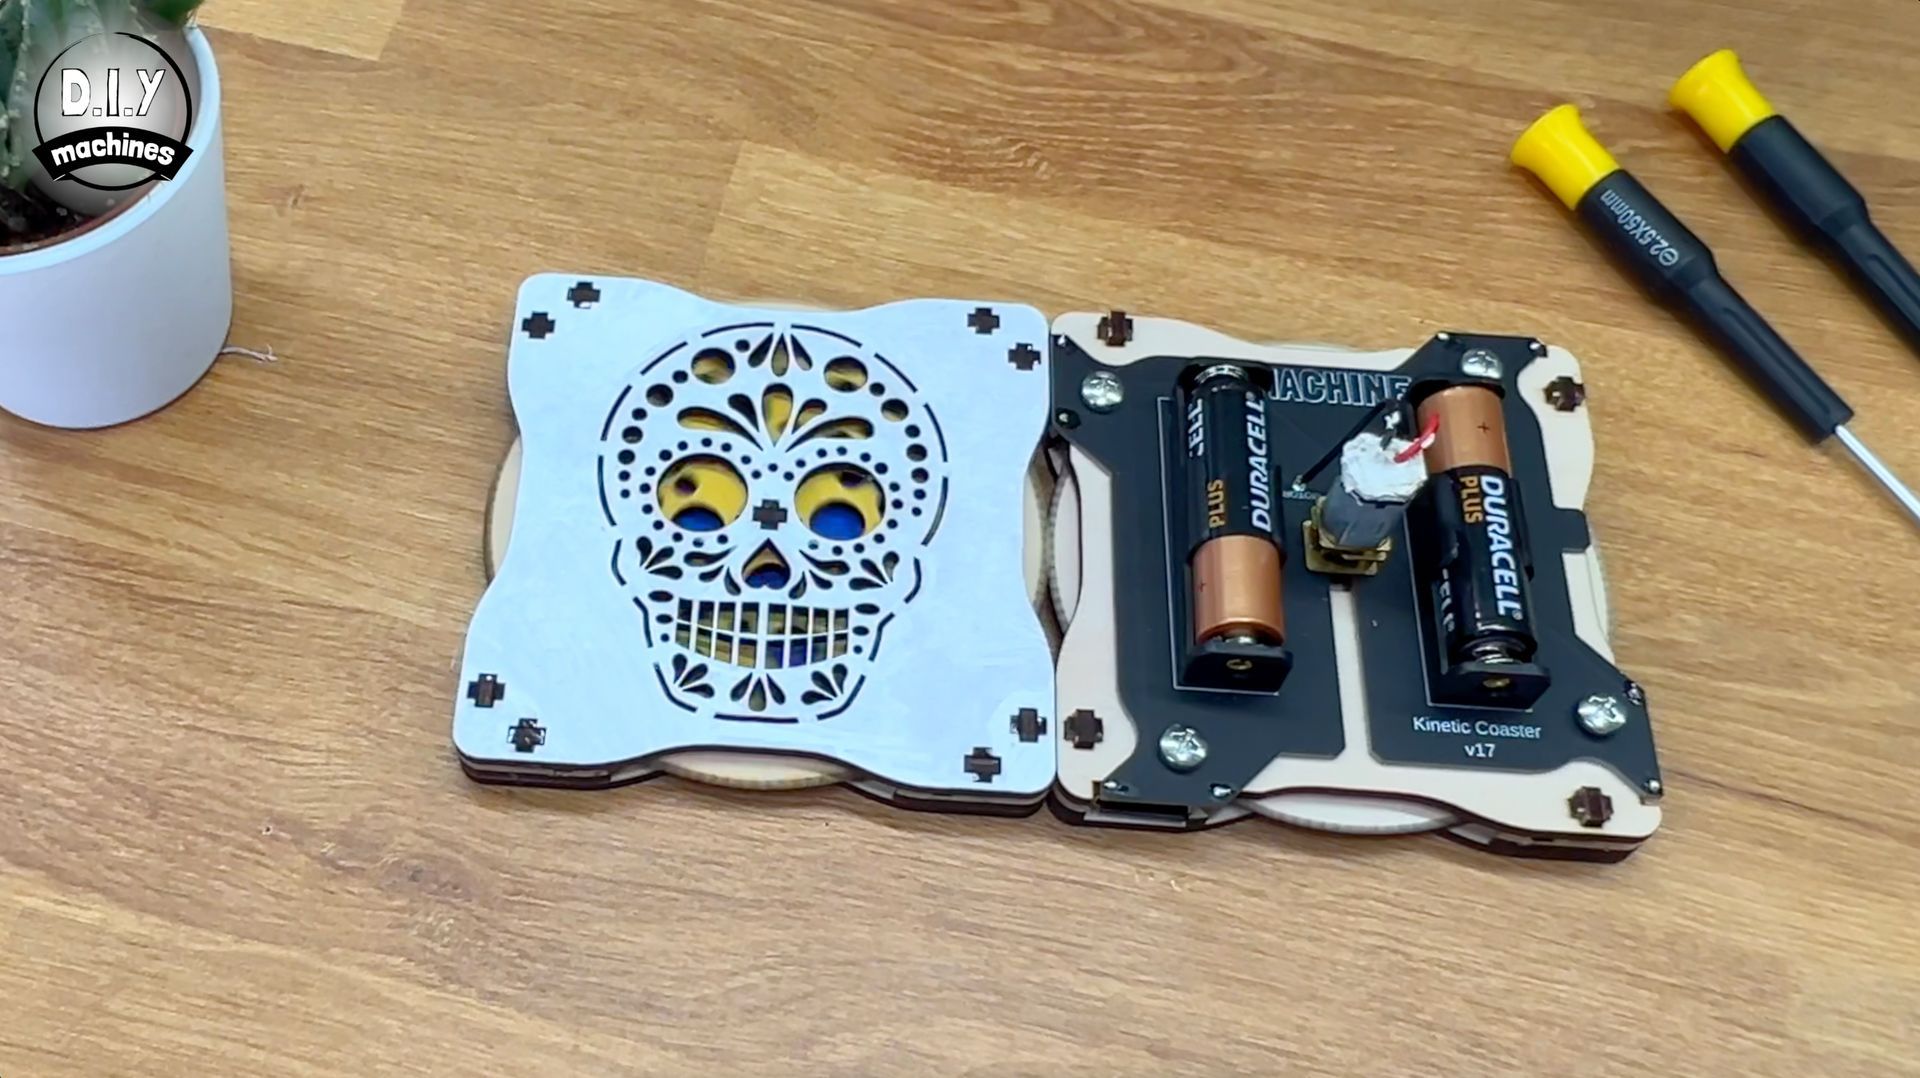
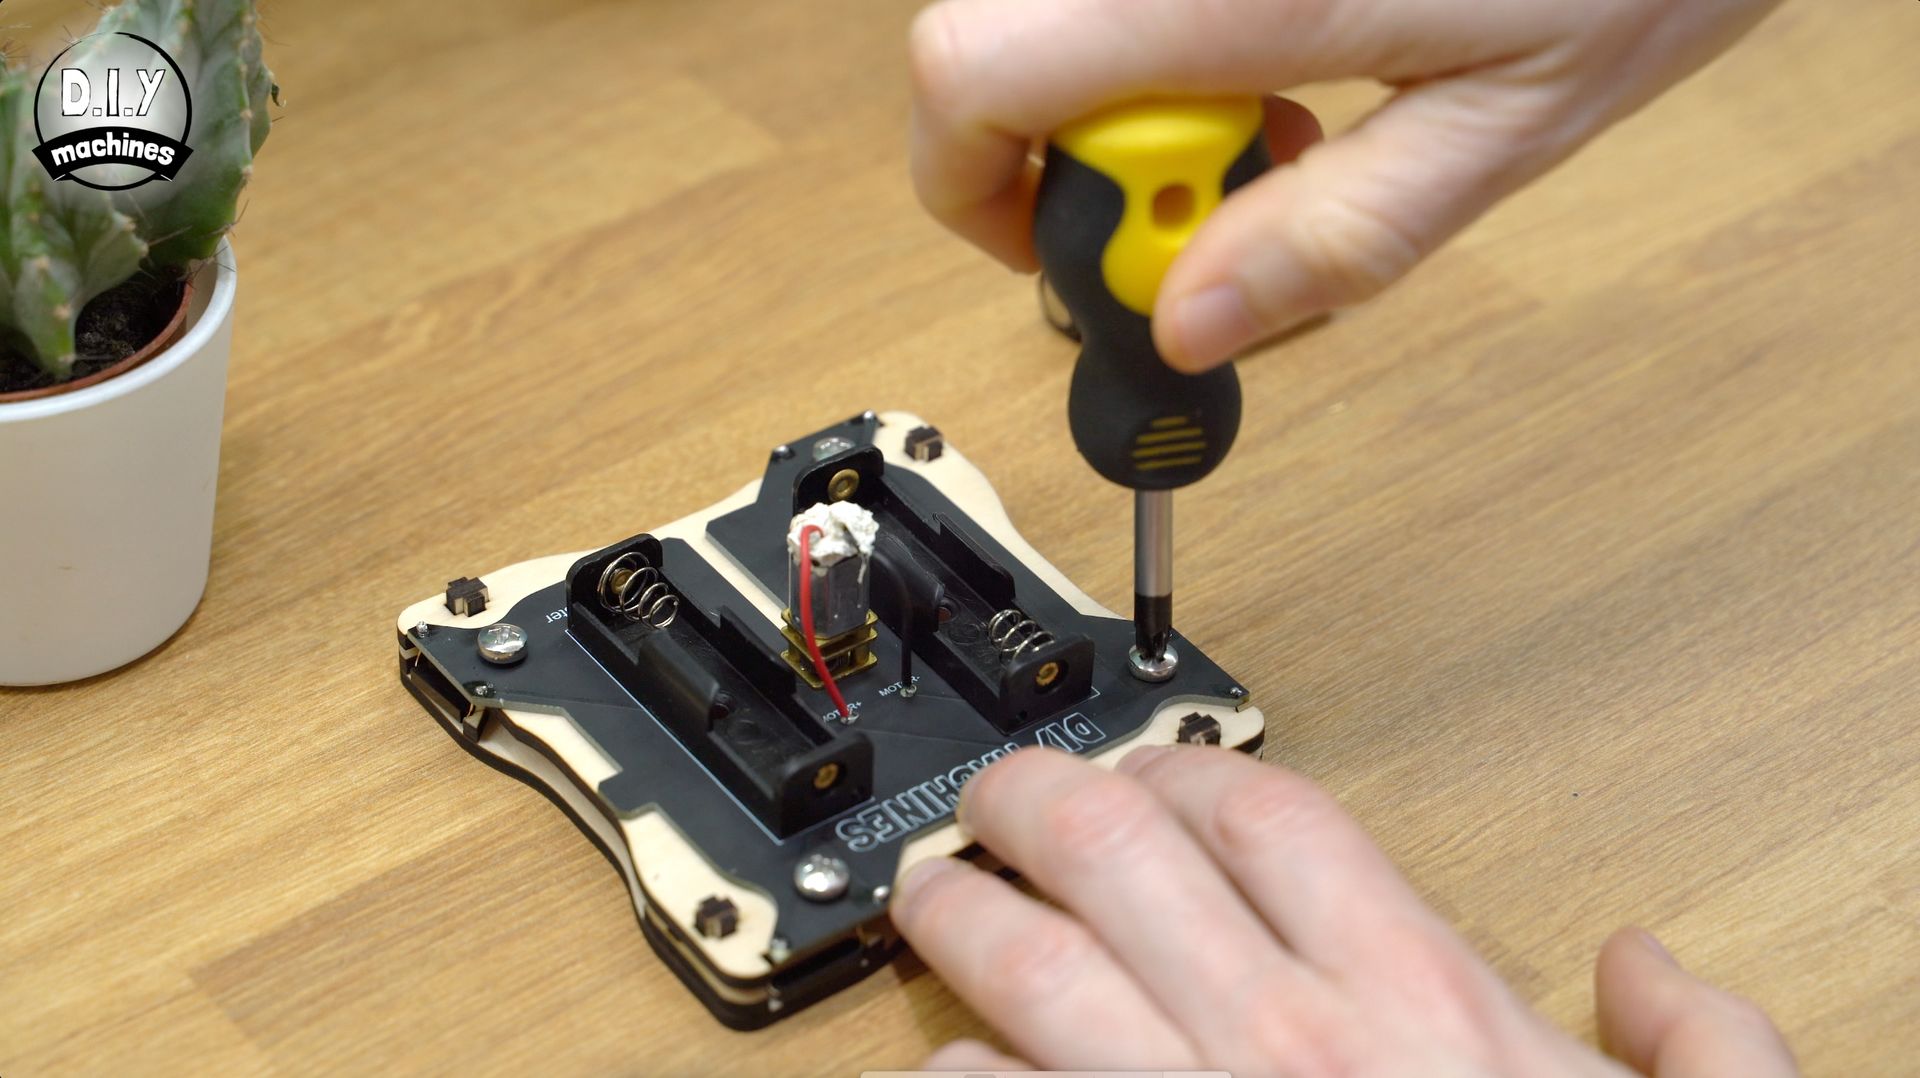
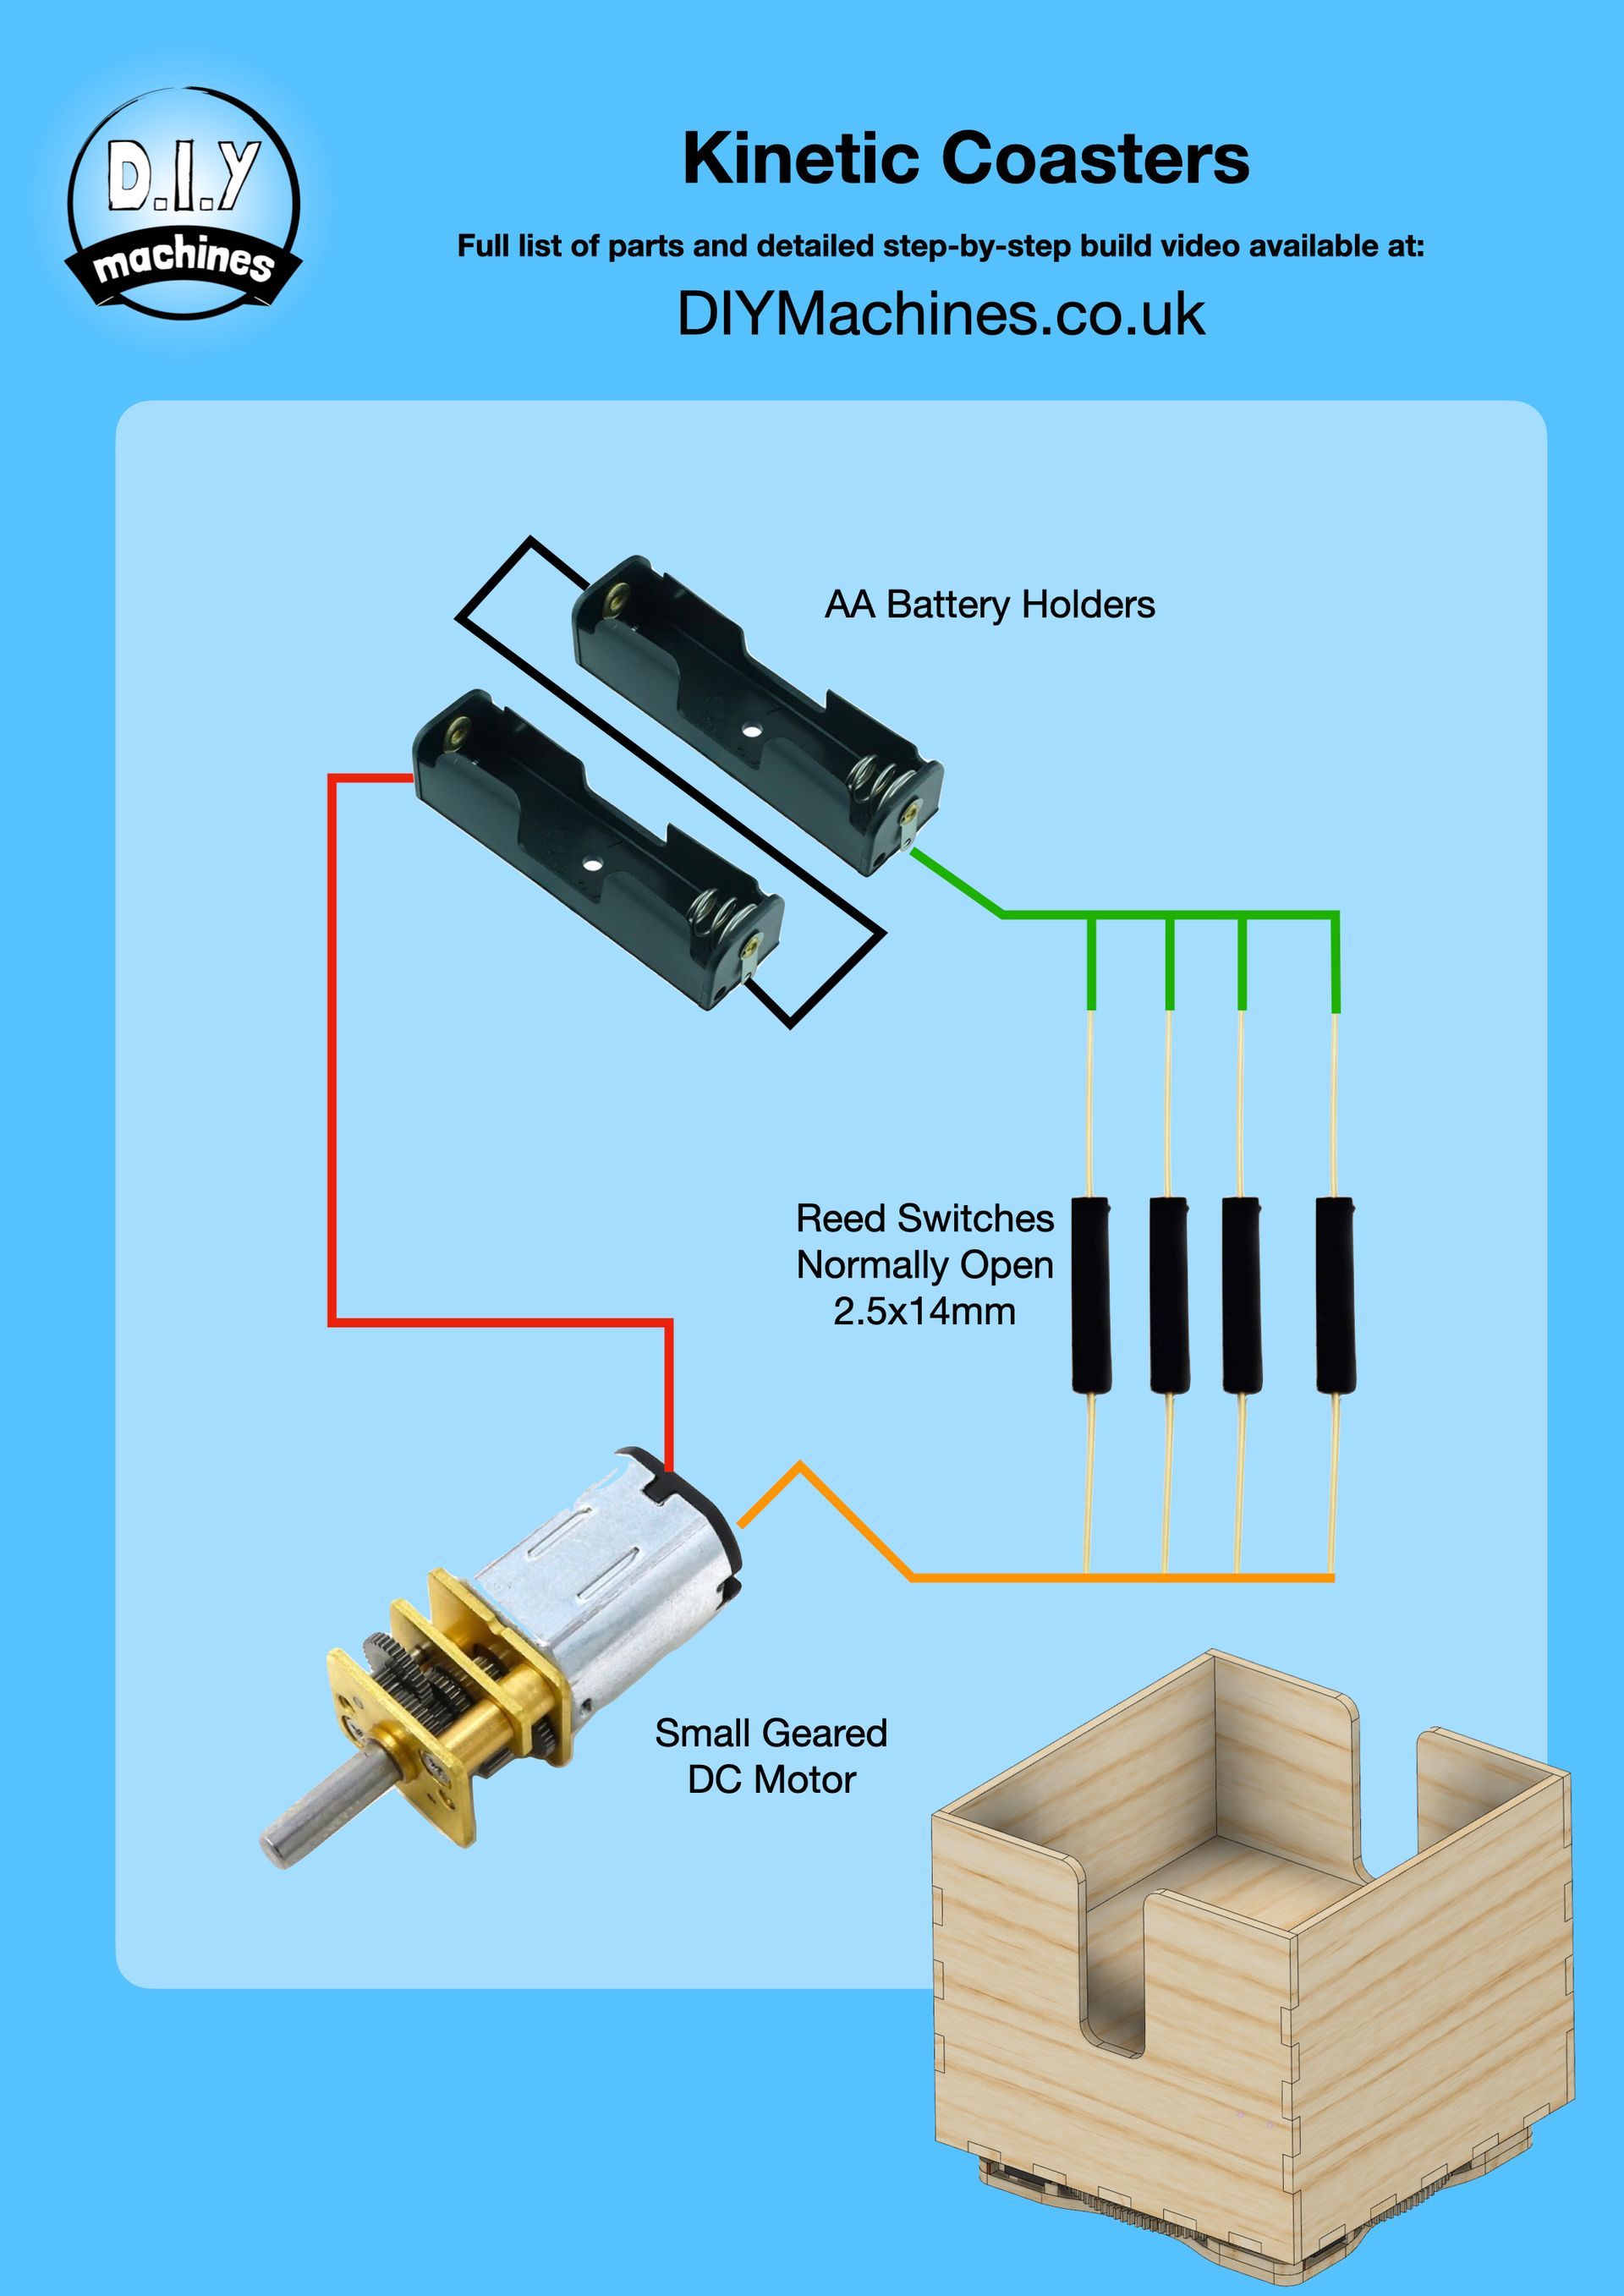
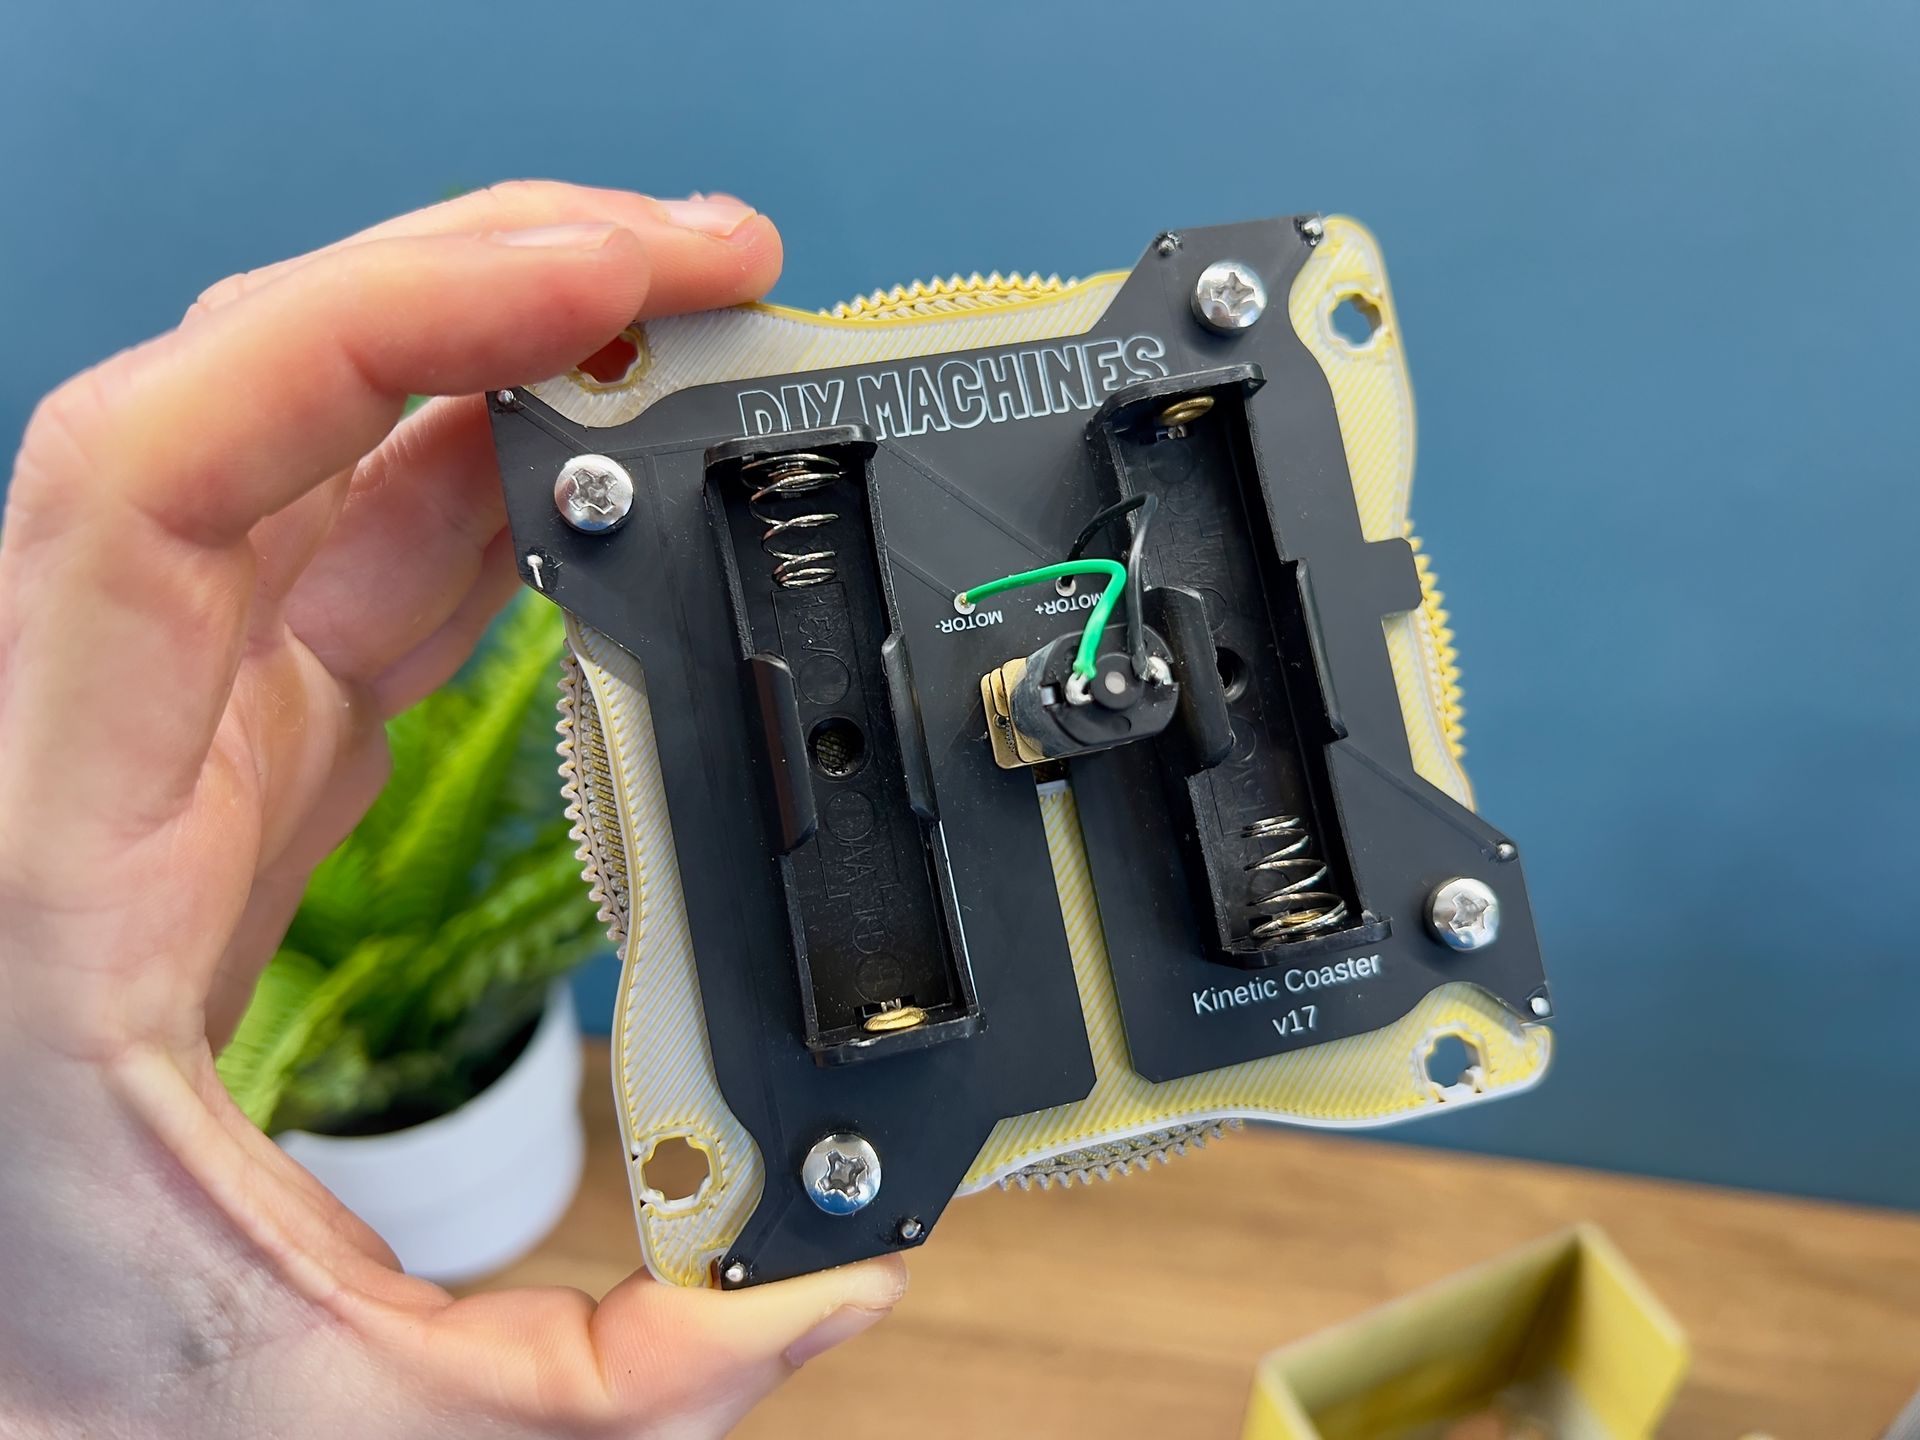
This is made possible by the tiny DC motor, batteries and sensors inside the base.
These coasters are a great way of expressing yourself at home or work, make a lovely personalisable project to gift, and are an ideal activity to assemble with younger makers.
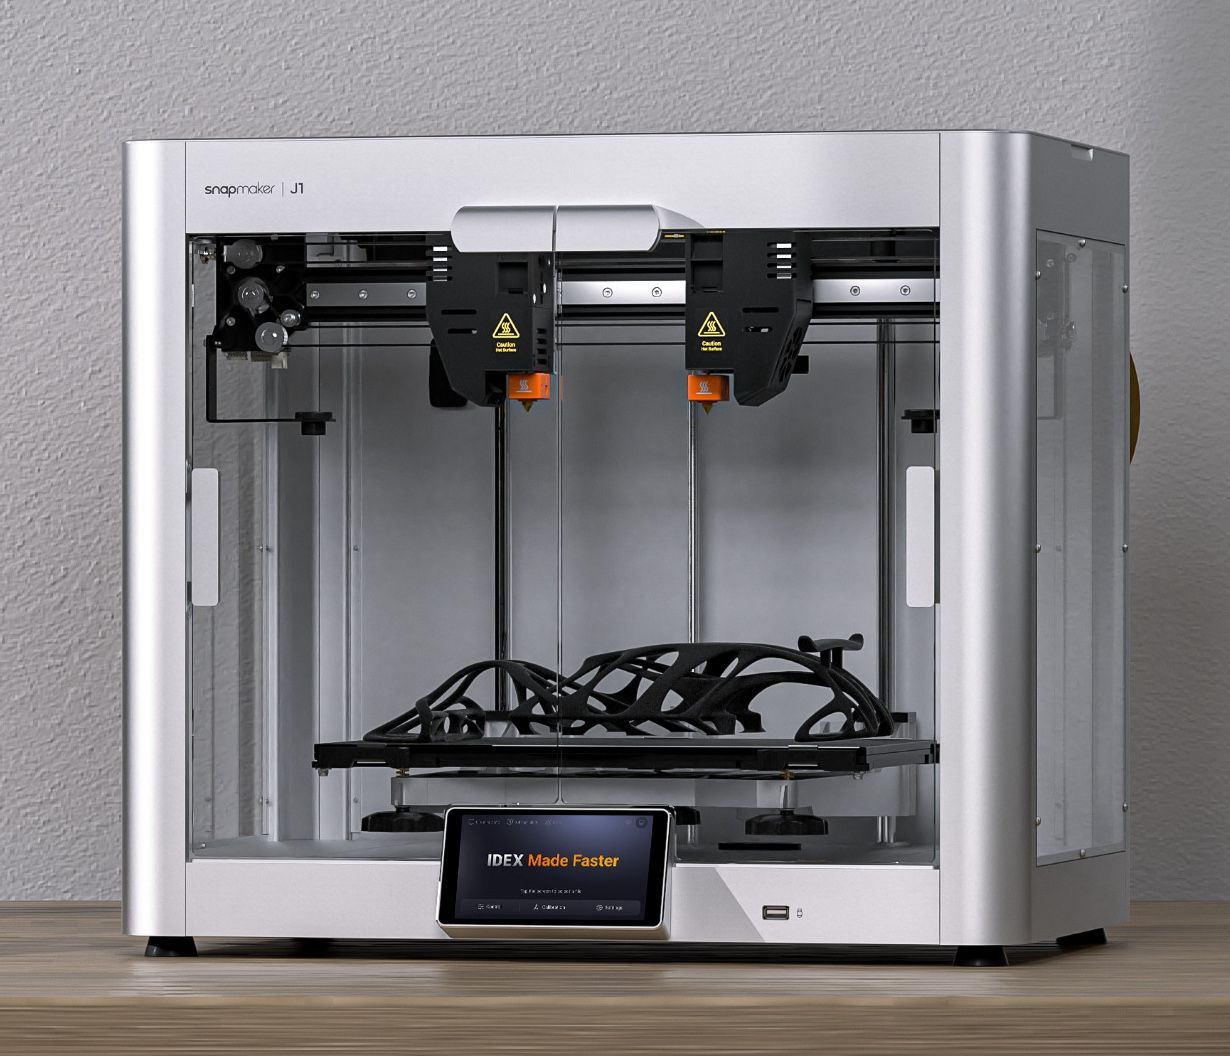
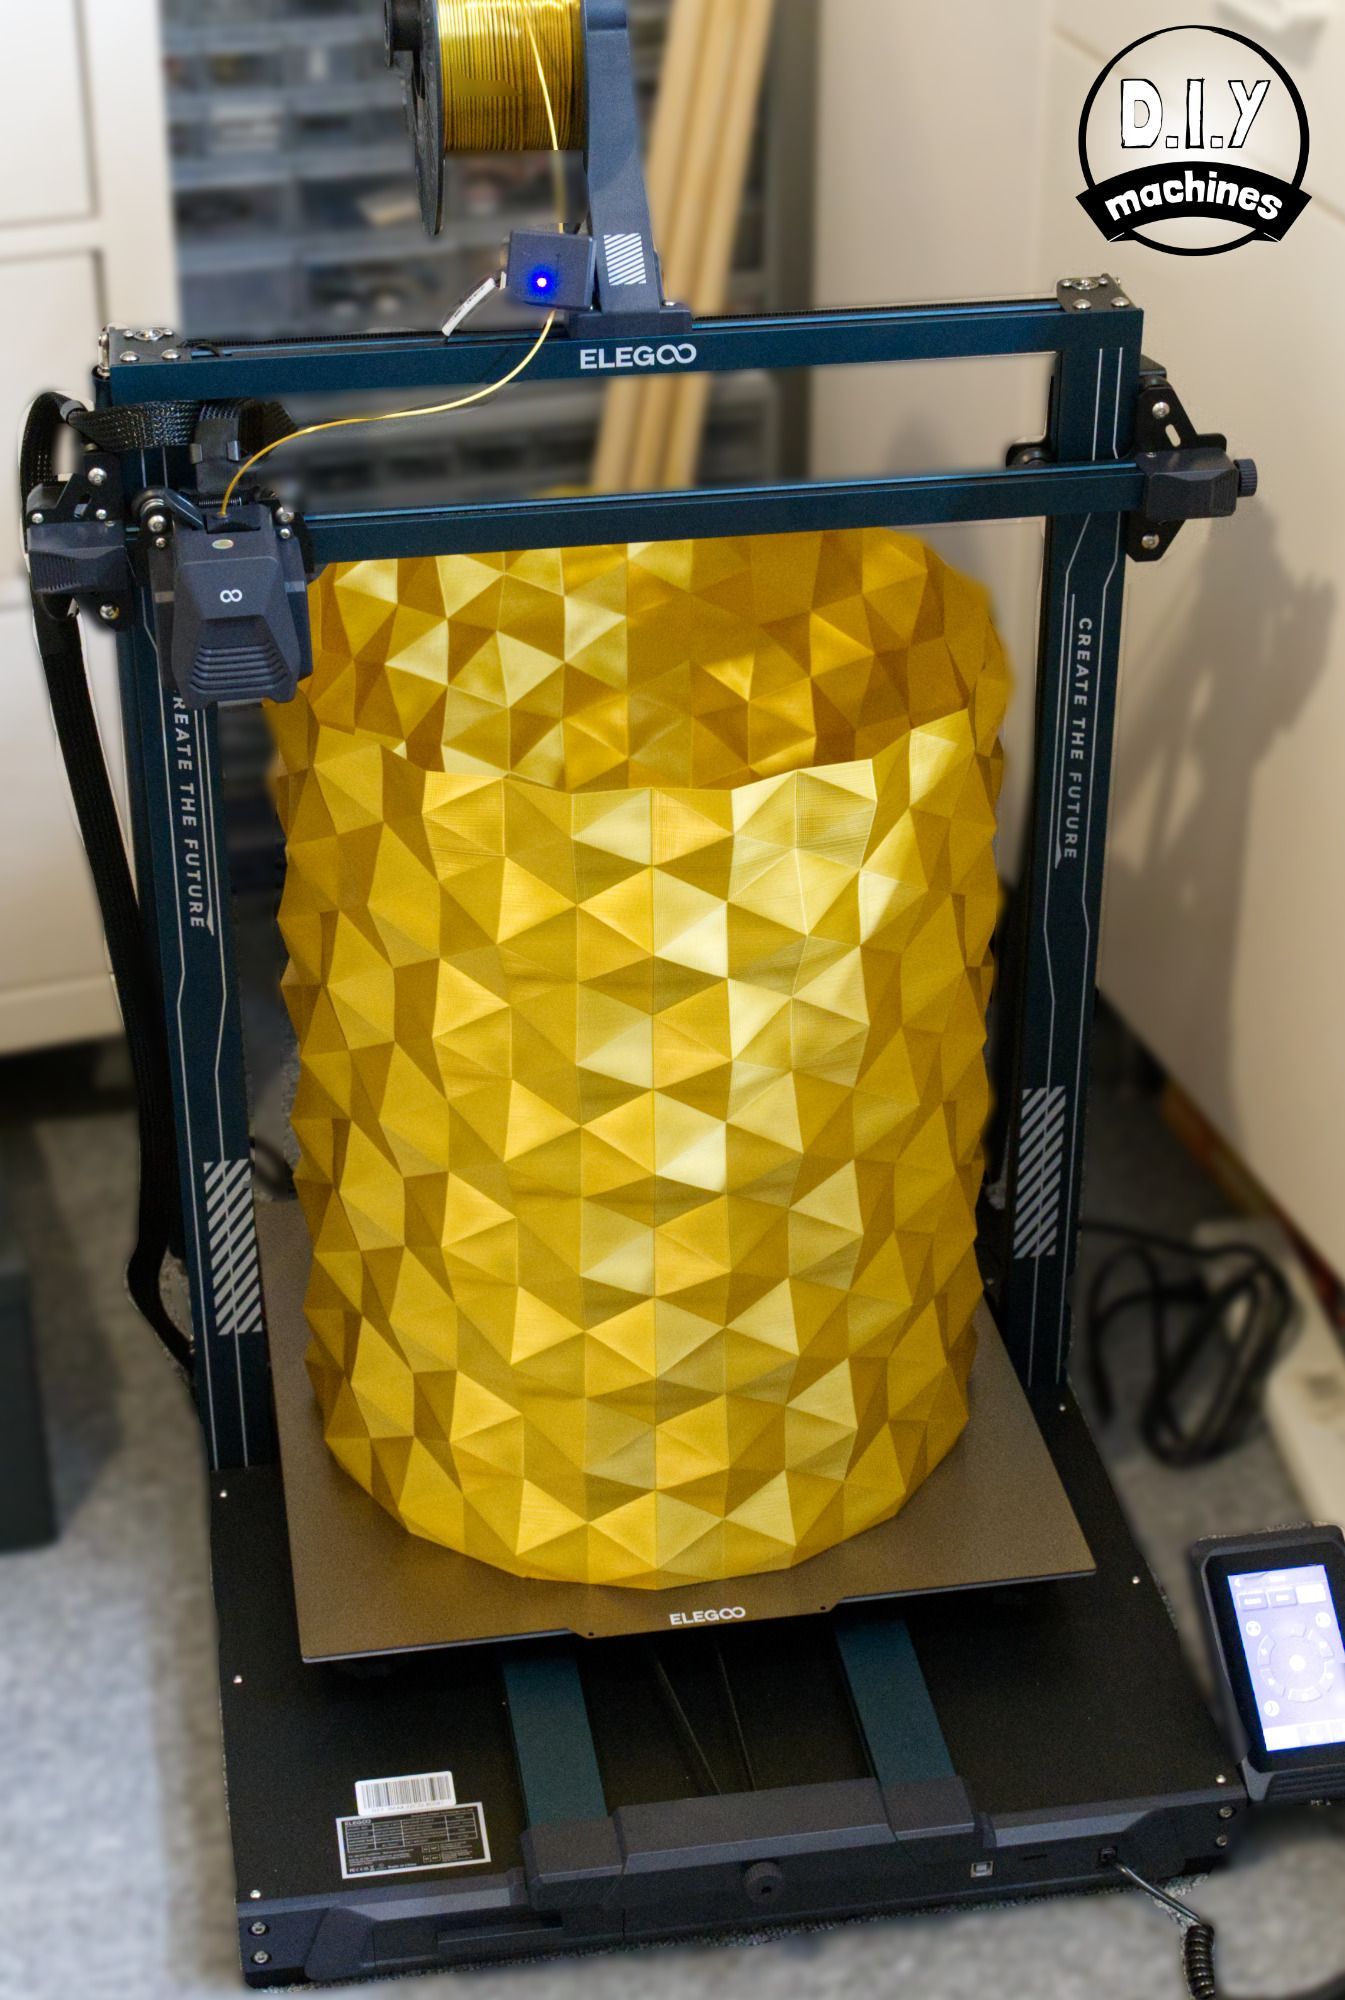
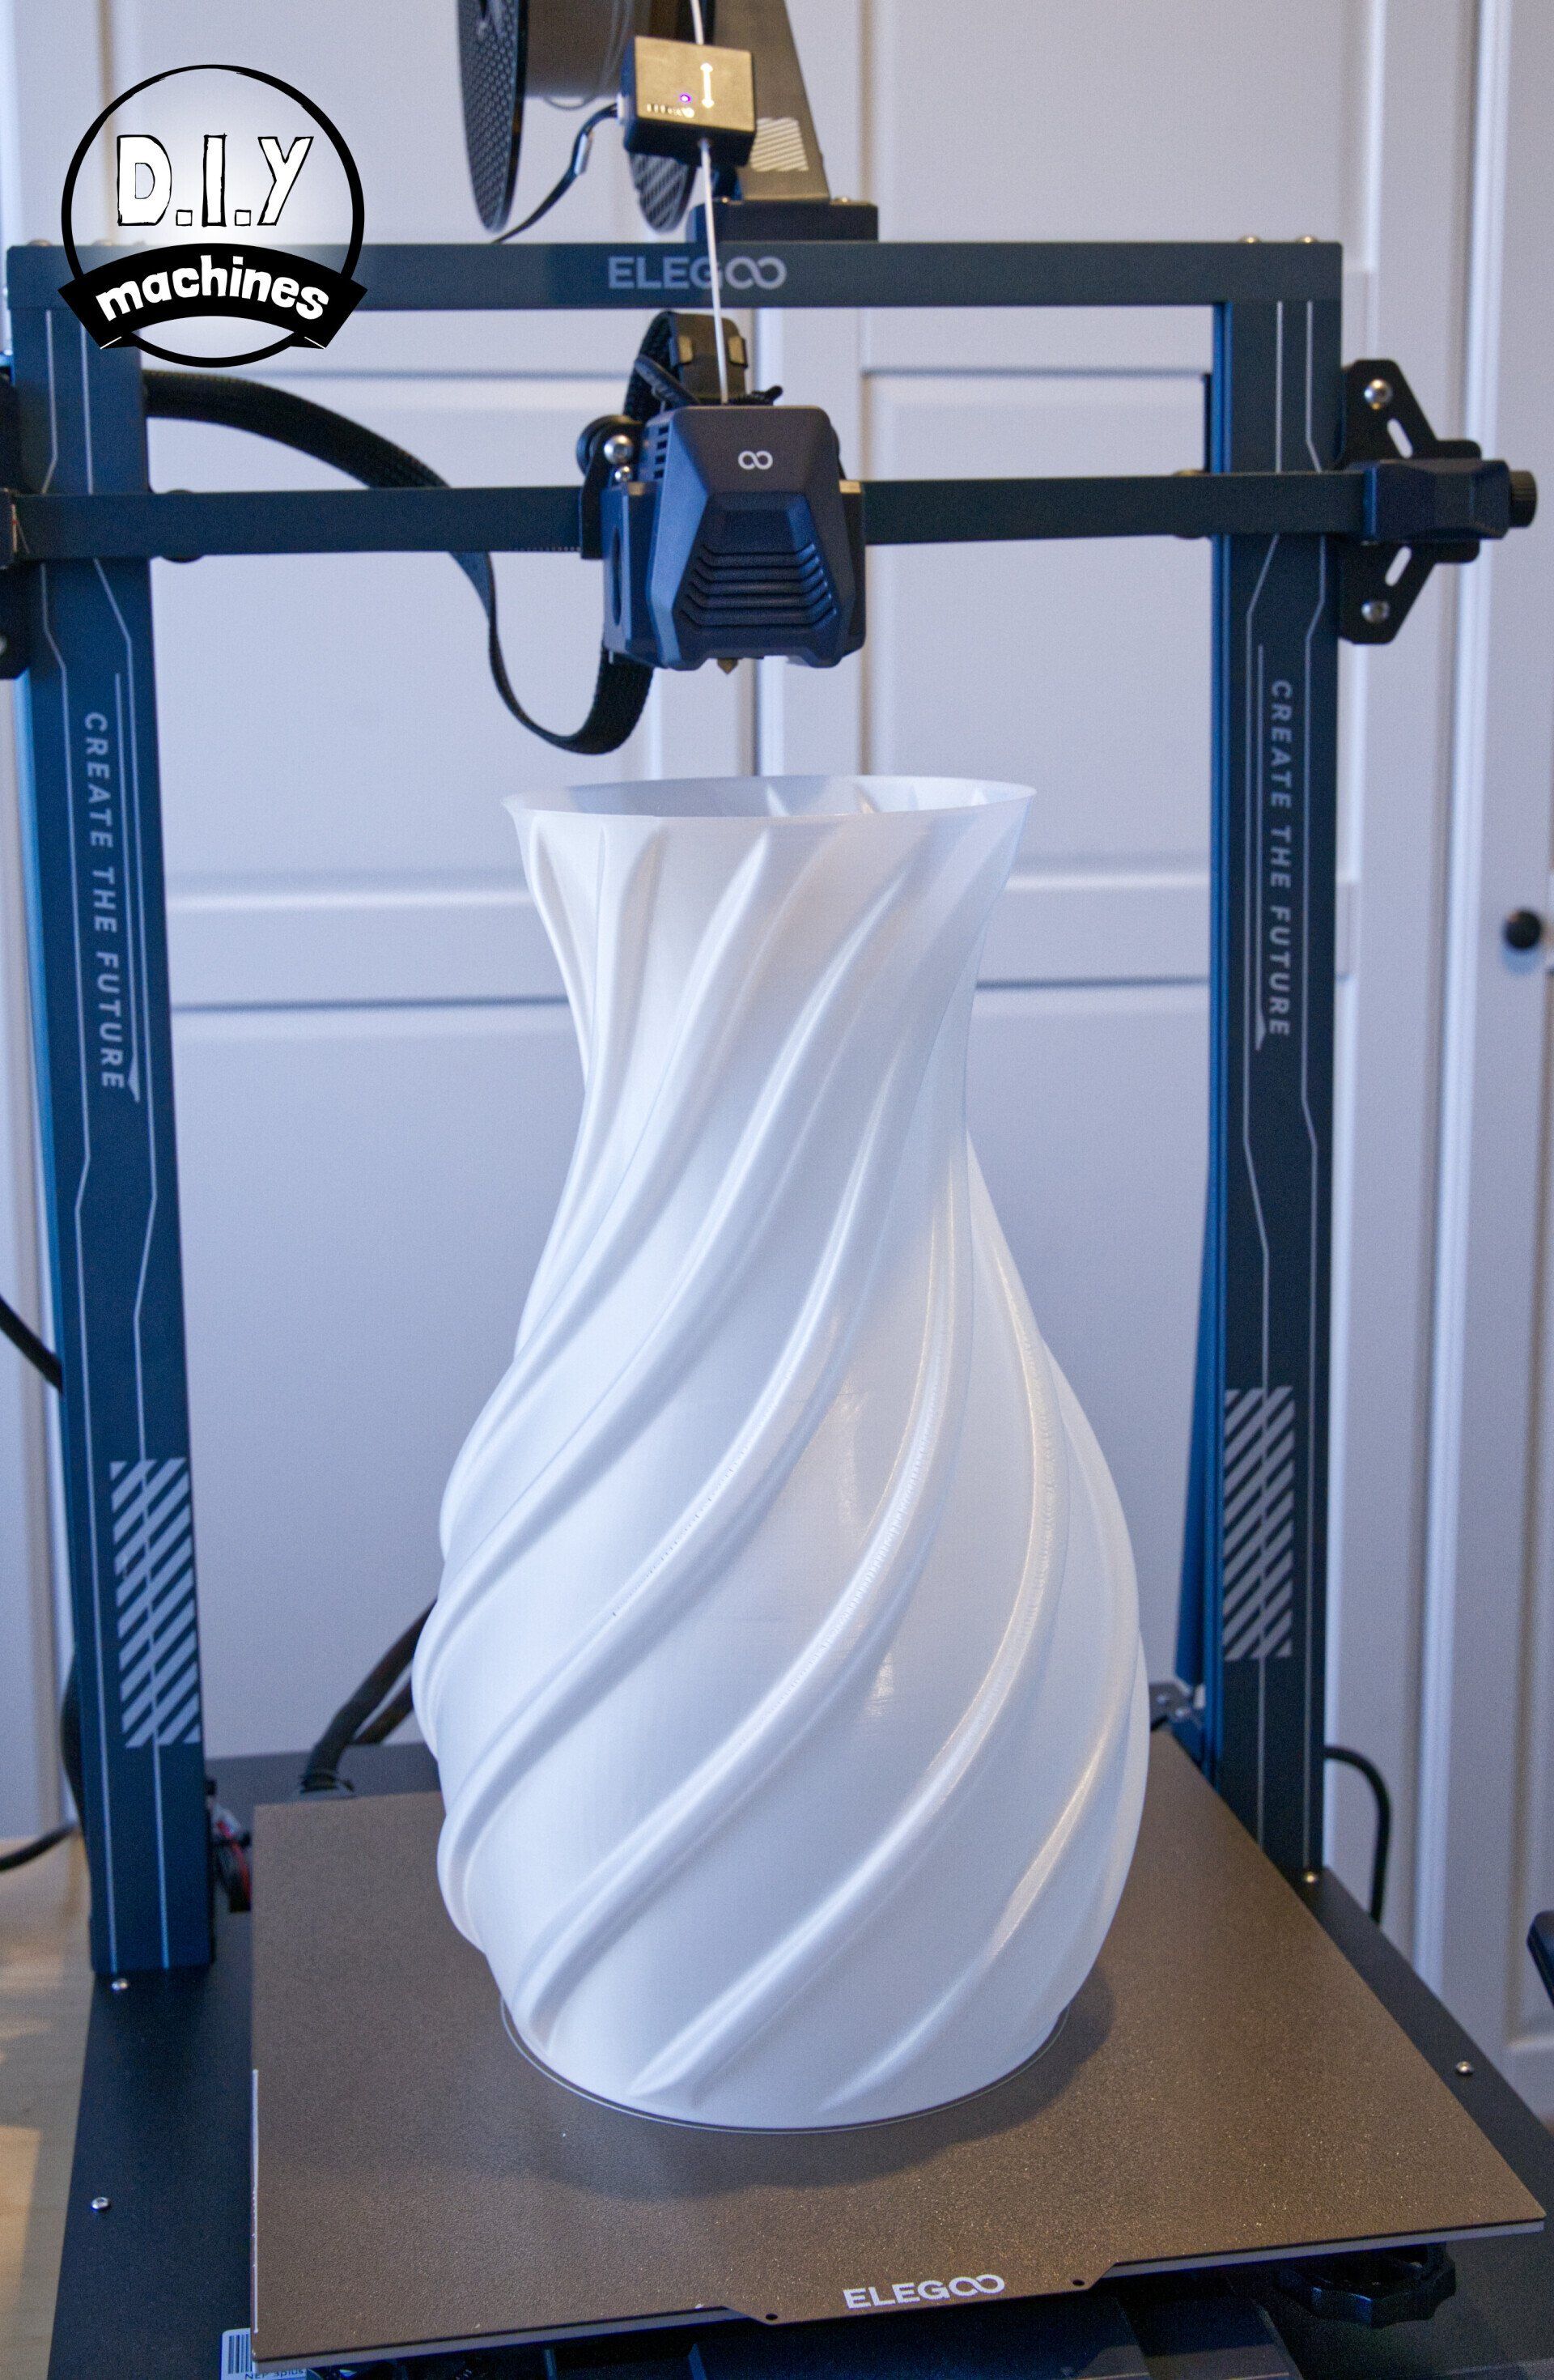
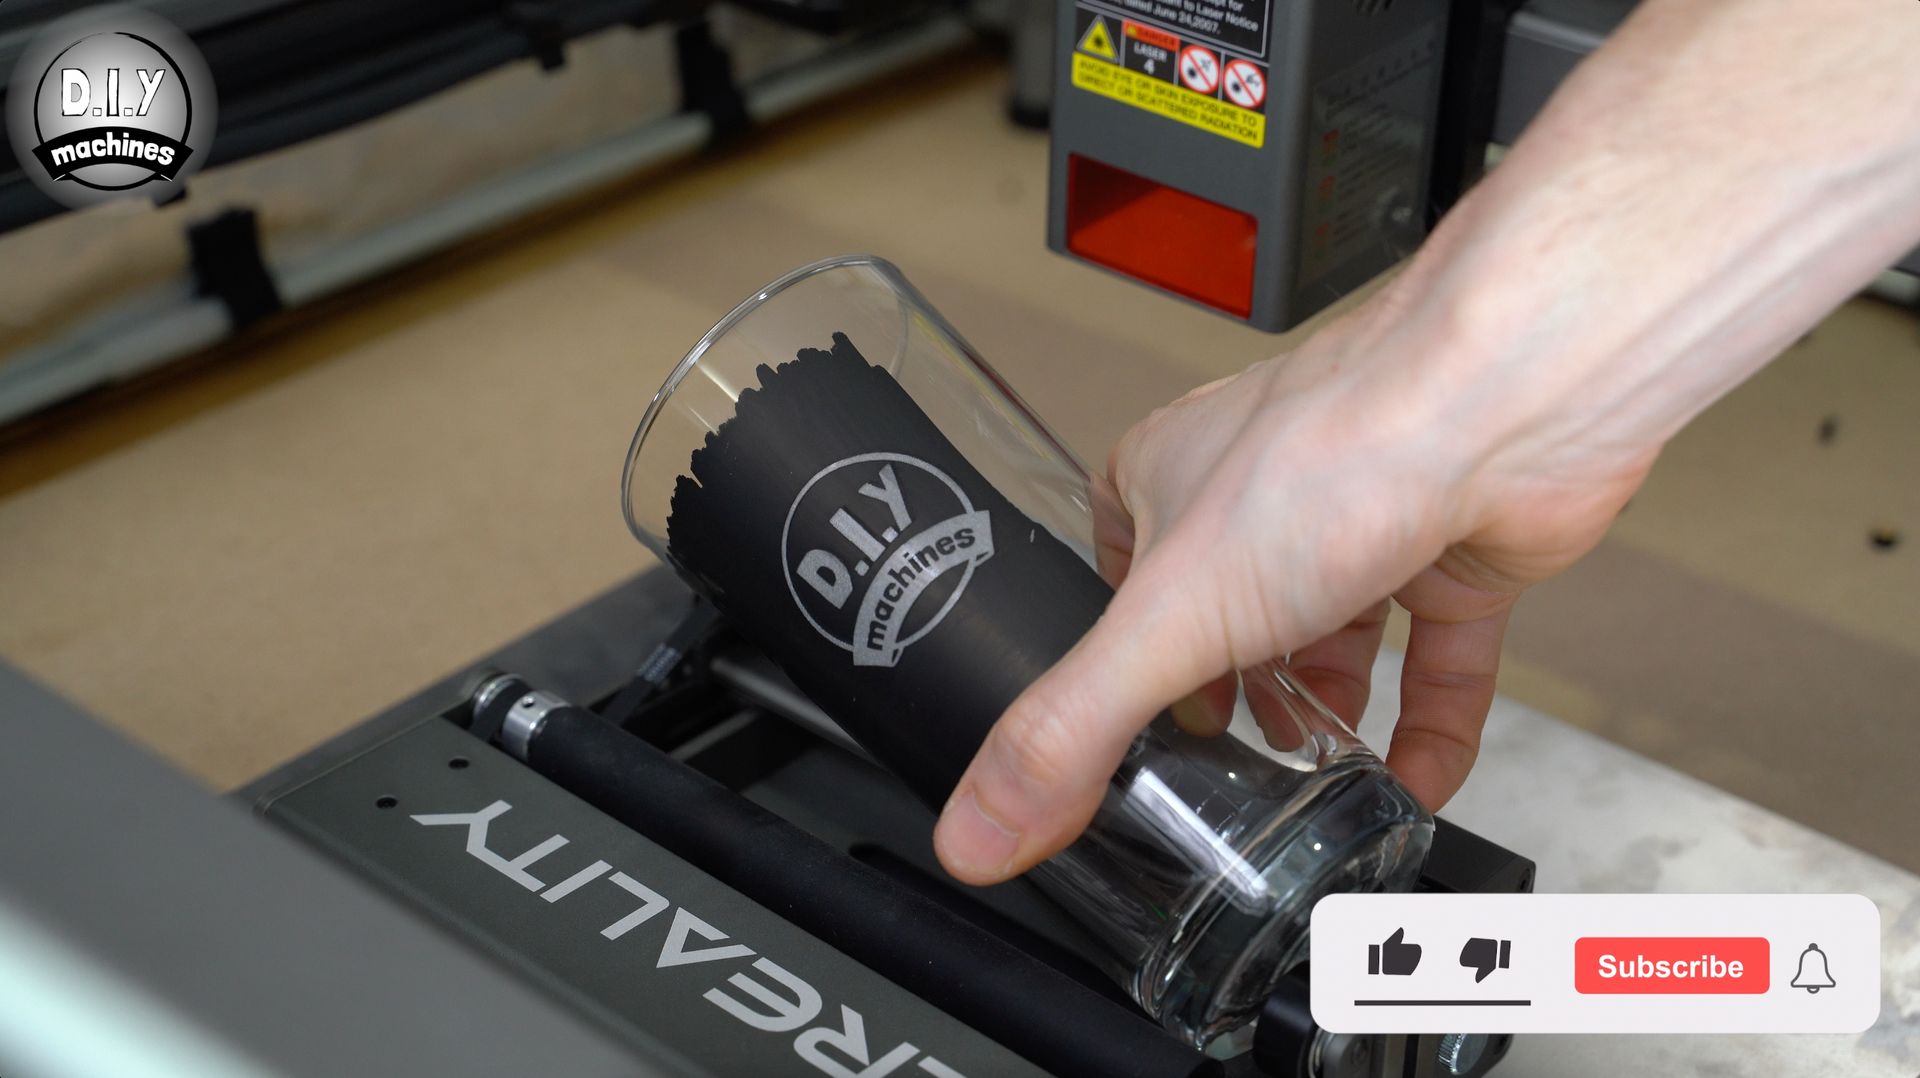
The ones above in the video have been made from Plywood cut on the Creality Falcon 2 22w diode laser, and yes, 3D printing them is also possible, though I feel that there is a certain charm about the wooden materials for coasters. Stick around because at the end of the video I'll also explain how I use this laser to easily create custom glassware for gifts. 🙂

List of items used in this project and where to find them / BOM:
- 3mm Sheet Plywood or similar https://geni.us/3mmPlywood
- AA Battery Holders (x2) https://geni.us/AABatteryPCBMount
- Small Geared DC Motor (x1) https://geni.us/MiniGearedDCMotor
- Super glue https://geni.us/SuperGlueLongNeck
- Tiny magnets 3x3mm (4 for the base, 8x per coaster) https://geni.us/3x3mmMagnet
- Batteries https://geni.us/AABatteries ■ Reed switches - Normally Open Type. (x4) https://geni.us/ReedSwitch
- And some Bolts and screws (M4x5mm x four and M1.6x3mm x two)
- 3D Jakes filament: https://geni.us/3DJake
Downloads:
Please 'like' the model on Printables. It really helps me out. Thank you.
3D models for printing: https://www.printables.com/model/827330-kinetic-coasters-with-a-twist-laser-or-3d-print-so
International shipping project kits on my Etsy shop: https://diymachines.etsy.com/listing/1693030560
Laser Cut files: I'm currently nesting and uploading more designs. You'll find a growing number availabe below. Thanks for your patience.
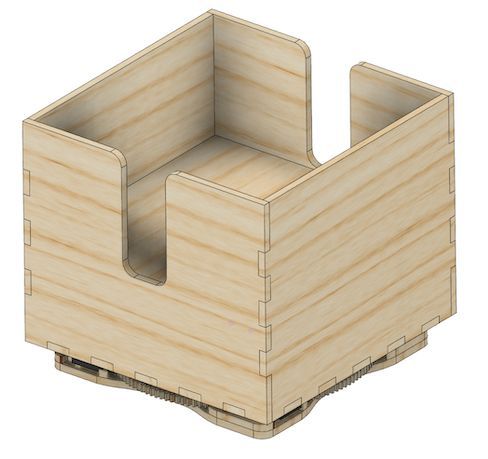
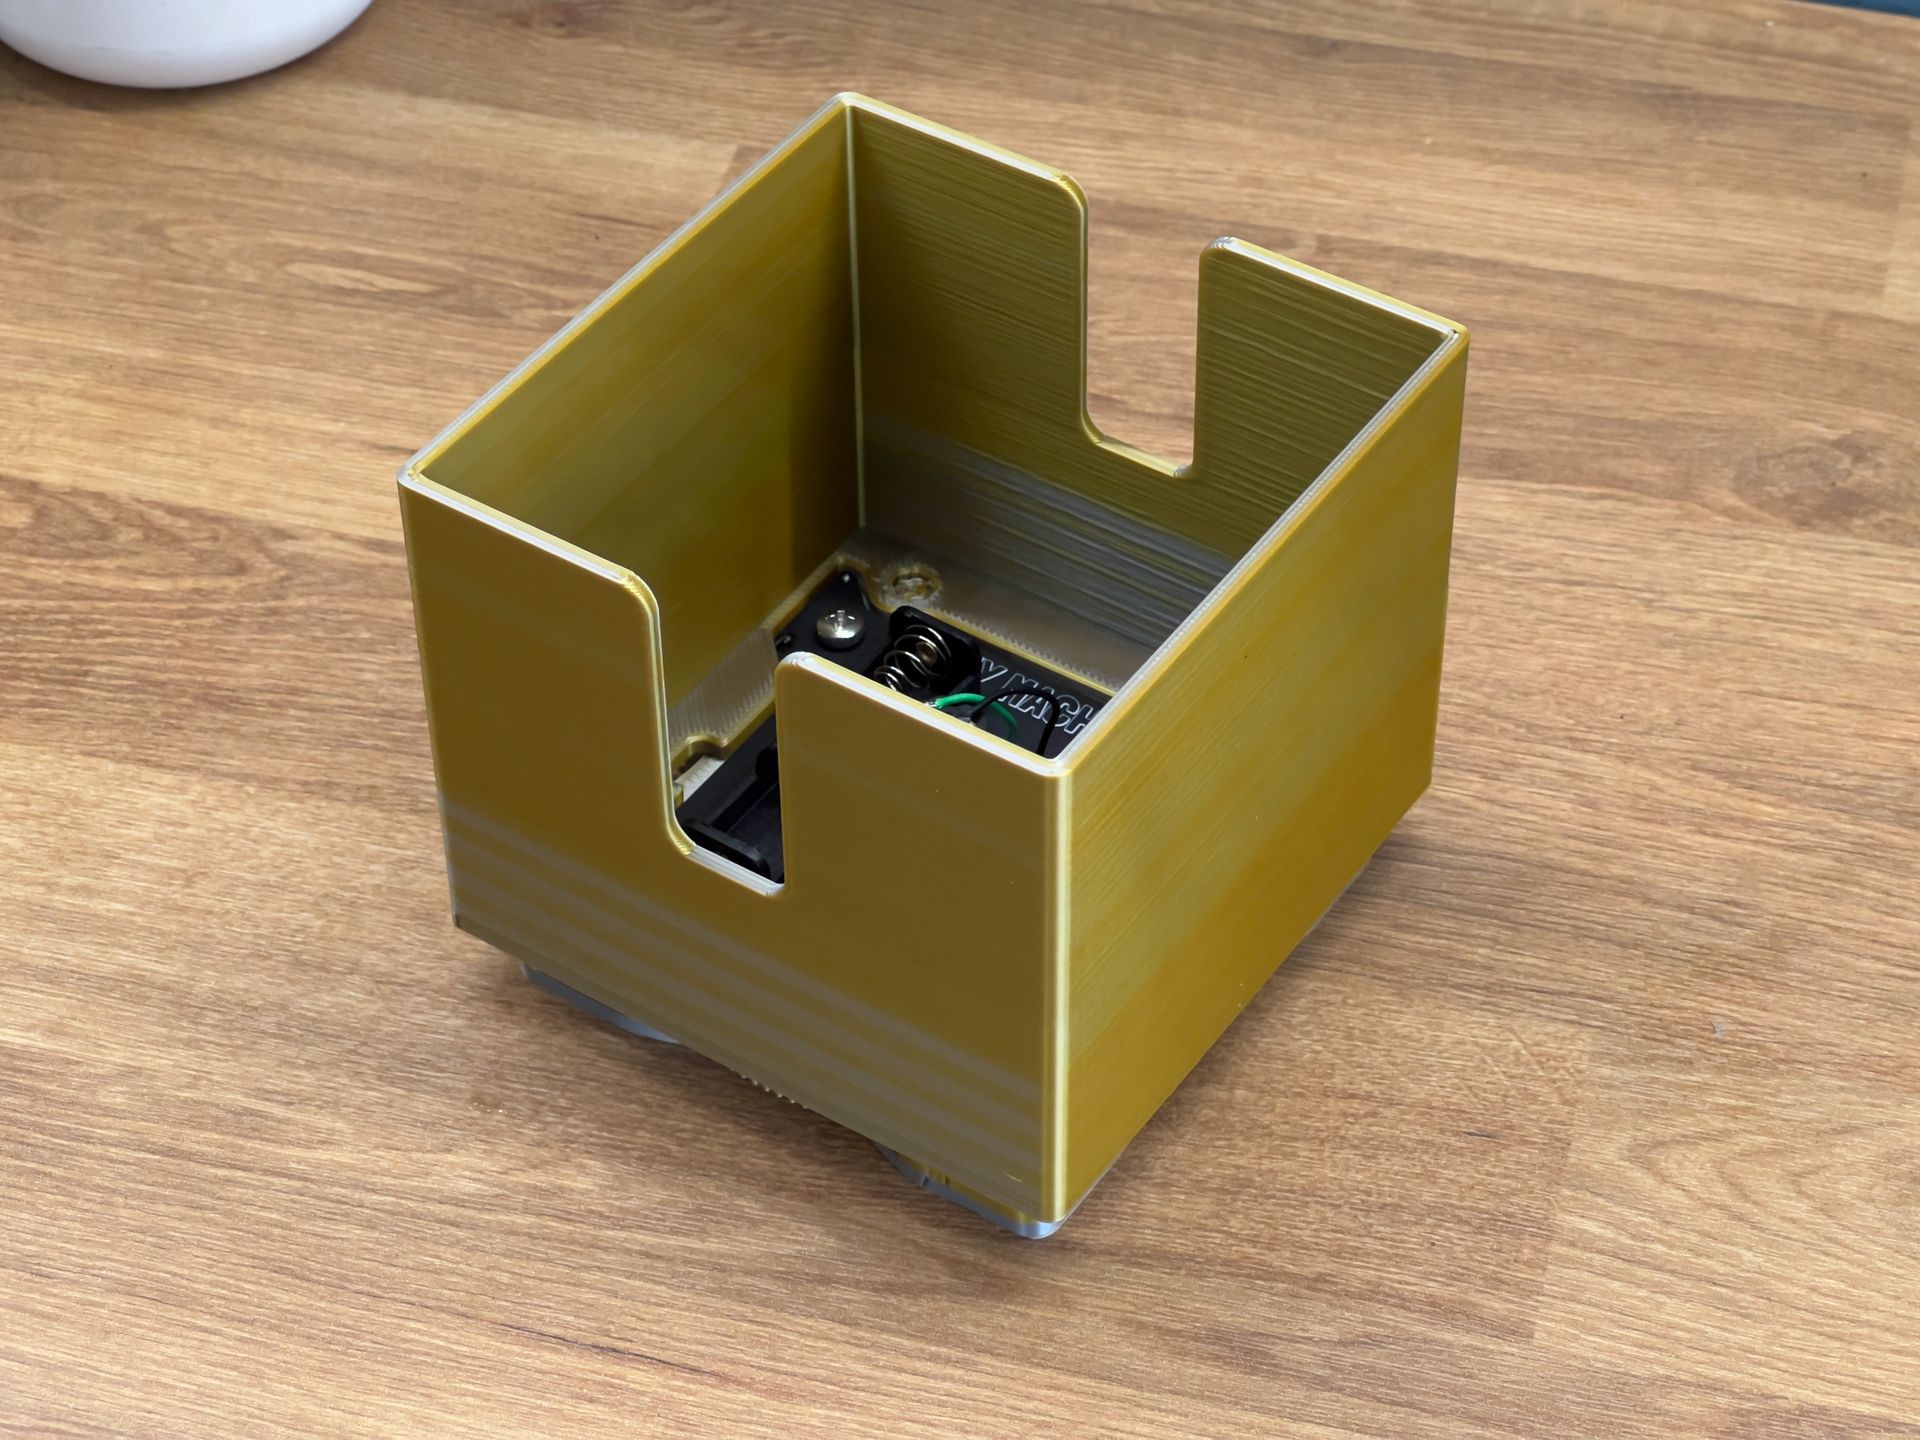
A power house for your coasters
This smart storage system not only keeps your coasters gatherd in an orderly fashion but it also contains a hidden motor, power and detection electornics to automatically switch on a take you coasters for a spin when one is placed adjacent to it!
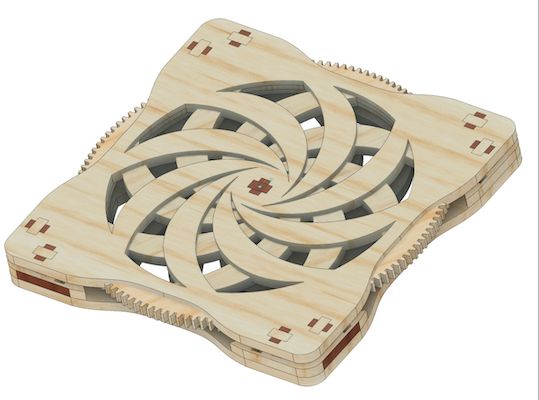
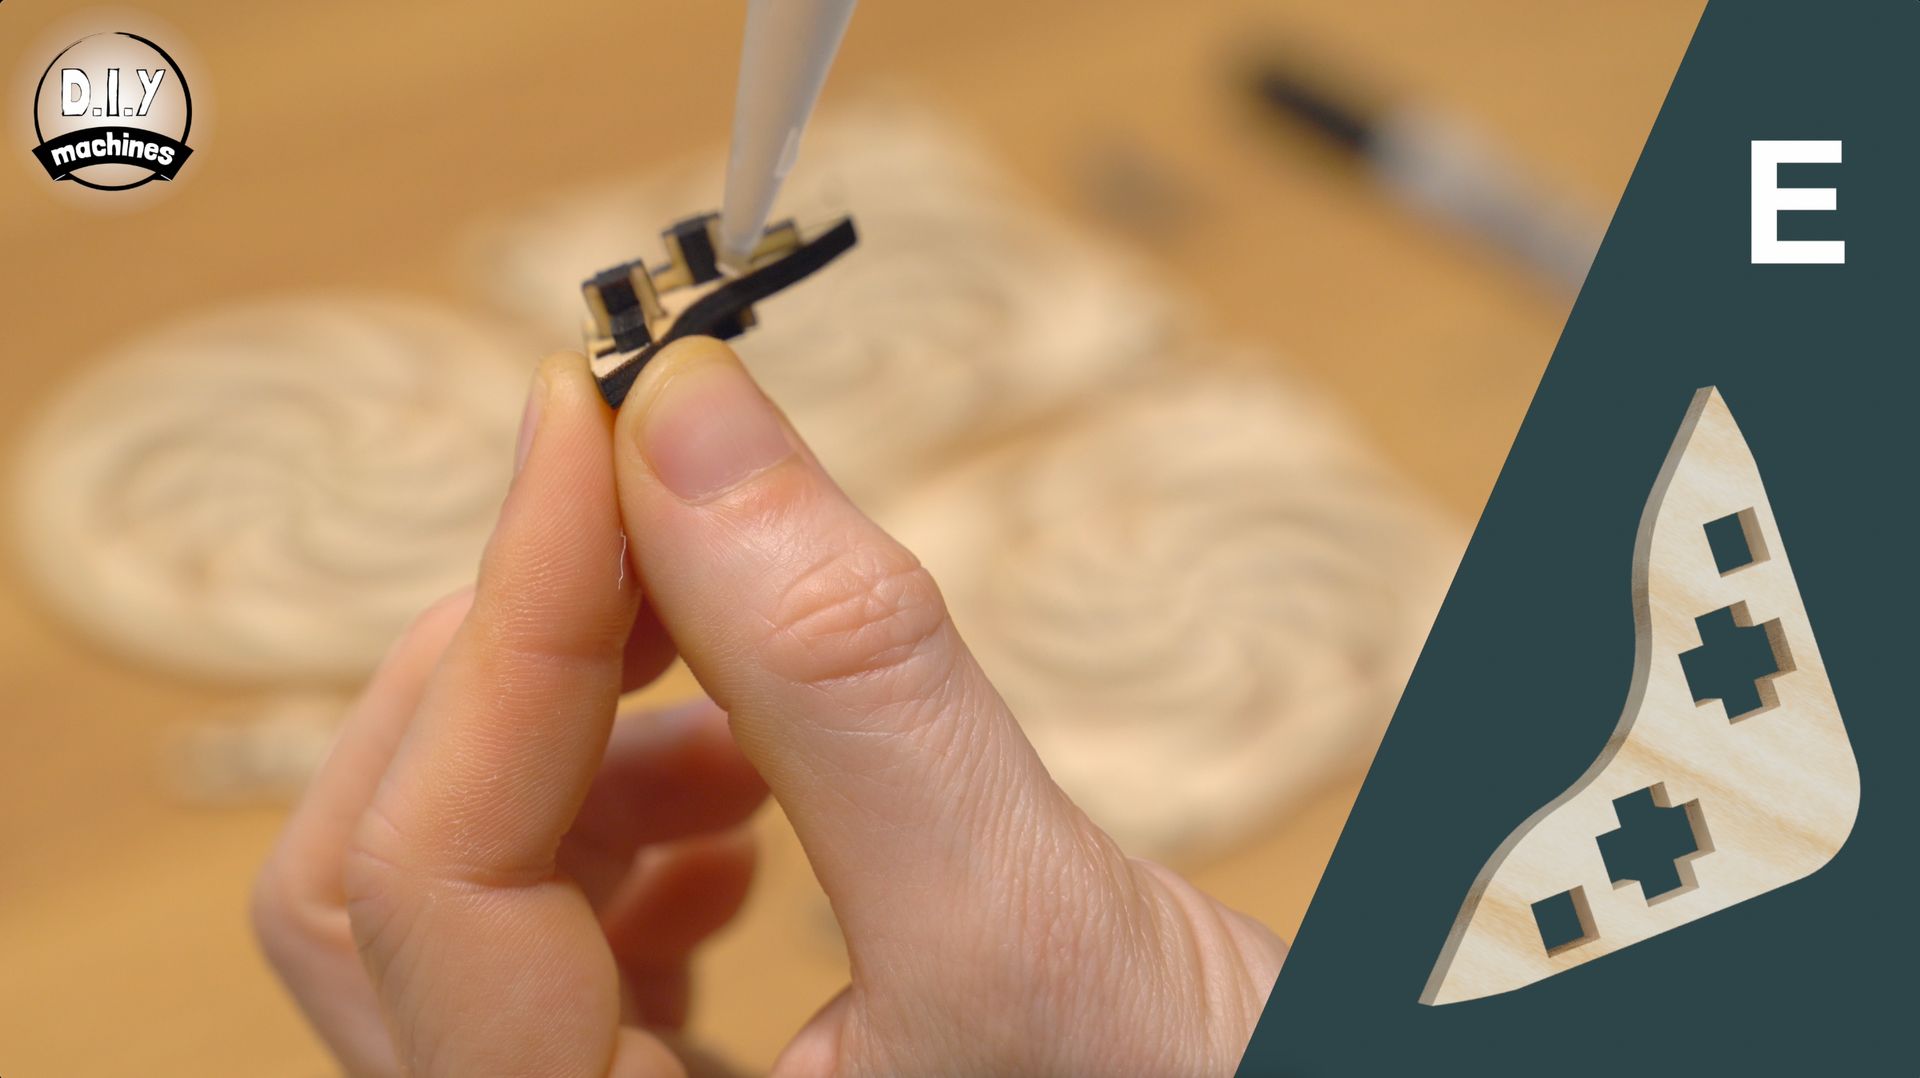
Kinetic Coaster Designs for Laser Cutting
This dowload inlcudes all the files you need to create four different design for the base, main cog and top of the coaster. That's 81 possible combinaitons plus your choice of decorating!
For more design files check my Etsy store here.
Community:
Discord server for this project: https://discord.gg/D58drZerT7(A great place for questions and advice).
There is a comments section at the end of this page where you can also engage with other makers. However I do find the Discord community more active. :)
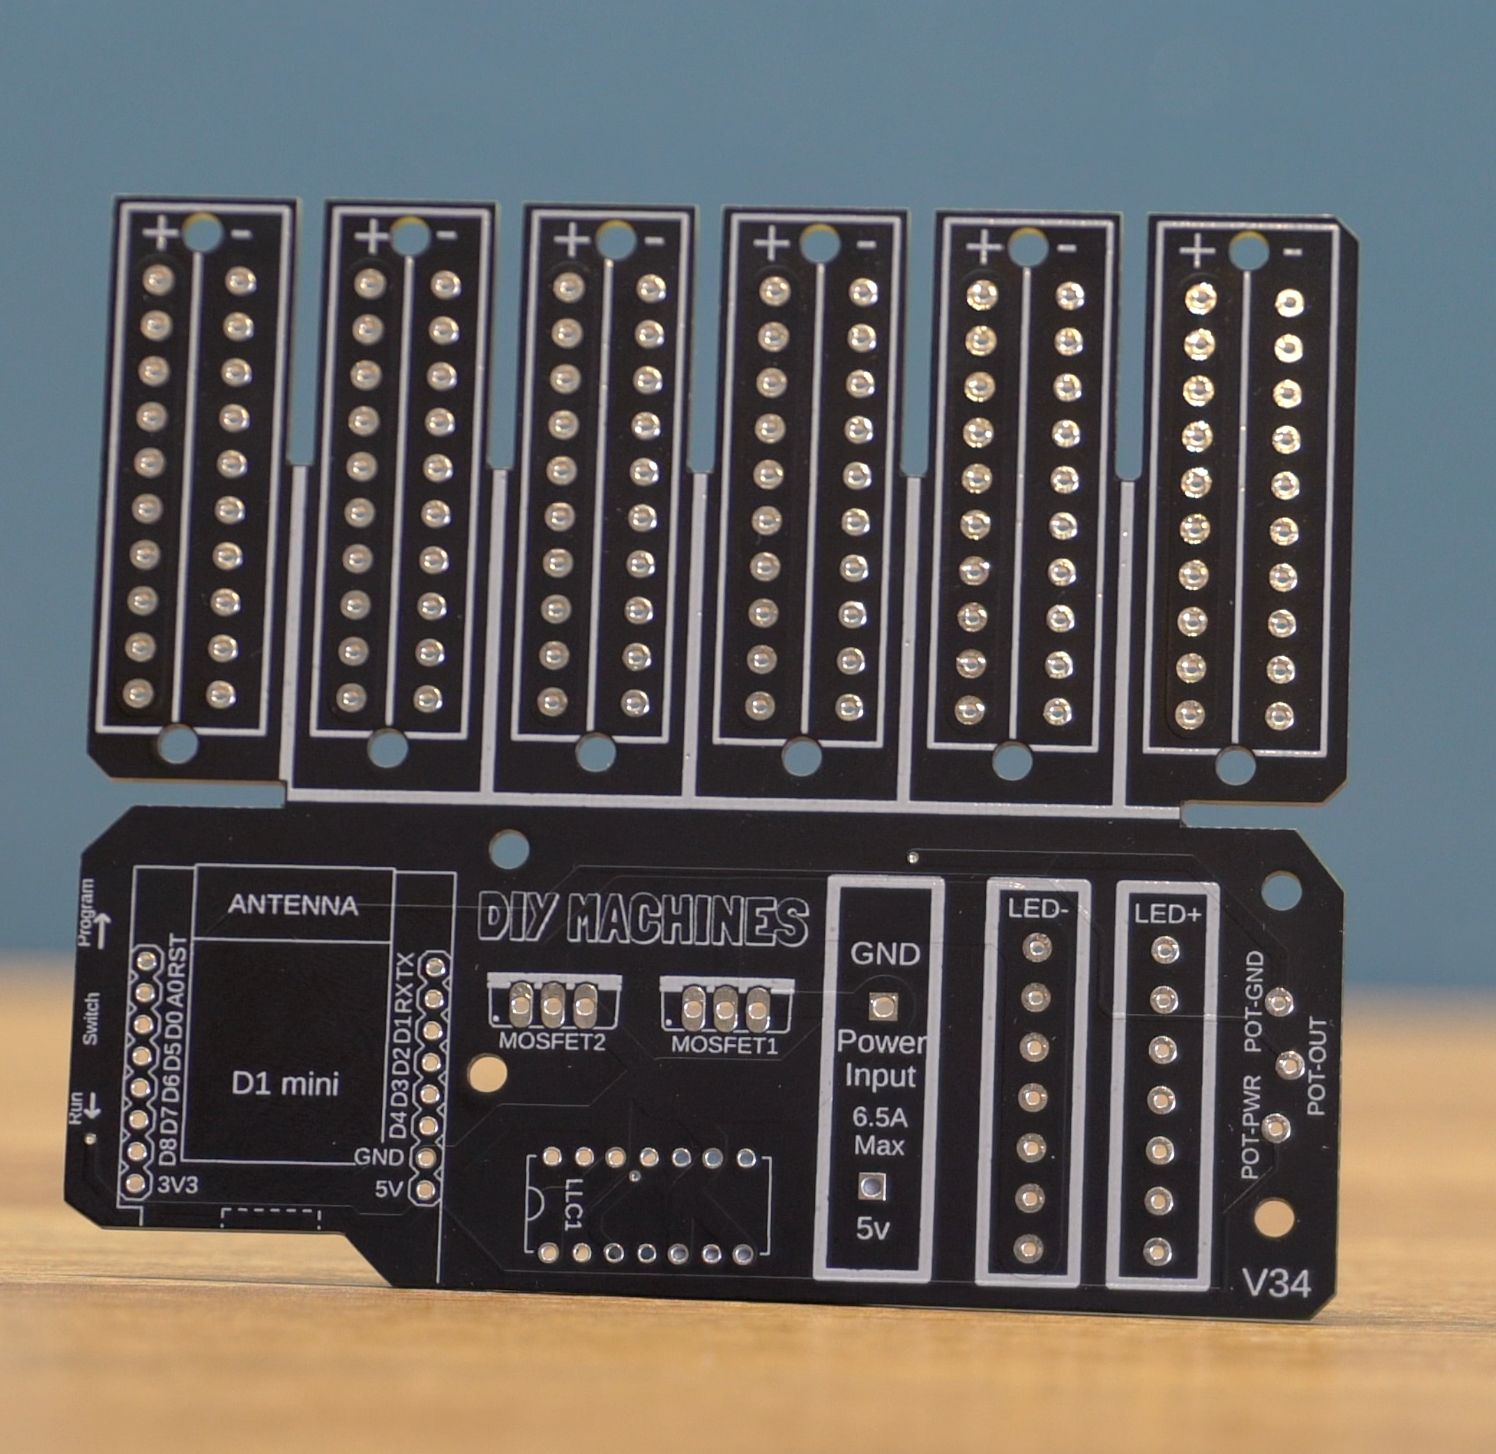
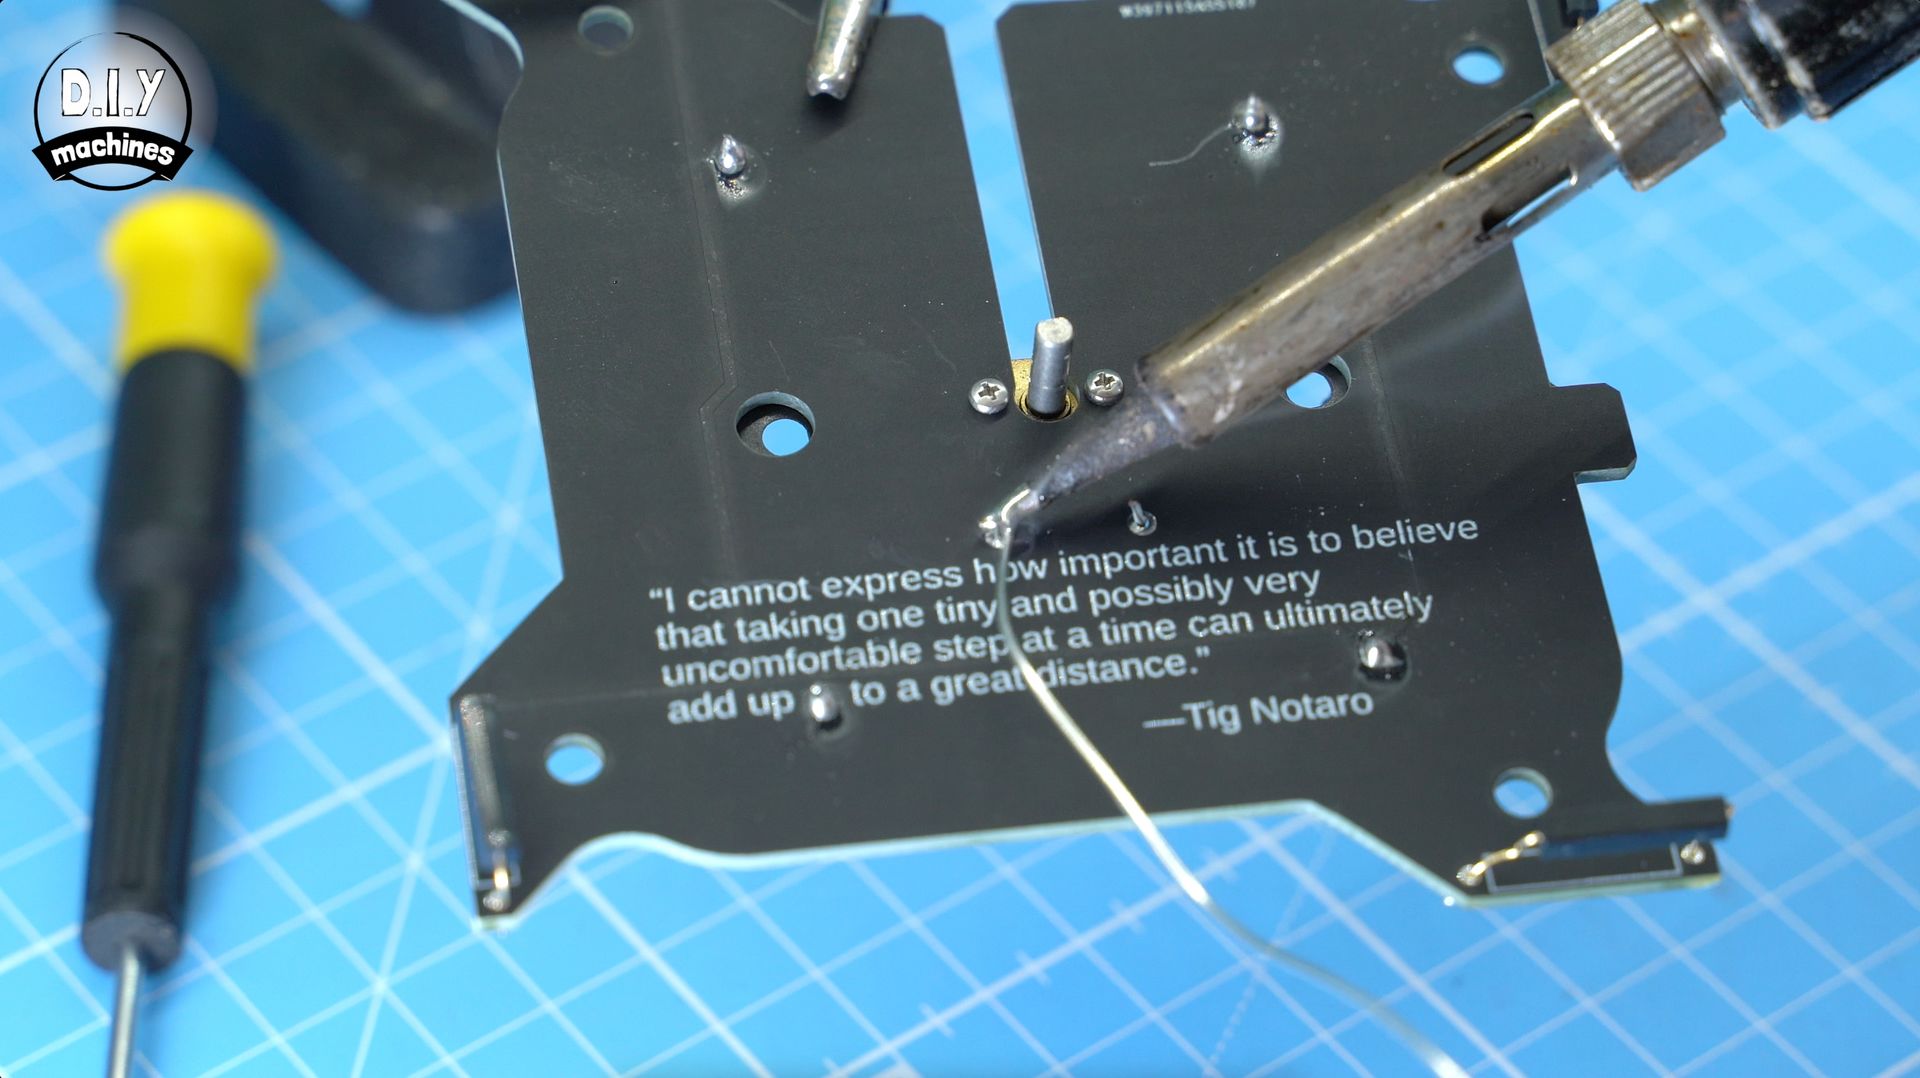
Wiring Diagram:
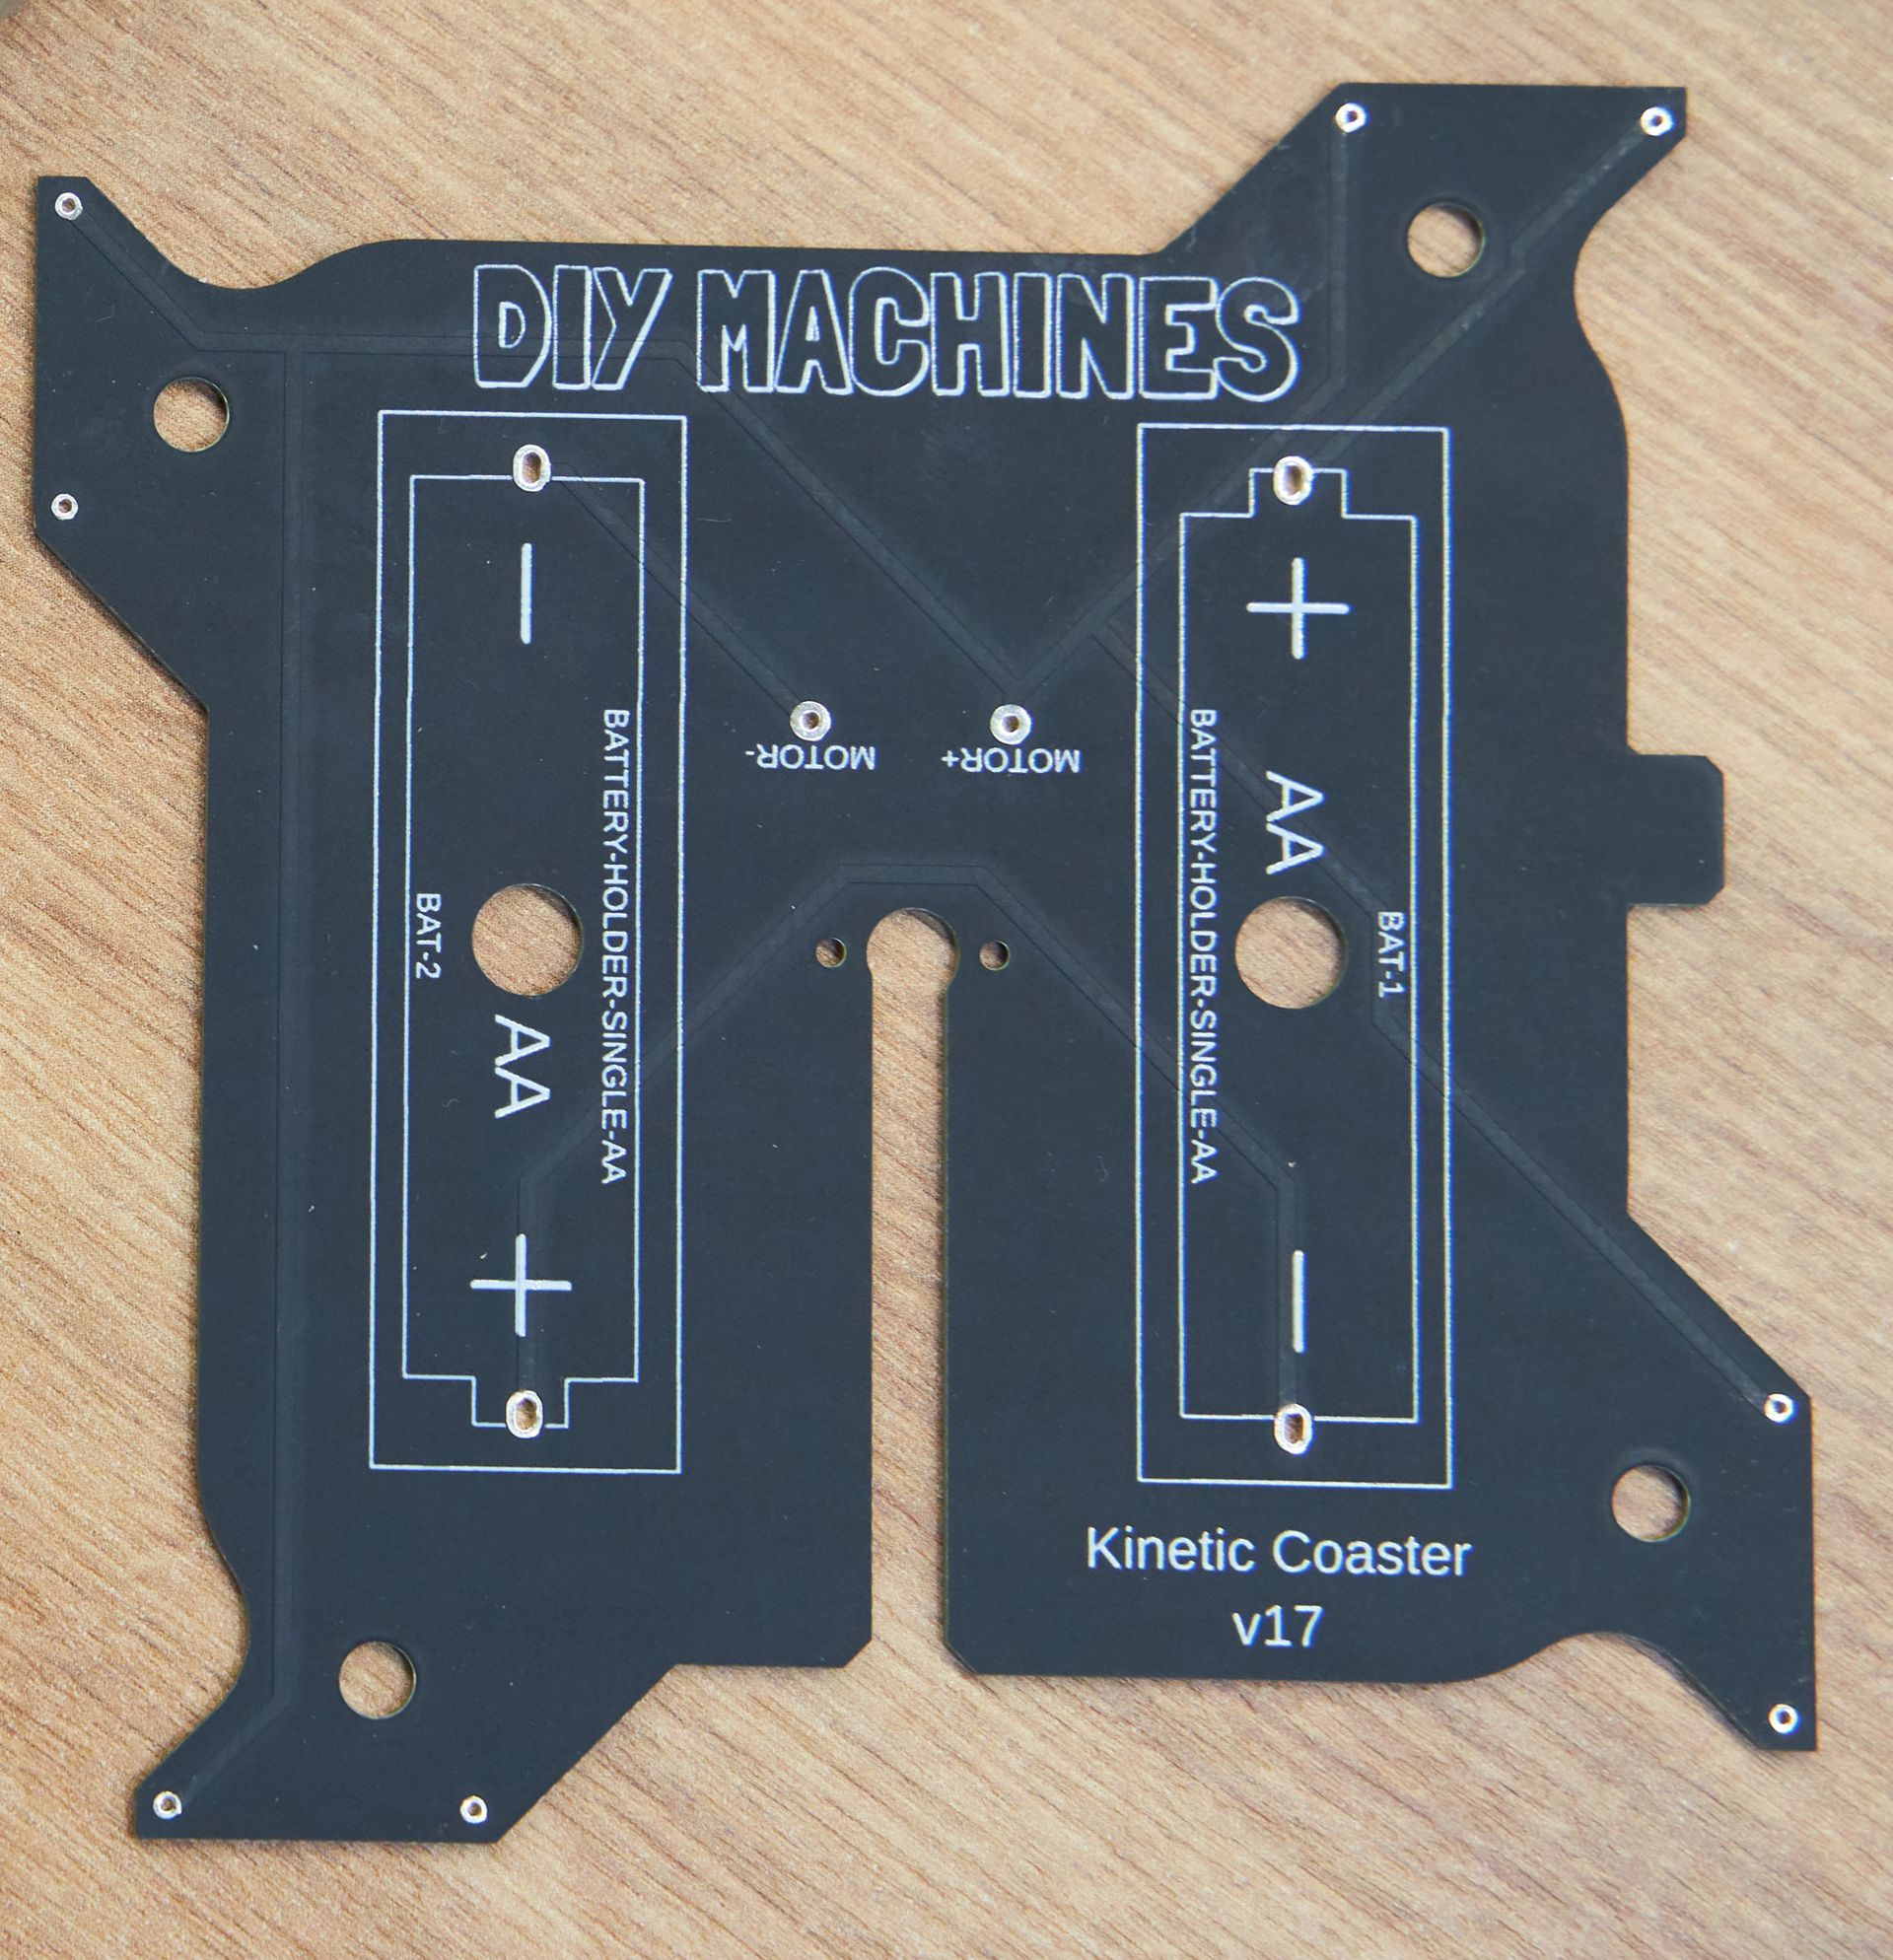
I created a custom PCB (see the adjacent image) which you can order from PCBway or my Etsy store, to help make the assembly of the electronics much easier.
However if you wanted to connect your own circuit the diagram below shows you how everything is connected in my design.
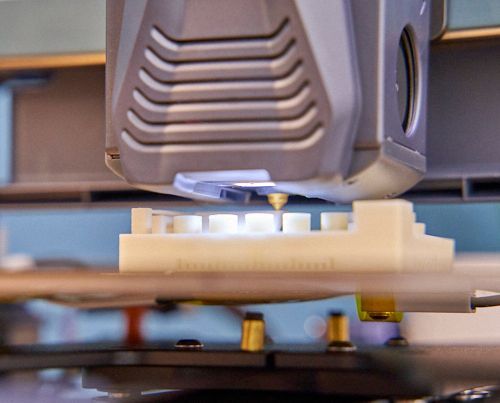
Assembling 3D Printed Coasters
The very first step is to insert magnets. Take a look at this section of the main video in regards to pre-organising your magnets: https://youtu.be/jpQqE1M2NMI?si=U6G2IYq7uAkXstsC&t=632
Then you can arrange the magnets into the holes of the 3D printed base with the following pole arrangement (again take a look at the video linked above - that link will take you straight to the relevant part of the video).
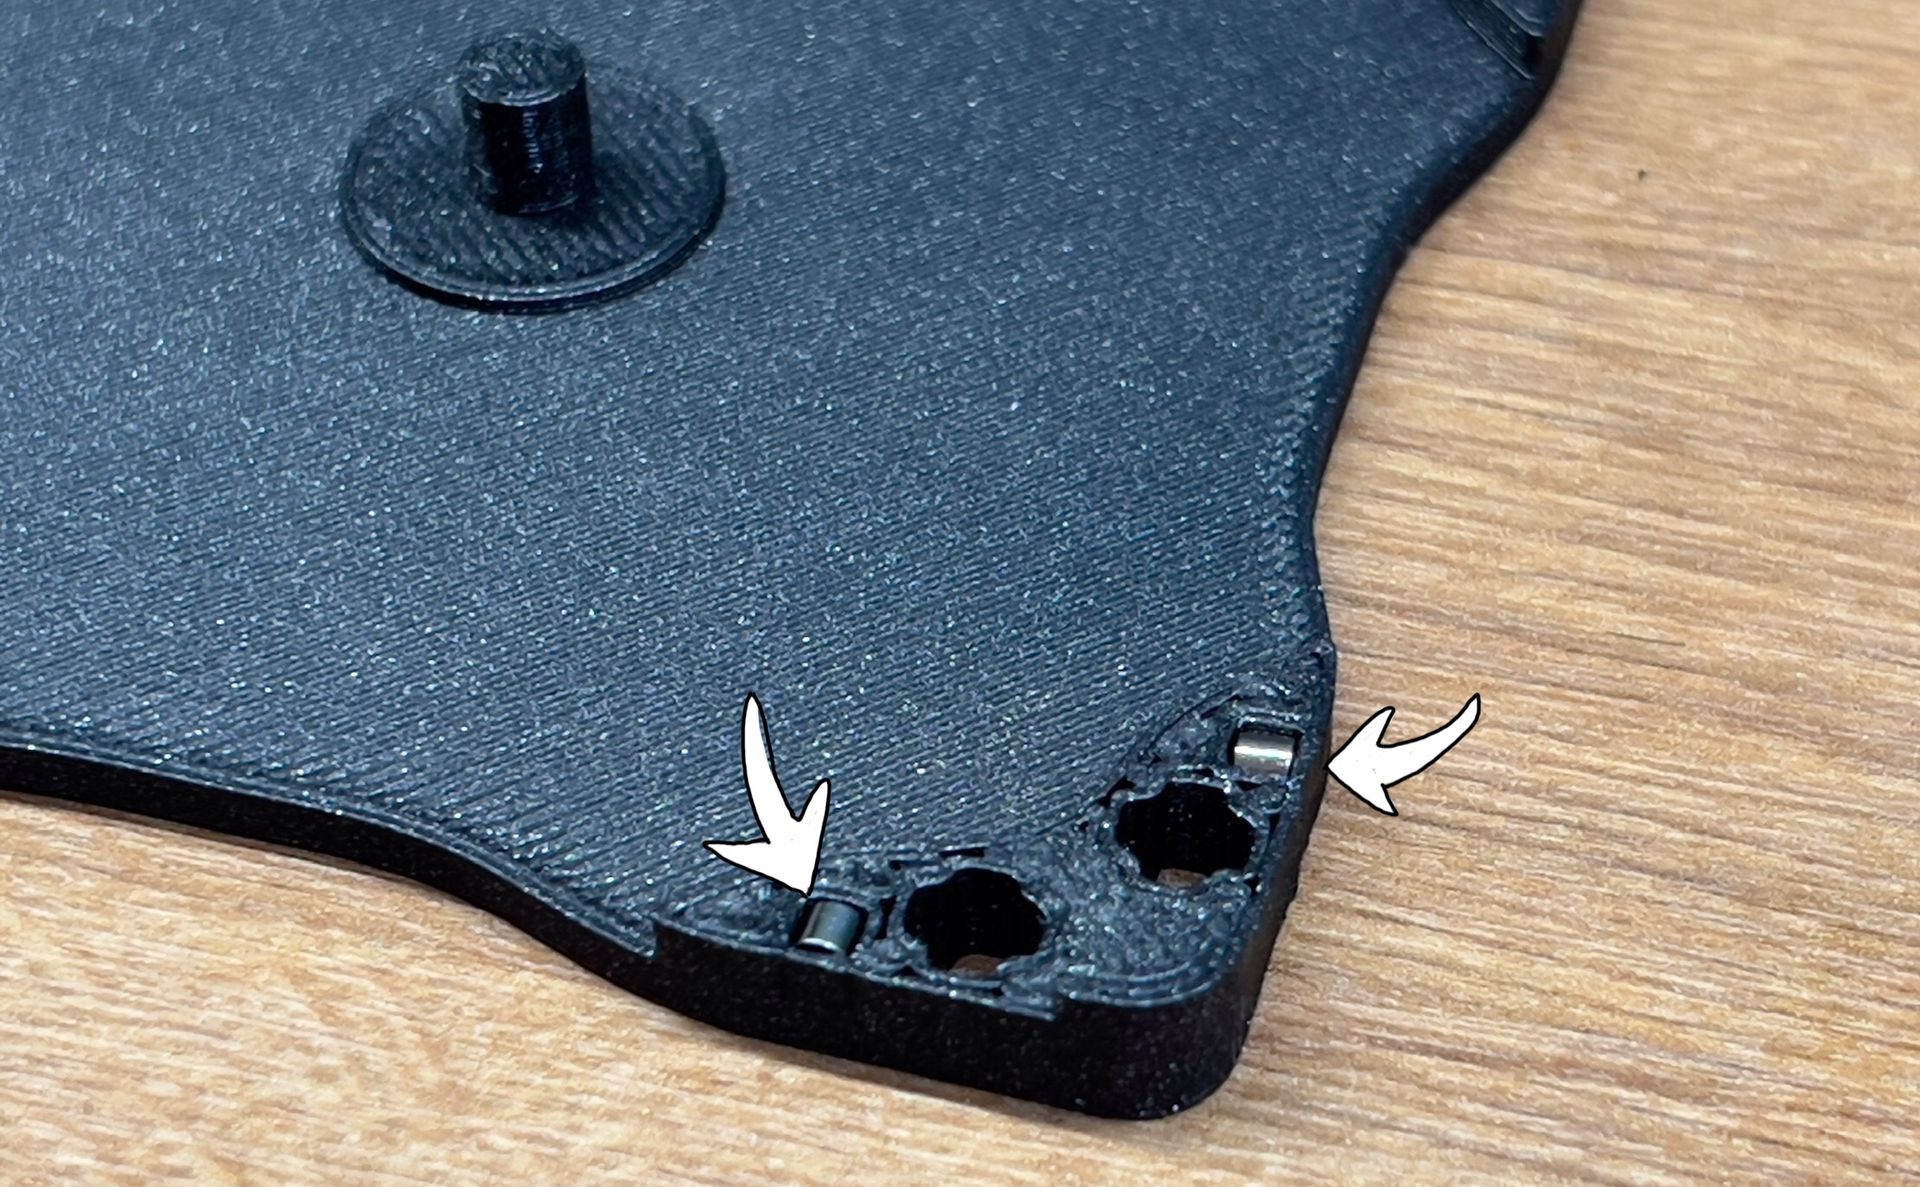
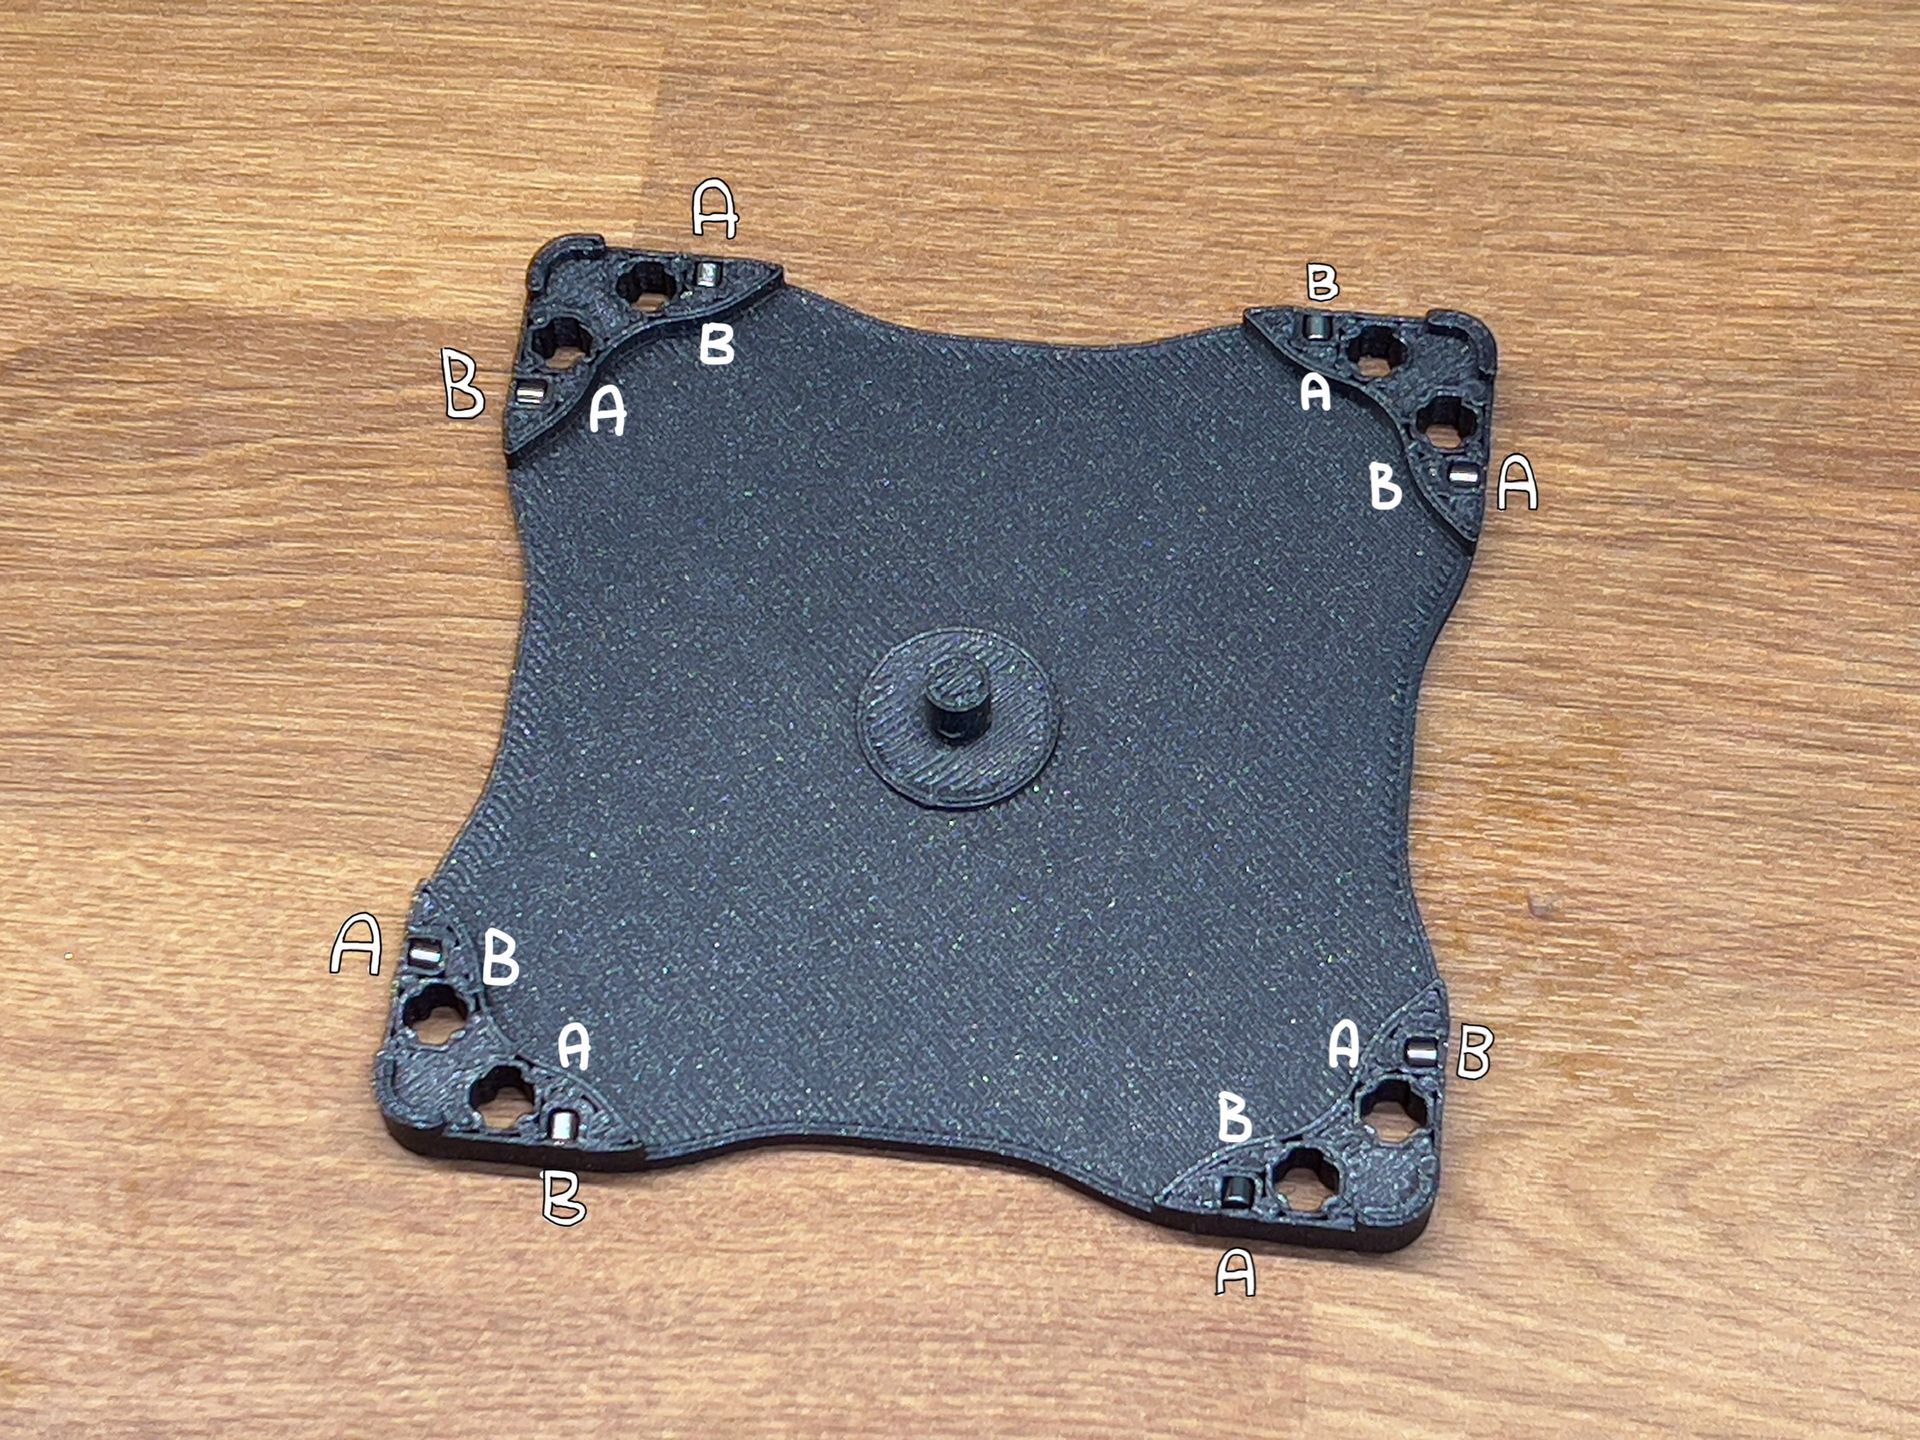
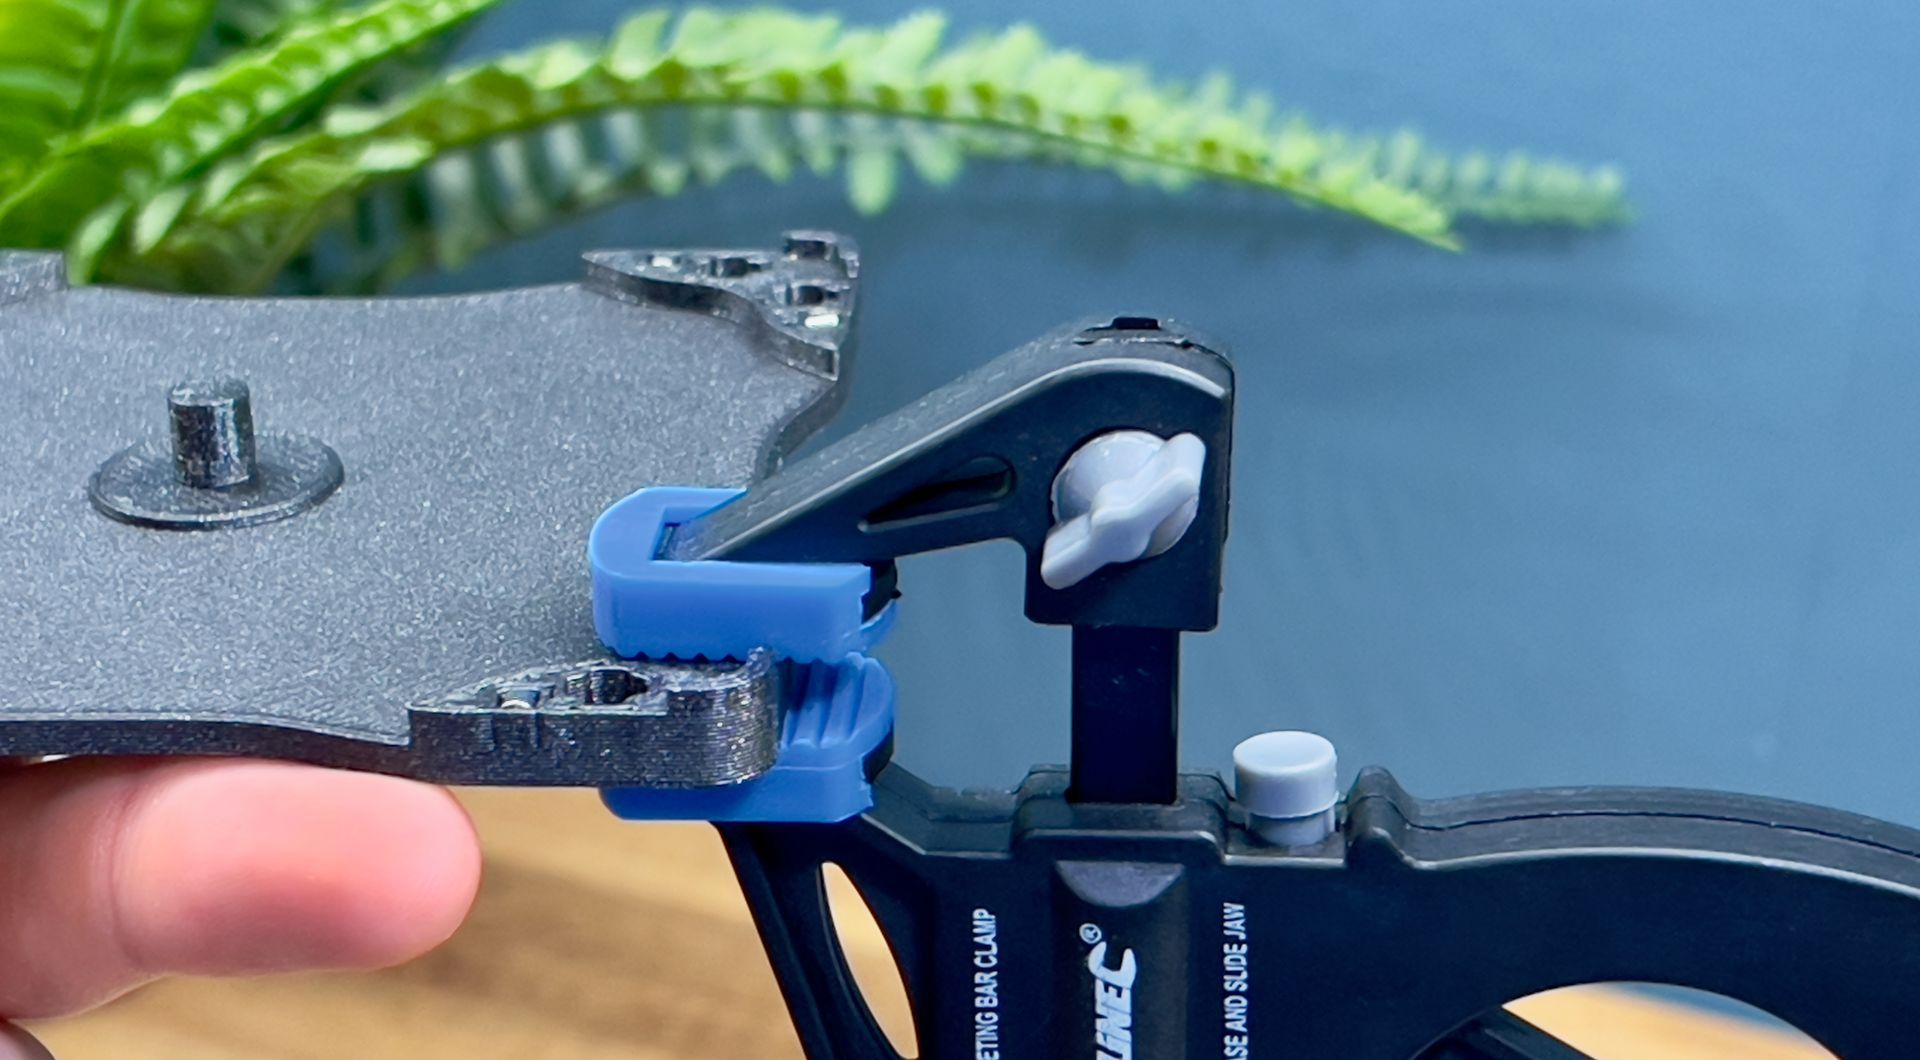
You can use a pair of pliers or a clamp to press fit the magnets into place.
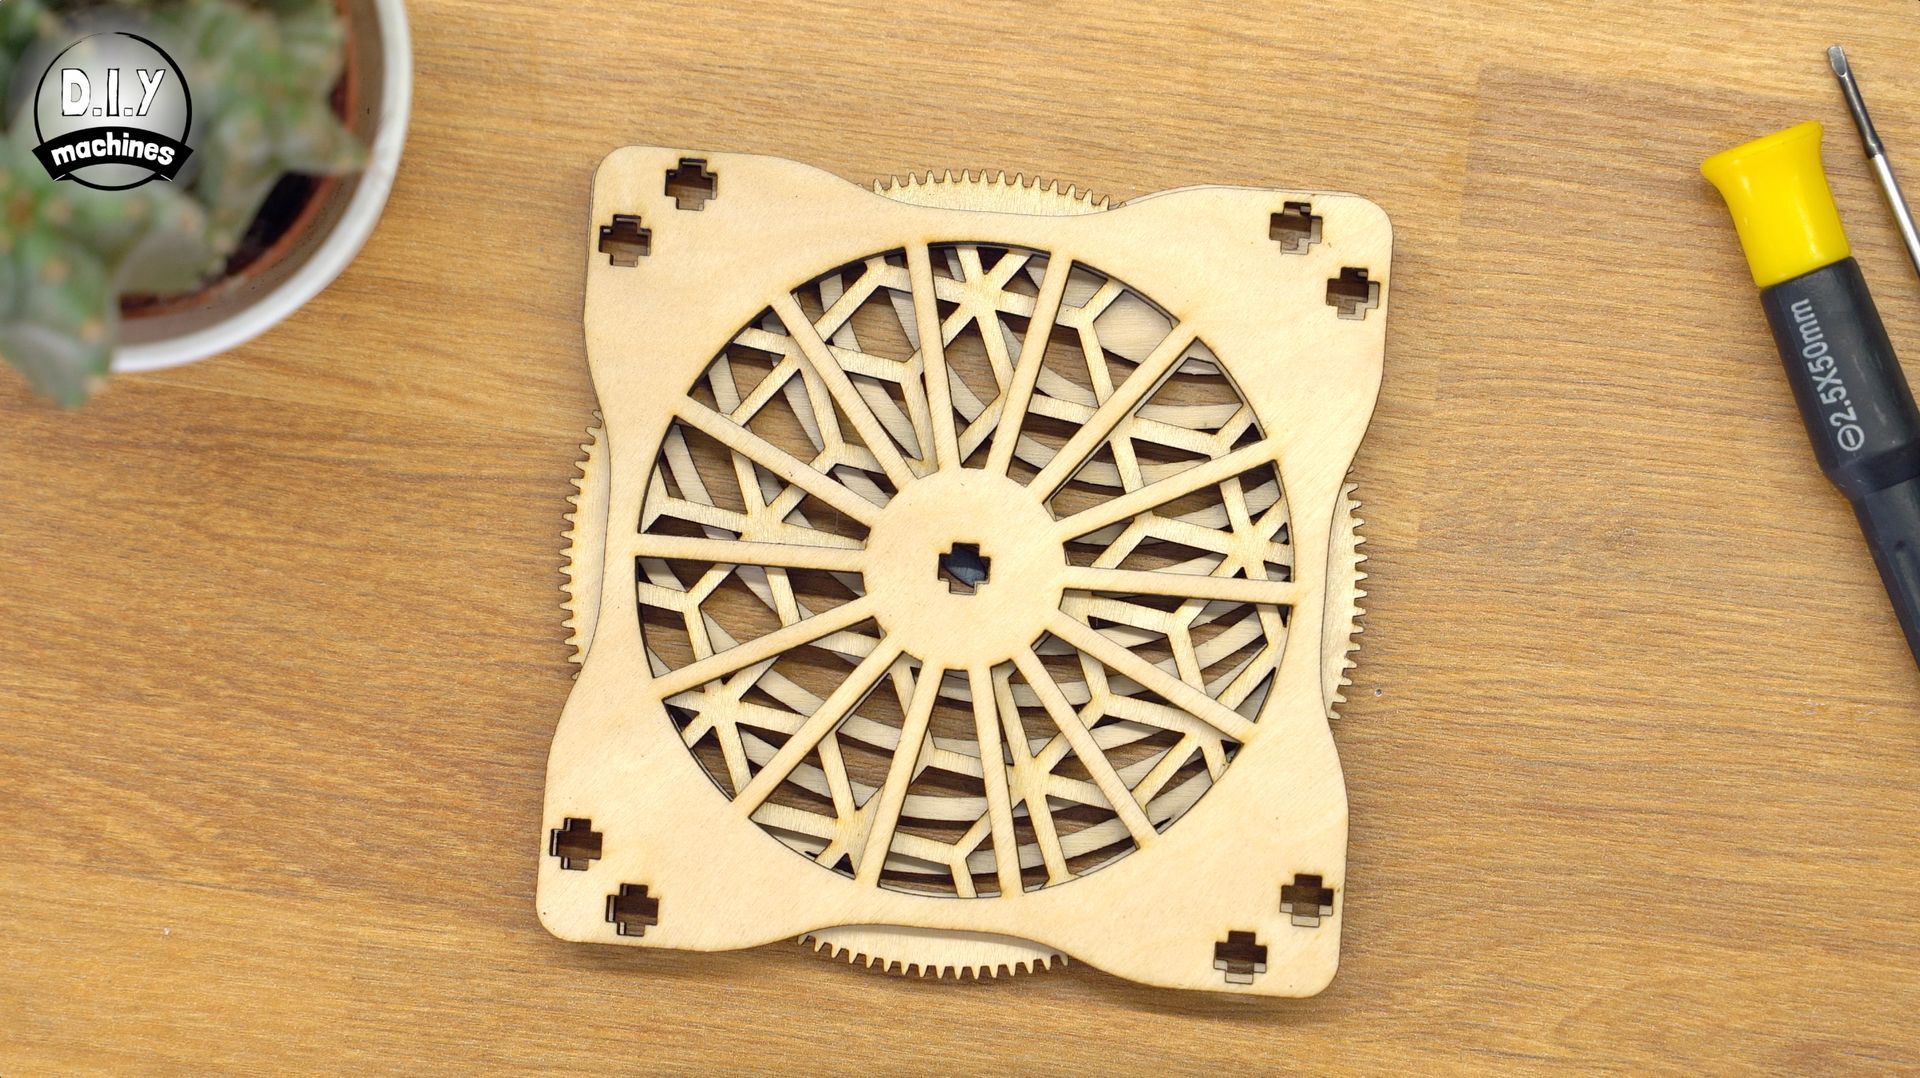
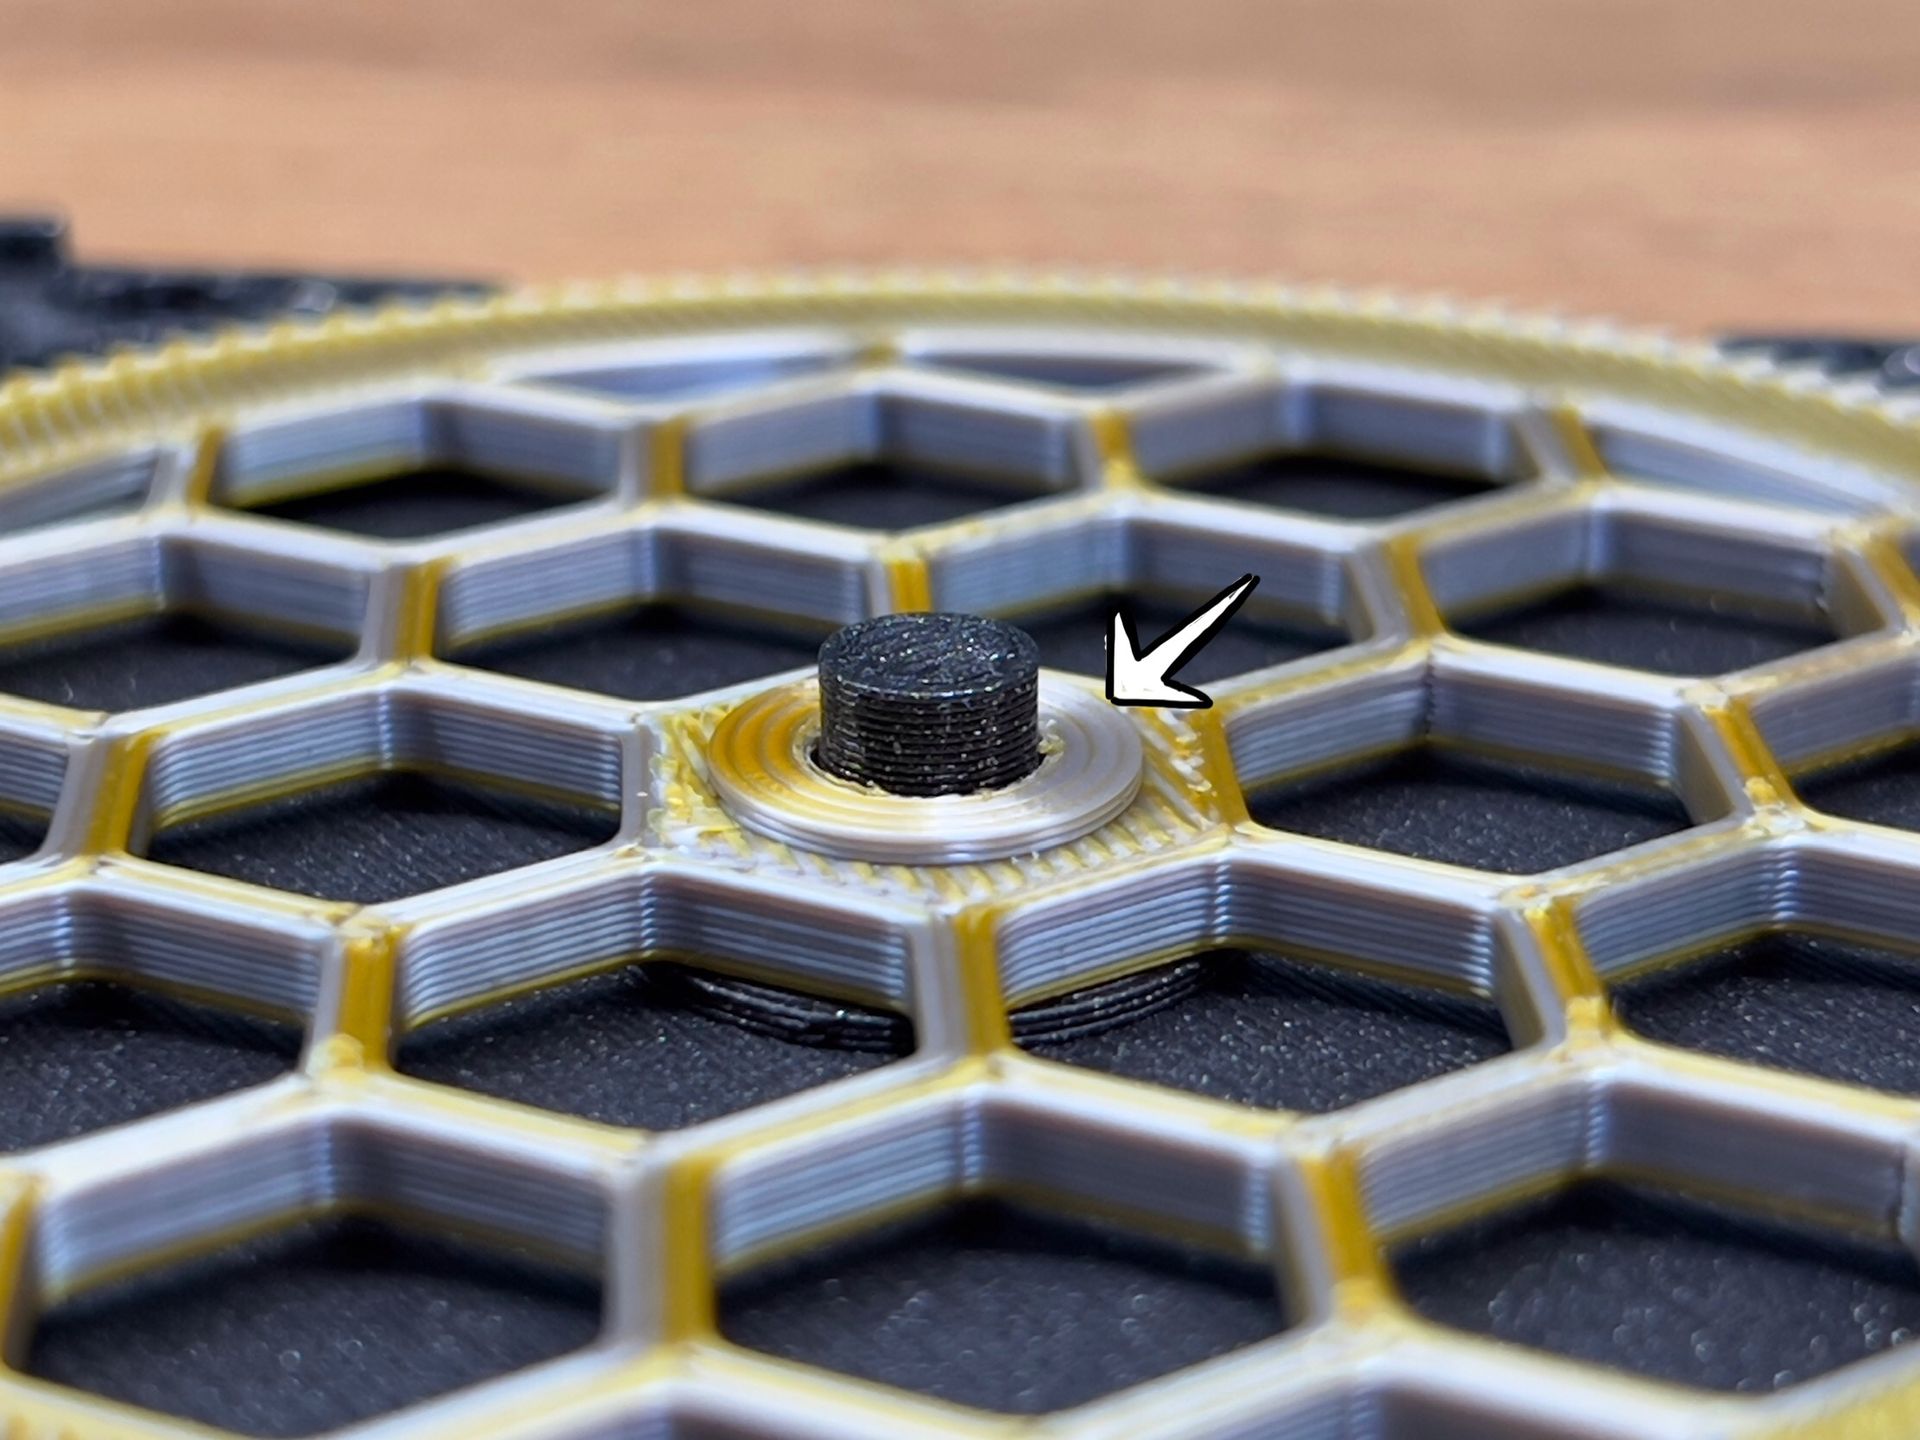
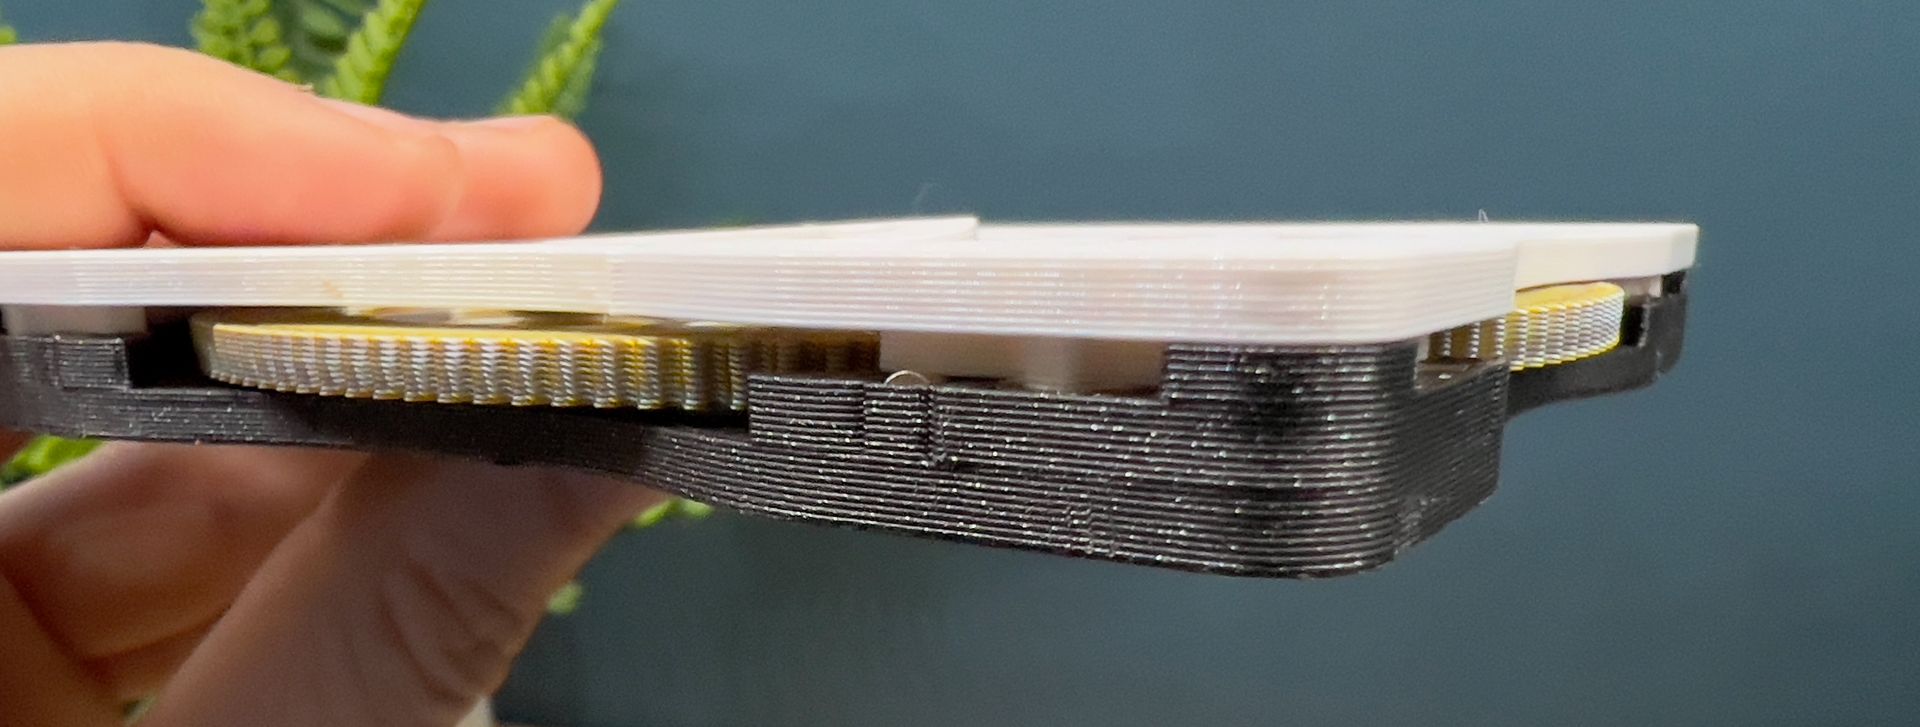
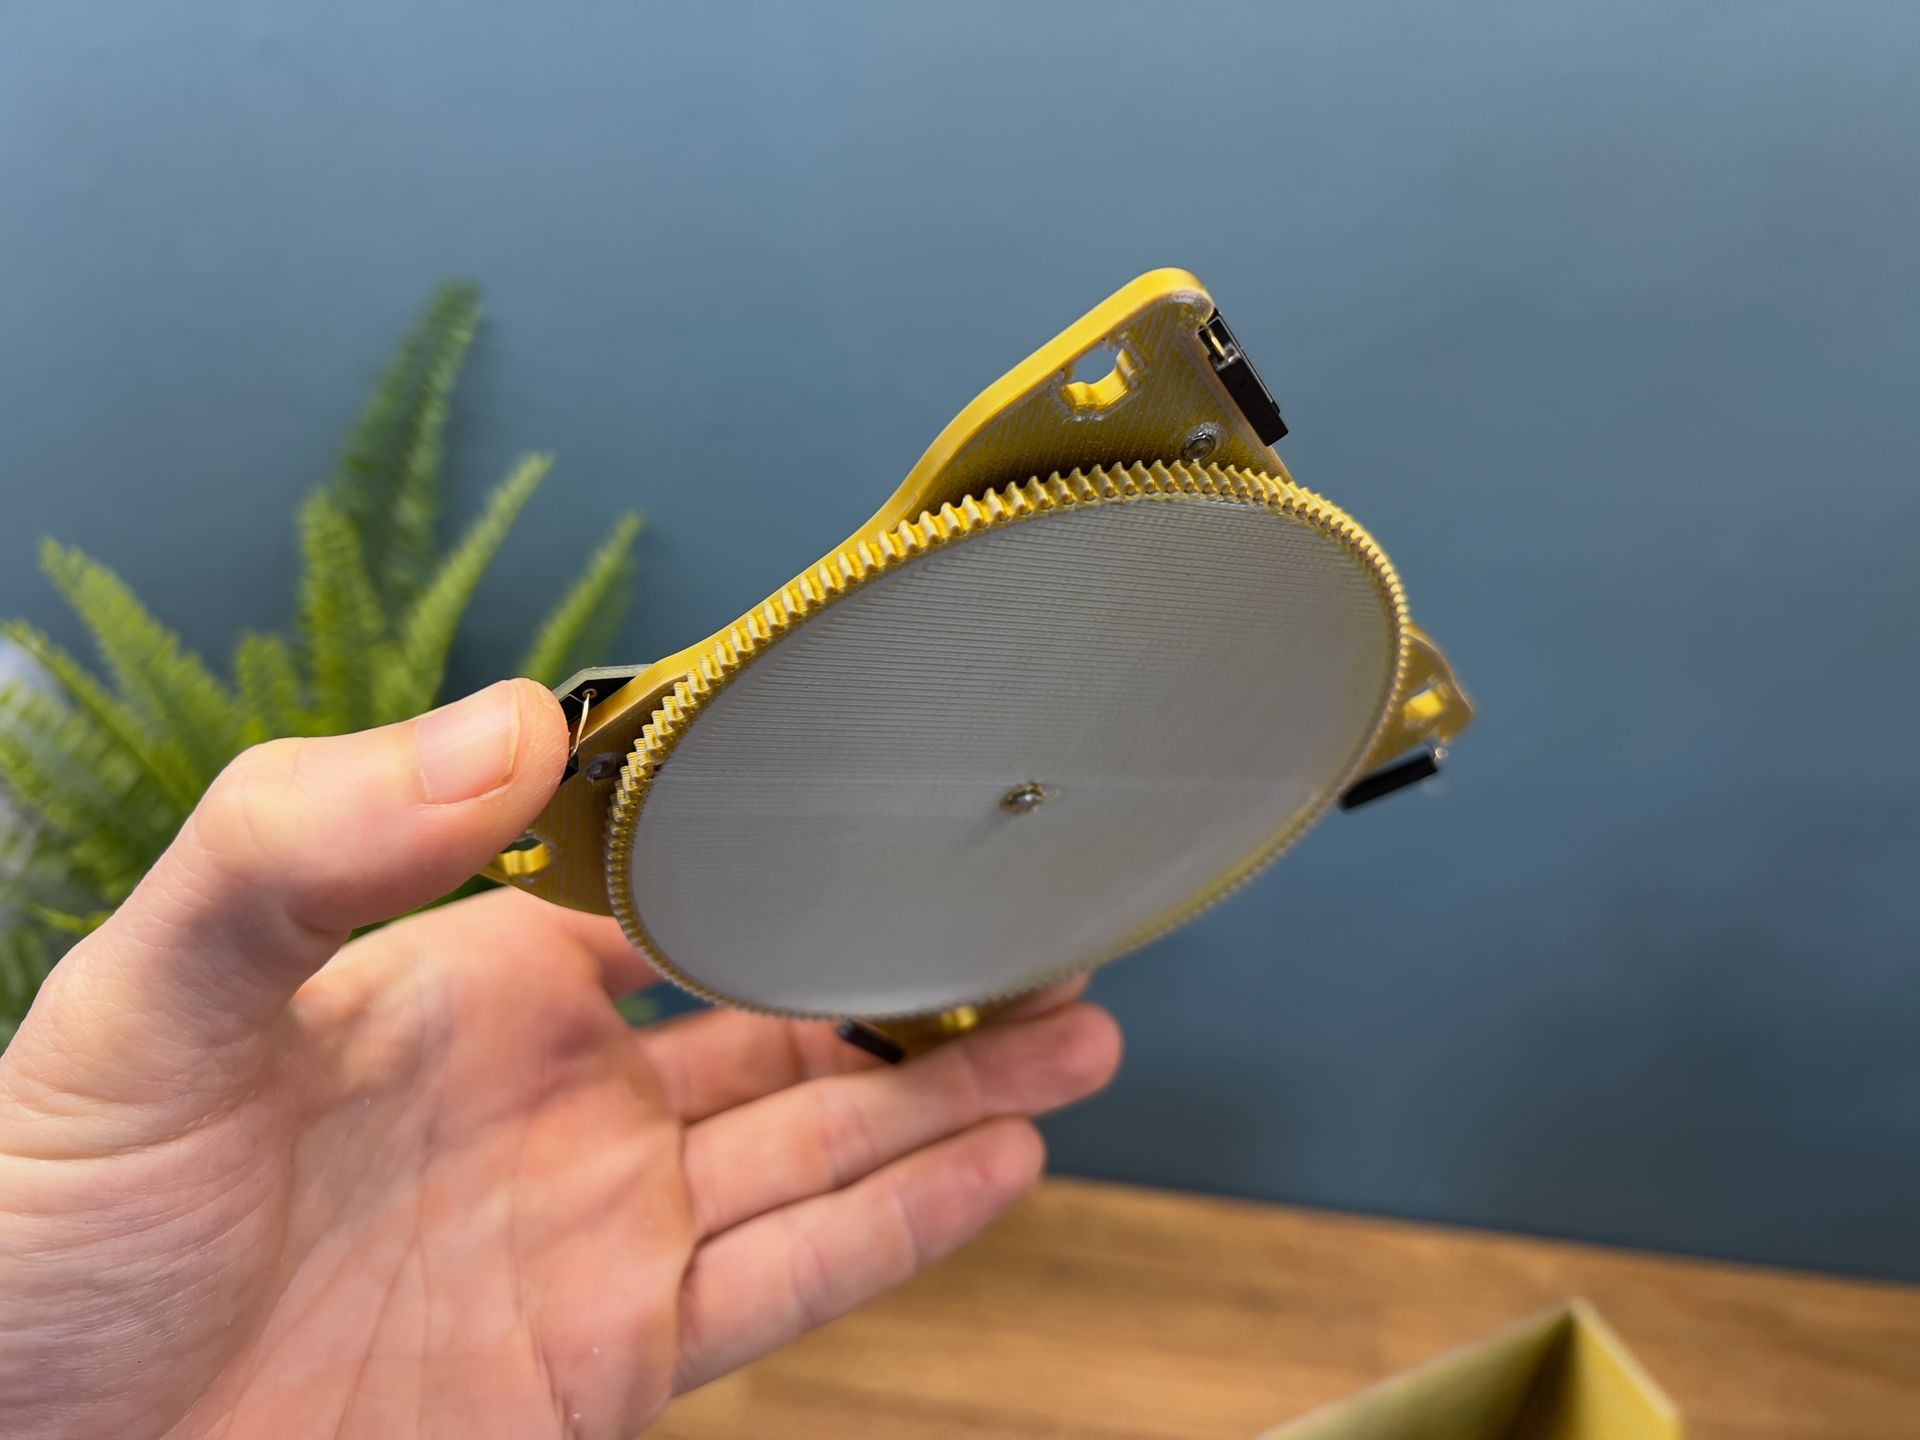
With the magnets in place we can now take the giant cog and place it on the central spindle. The side of the cog with the raised central section (see photos below) should be facing upwards. This helps to keep alignment with neighbouring coasters without creating too much friction by rubbing on the bottom or top pieces of the coaster.
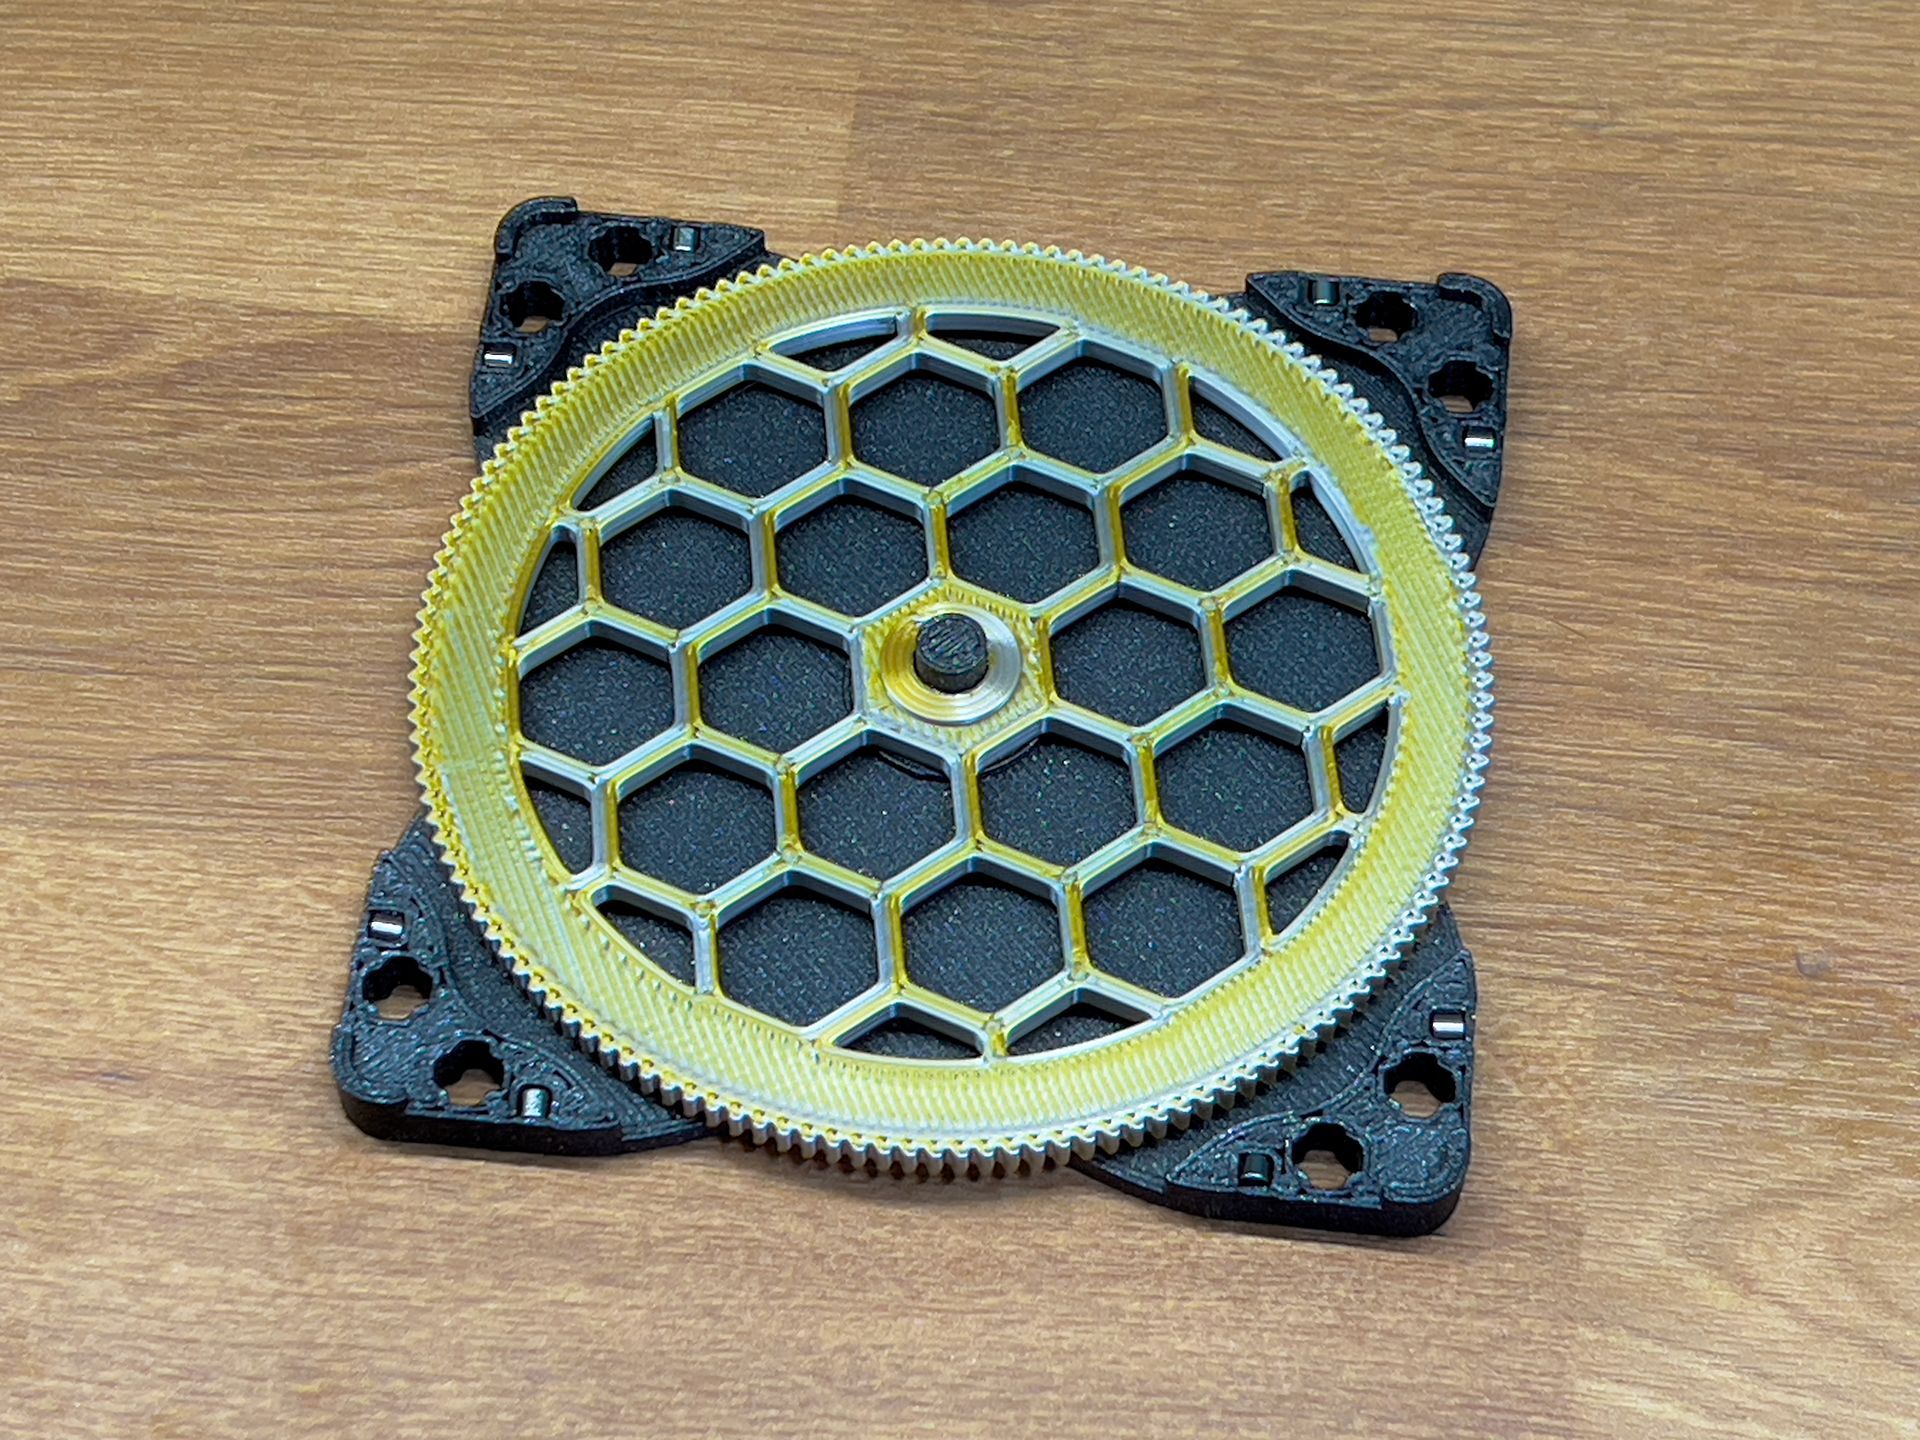
The top piece is then press fitted over both of the lower sections. If the fit between your parts is a little loos you can use some glue to secure them but they have been designed to be press fitted together.
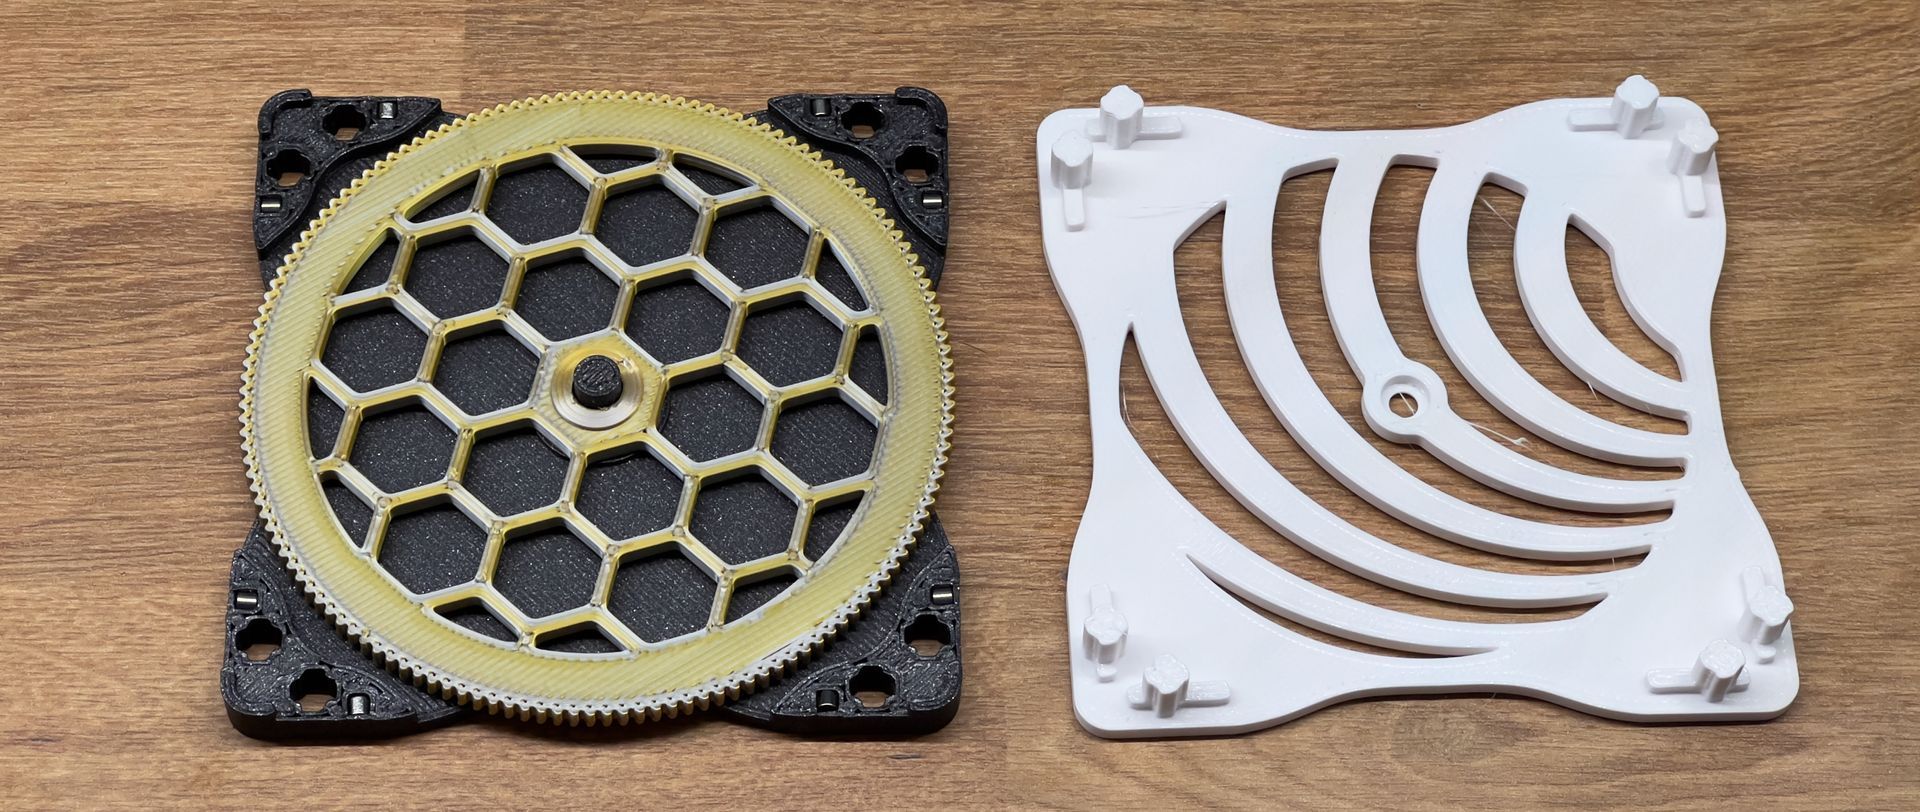
Once assembled your 'sandwich' of 3D printed parts should be stacked up as shown below. This coaster will work with other 3D printed coasters and the 3D Printed Base station (see below). It will also work with any of the laser cut coasters and base station so feel free to mix and match to your hearts content.
Assembling the Smart Storage Base
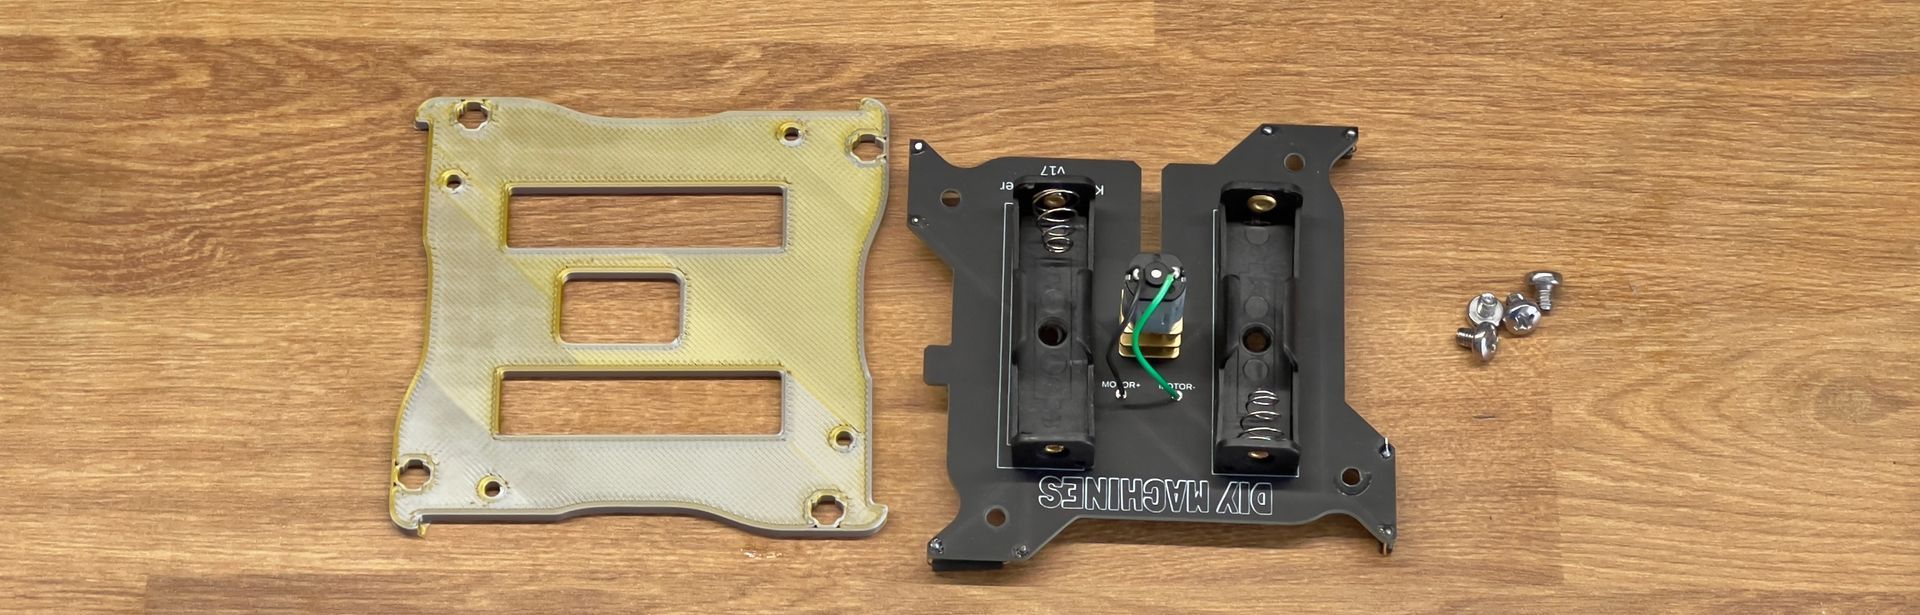
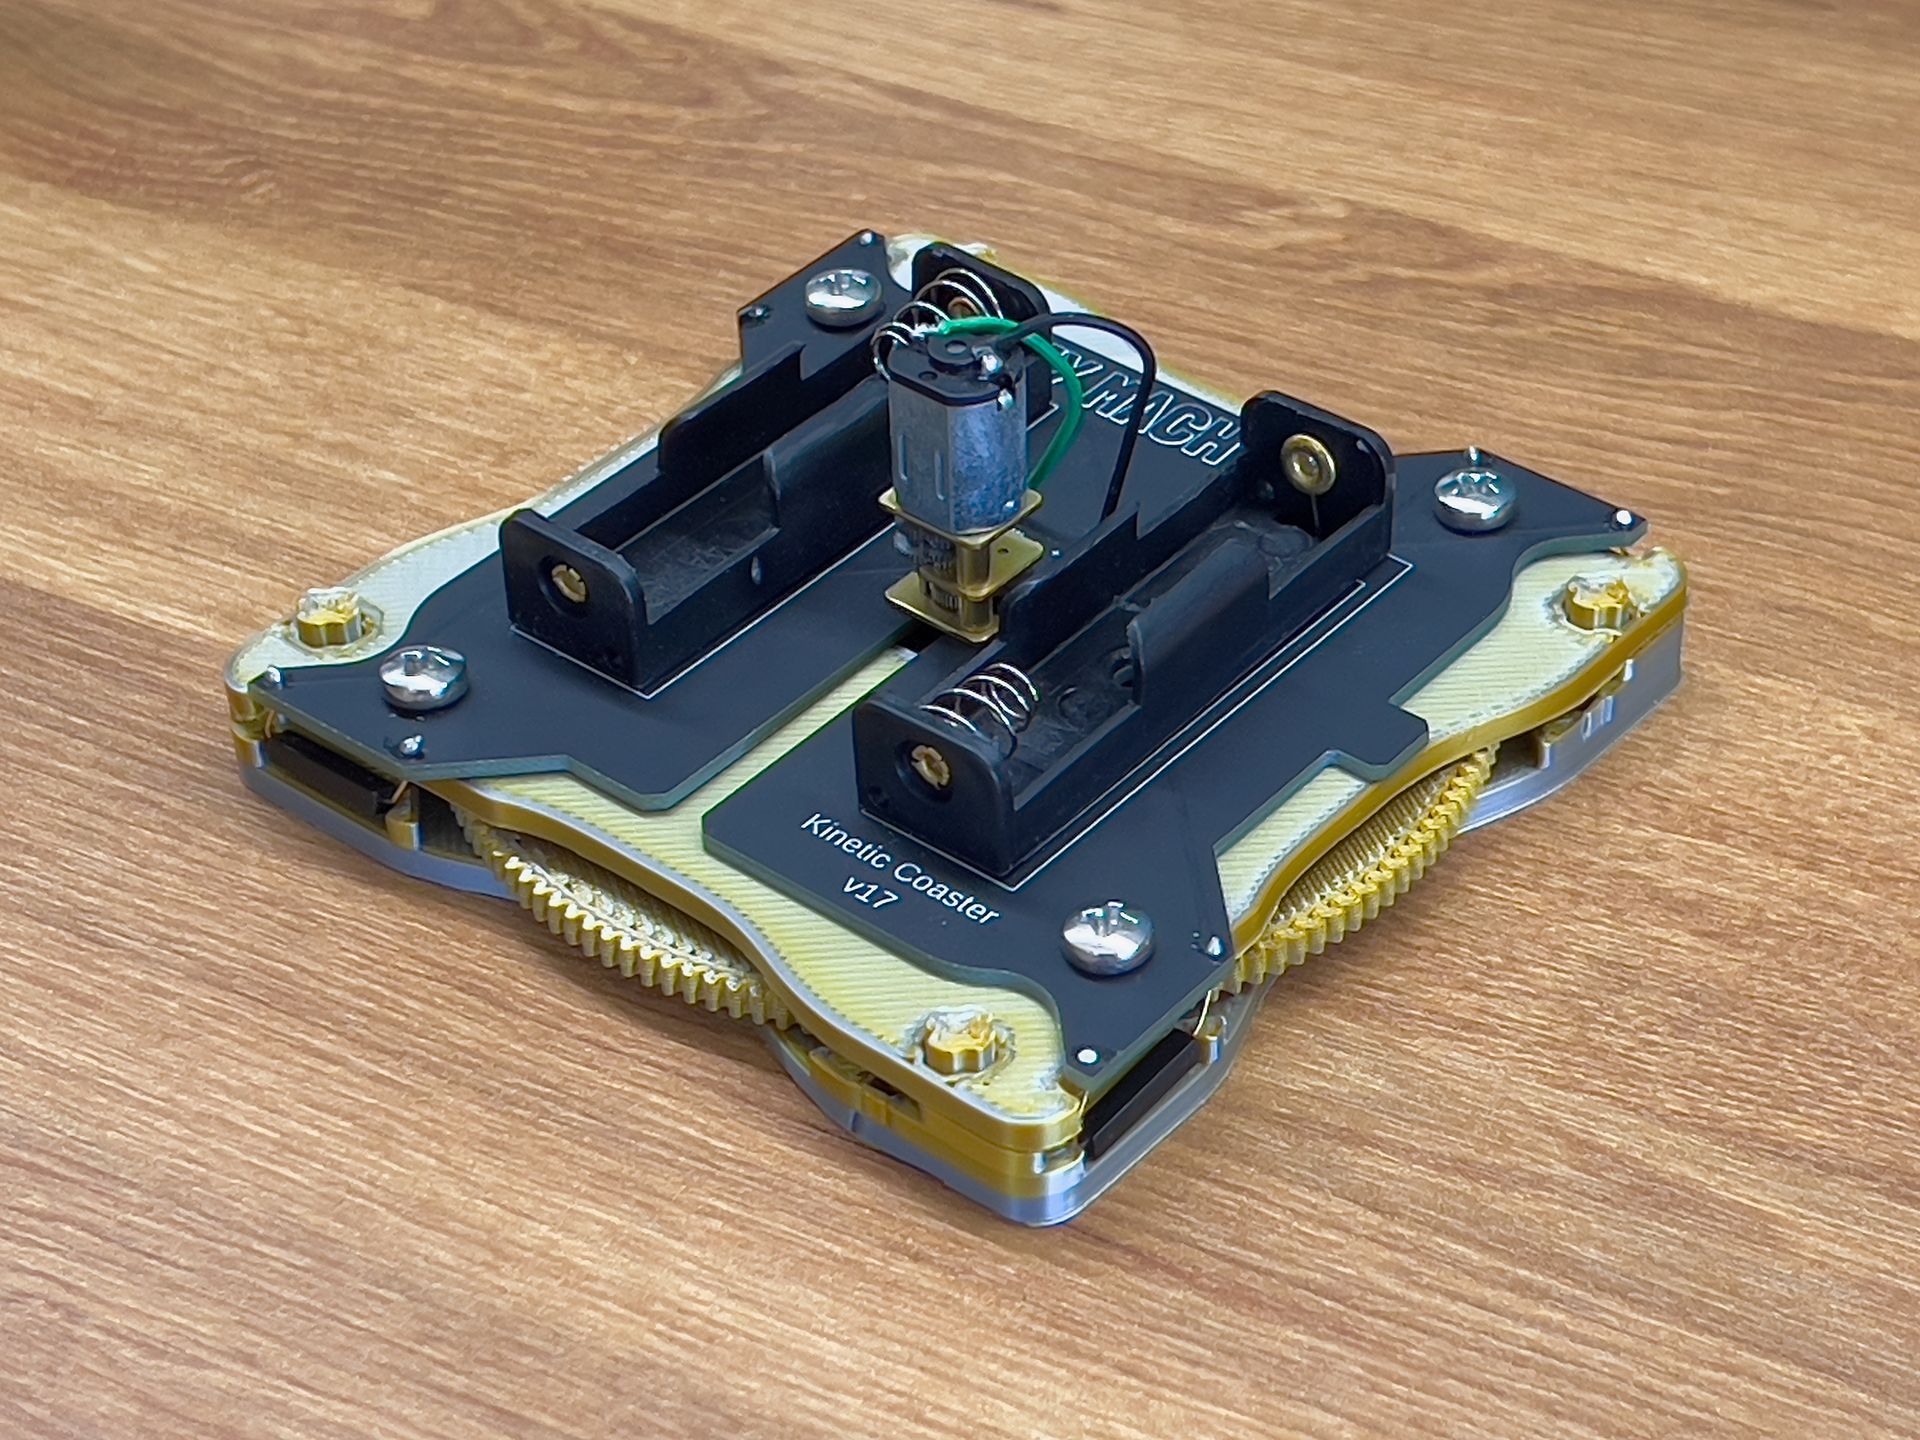
The assembly of the smart storage base's electronics follows the same procedure as shown in the main project video. You'll just find that you have fewer parts as I have managed to combine several laser cut parts into one 3D printed part for a lot of this step.
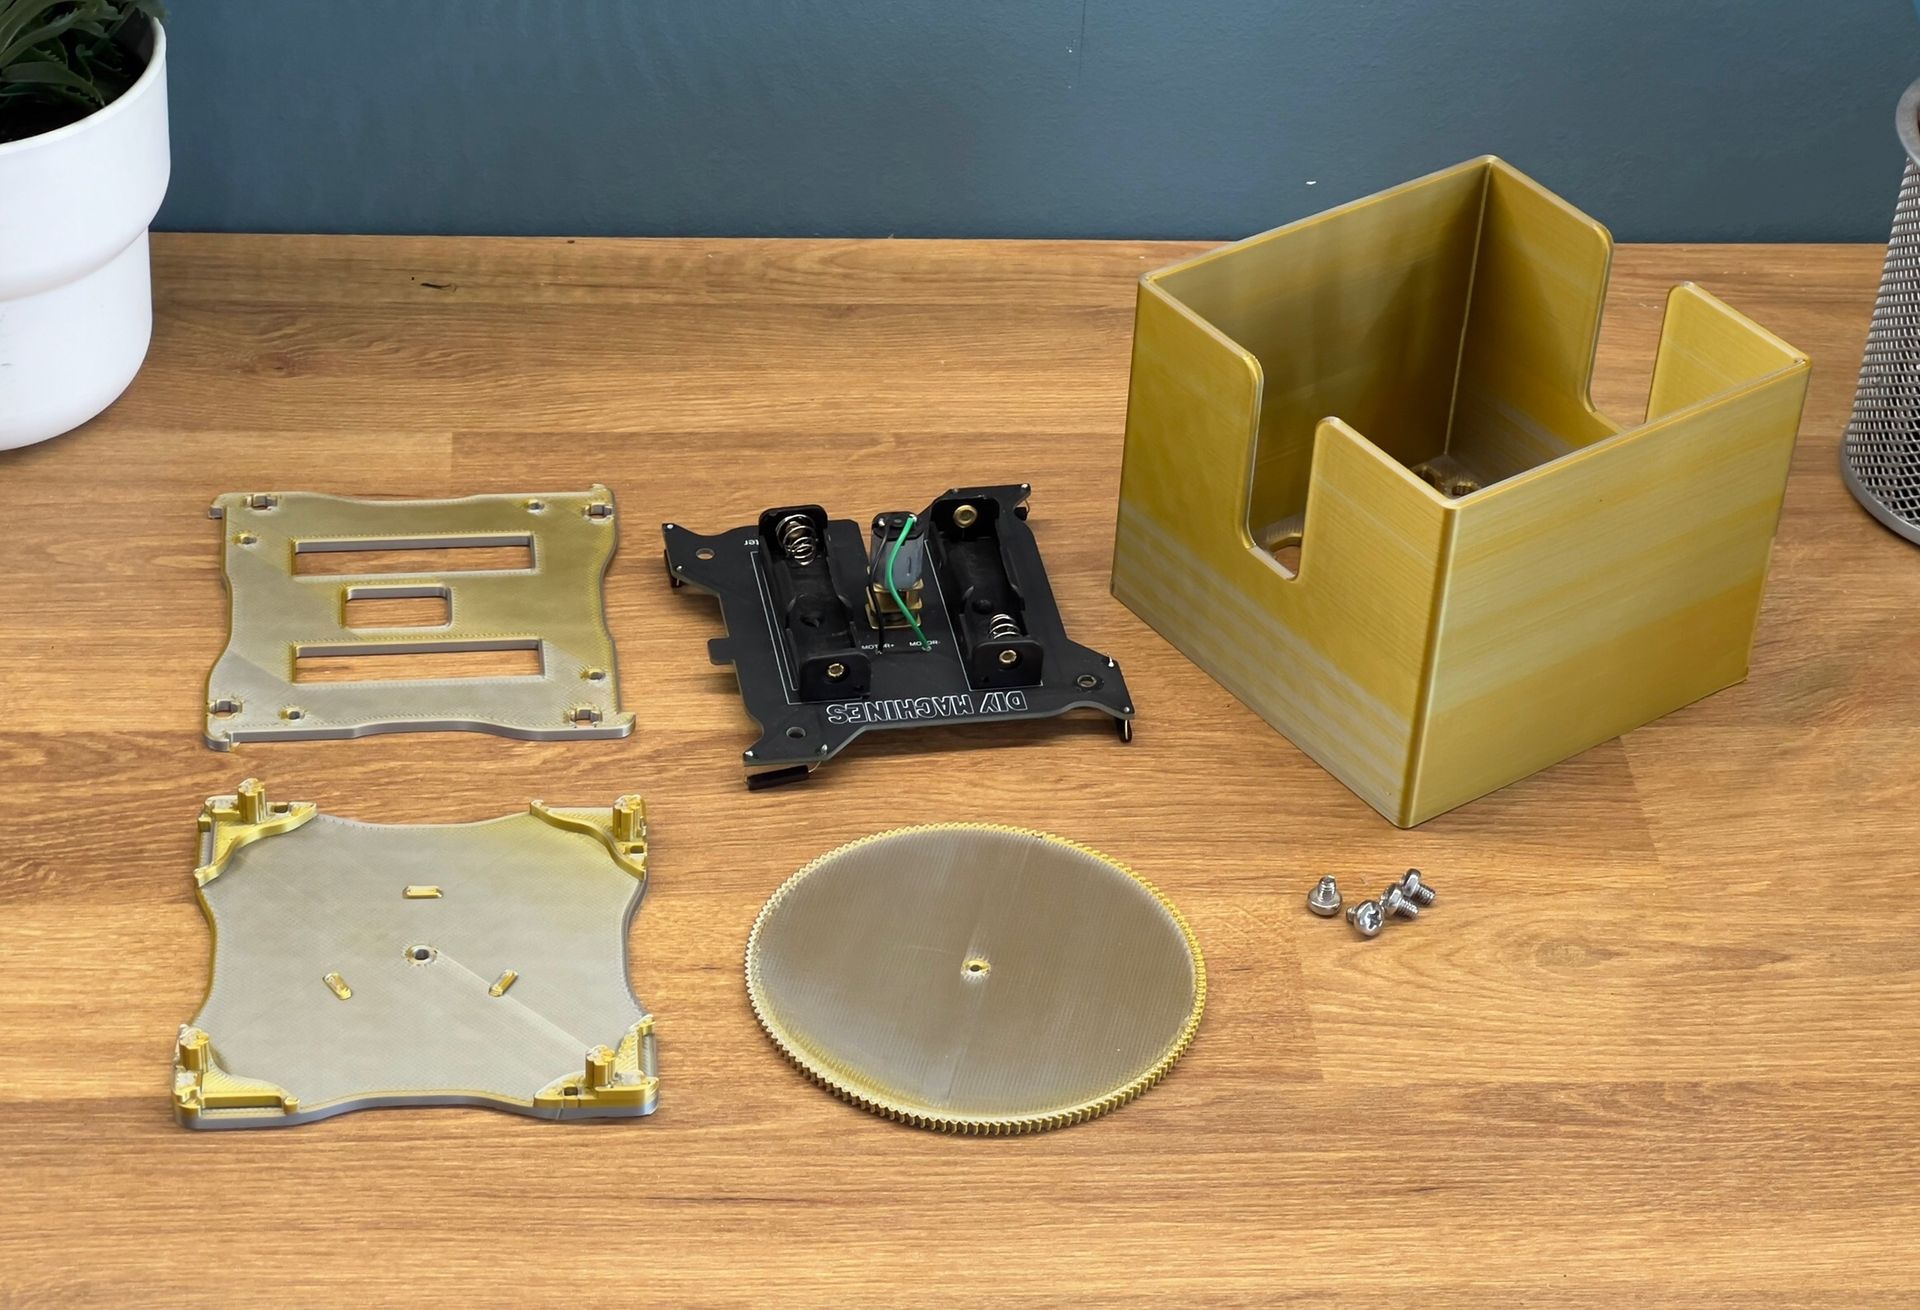
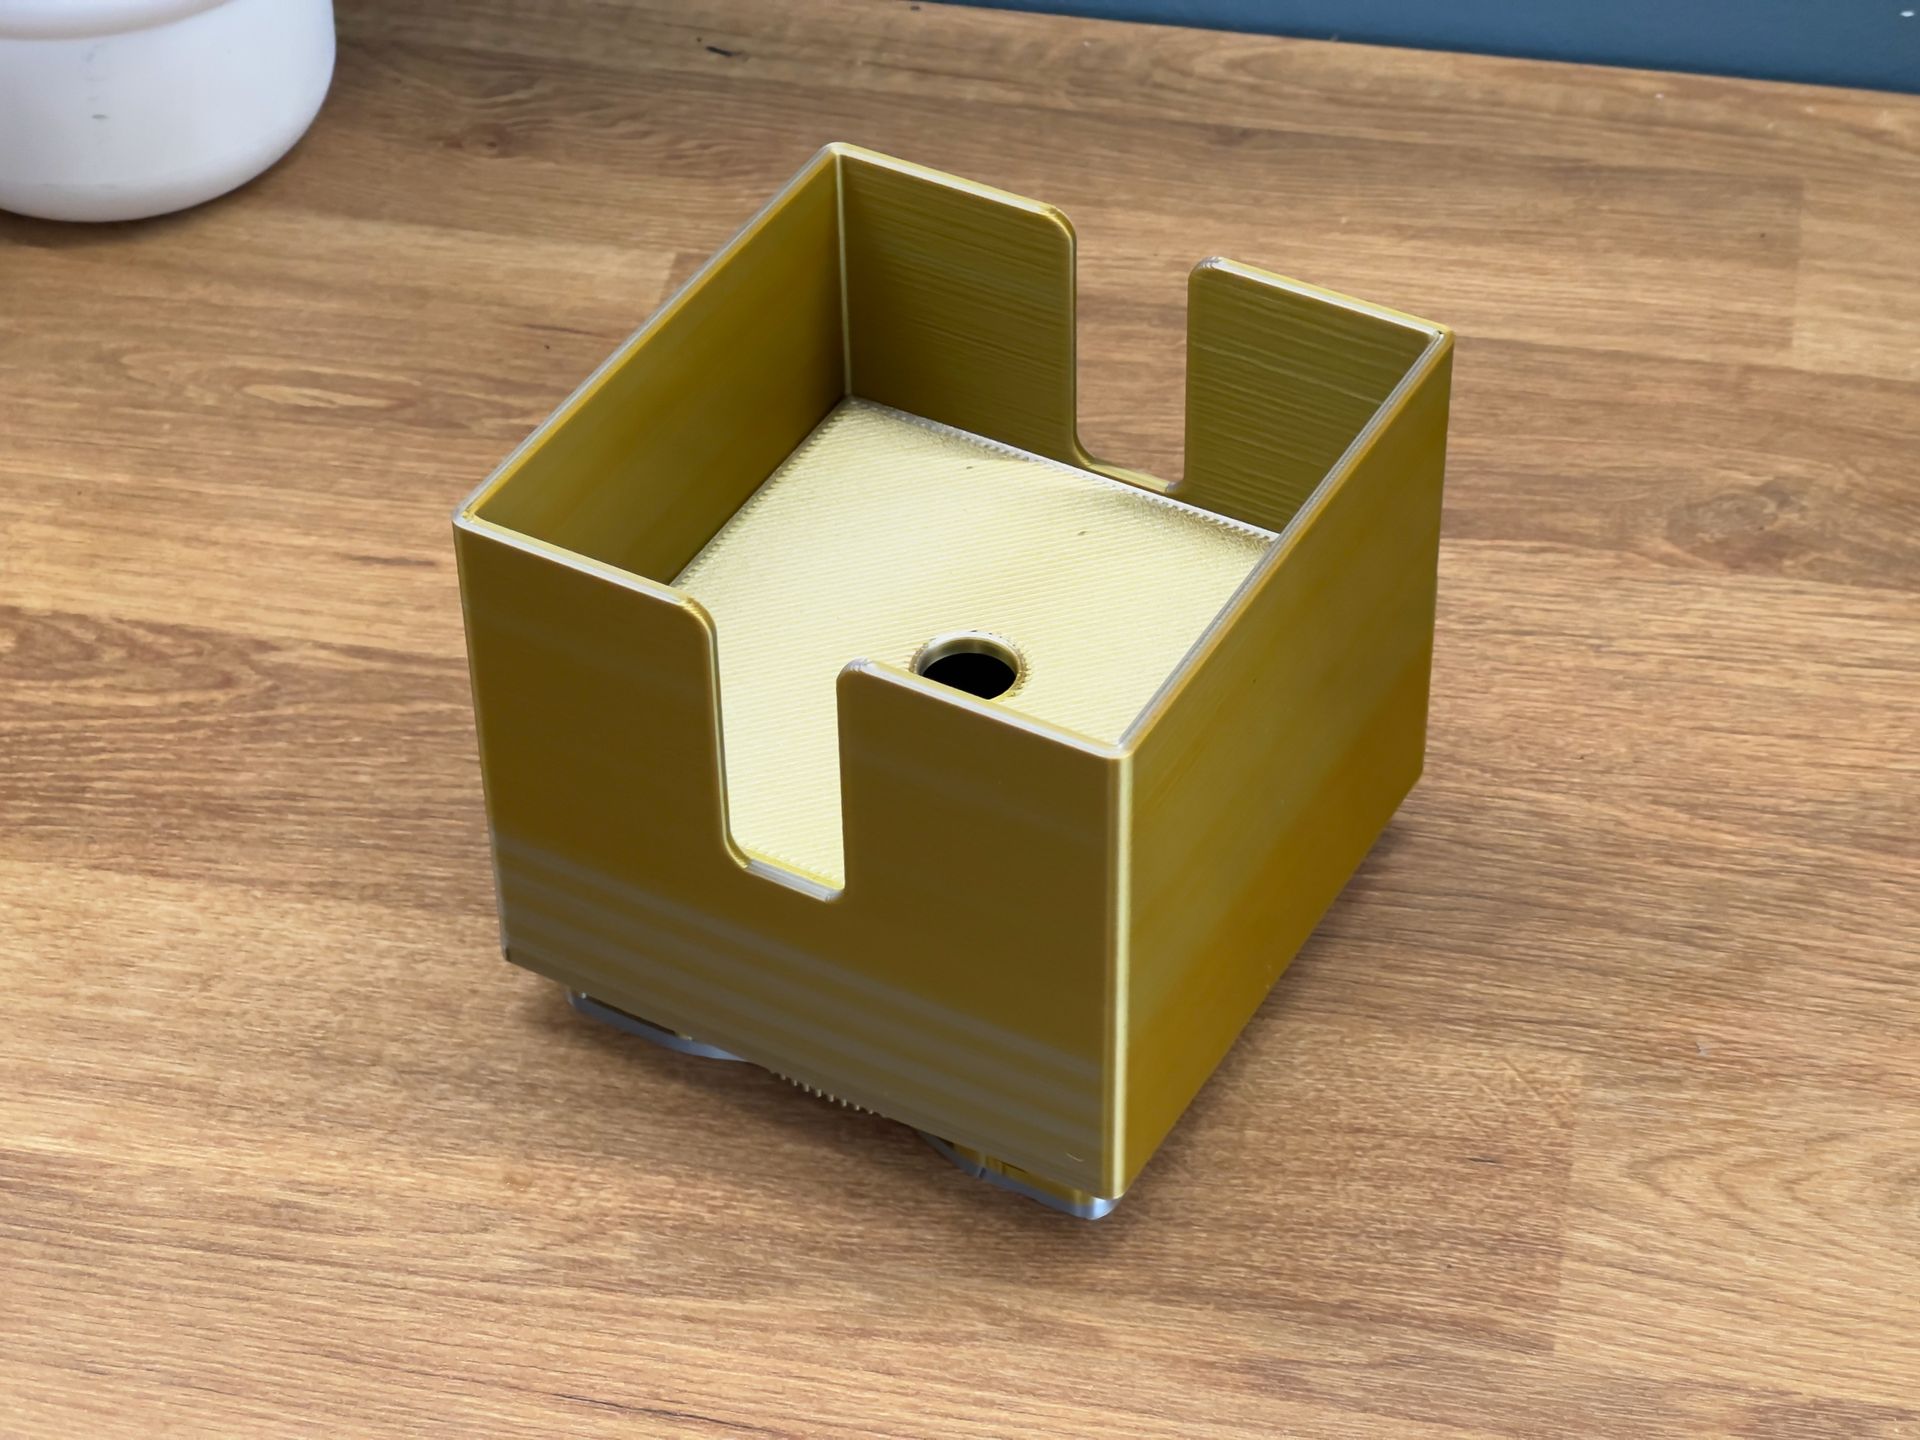
One the electronics have been assembled they can be bolted to the base. The central cutout is designed to allow the motors shaft and the soldered wires to pass through for. flush fit of the PCB itself.
With the PCB attached you can also add the large cog. This should be fitted with a small gap remaining between it and the underside of the 3D print out PCB is mounted to.
This entire sub-assembly is then fitted over the top of the base (after installing magnets in the same pattern as the above coaster - with only the 'B pole outward' magnets being installed).
The holder for the coasters and the base on leg's which covers the electronics are then installed on top of this.
Comments