
Snapmaker 2.0 A350T 3-in-1 Review

Snapmaker 2.0 A350T 3-in-1

A great tool with an impressive ability to change between being a 3D printer, CNC router, or laser engraver/cutter within the confines of a single machines footprint.
Pros:
- Very sturdy construction
- Compact footprint especially as it's three tools in one
- Being able to work with a variety of materials
- Everything including sample materials, tools and software included
Cons:
- It takes a little time and a lot of bolts to switch between modes
- Latest version of Luban (4) is still new and has just a few kinks that need working out
Where to buy:
- Amazon: https://geni.us/Snapmaker2-3in1
- Snapmaker direct:
https://bit.ly/3rDsALq
What is it?
The Snapmaker 2.0 is the second incarnation of the Snapmaker. The original Snapmaker started as a Kickstarter campaign back in 2017 and was quickly backed by more than 5,000 people. Five years later and standing on the success of this, they now produce the Snapmaker 2.0 in three sizes (A150, A250, and A350) along with a growing catalogue of add ons such as the rotary module and a feature rich enclosure, all serving to further augment the machines abilities.
As of late 2021, the Snapmaker 2.0 received a few very welcome and worthwhile upgrades. This includes:
- A much quieter power supply which can very its fan speed depending on load.
- Upgraded motor driver chips to the Trinamic TMC2209 with an emphasis on noise reduction from stepper motors.
- Linear modules now feature a 20mm lead screw (instead of 8mm) resulting in quicker movement thus reducing time to complete a task.
Most of the upgrades focused on making the machine considerably quieter than the stock 2.0. These revised machines are denoted with a 'T' after their names. I.e. A350T / A250T.
Technical Overview
| Printable Materials | PLA, ABS, Wood, Flexible | |
|---|---|---|
| Print volume | 320 x 330 x 350 | |
| Layer height | 50 - 300 microns | |
| Laser Engraving & Cutting | Fabric, Leather, Plywood, Acrylic... | |
| CNC Carving | Walnut, Carbon Fibre Sheet, PCB, Platane Wood, POM.... | |
| Control | 5 Inch Touch Screen | |
| Connectivity | USB memory stick and WiFi |
For a more detailed technical table please see the end of this review.
The build volume of the A350T is 320 x 330 x 350mm, larger than many mainstream 3D printers. Though slower print times can be expected.
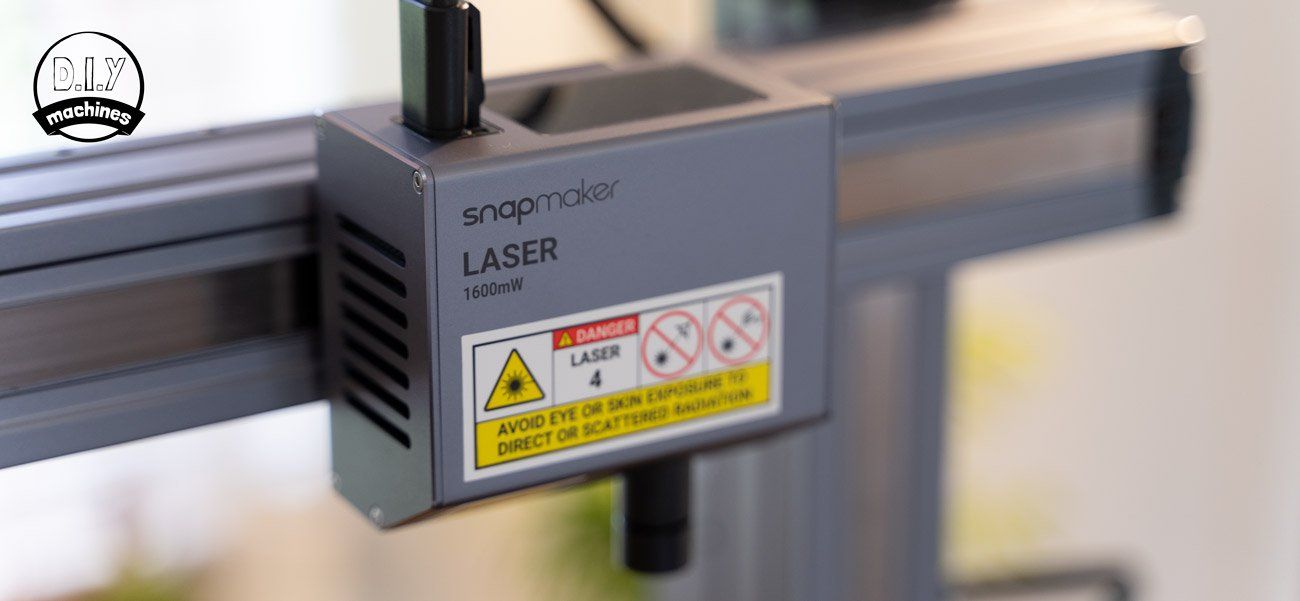
The laser module boasts a 1600mW laser (with a 10W laser optional upgrade recently released) and an integrated camera which provides several useful features which we dive into later, whilst the CNC module now features the more common ER11 collet which is a welcome addition.
This is all controlled either via their own freely available Luban software either over Wifi or the integrated USB port. On device control is through the 5" Smart touchscreen which is powered by Android OS.
We will dive into the each feature in greater detail after looking at the setup process next.
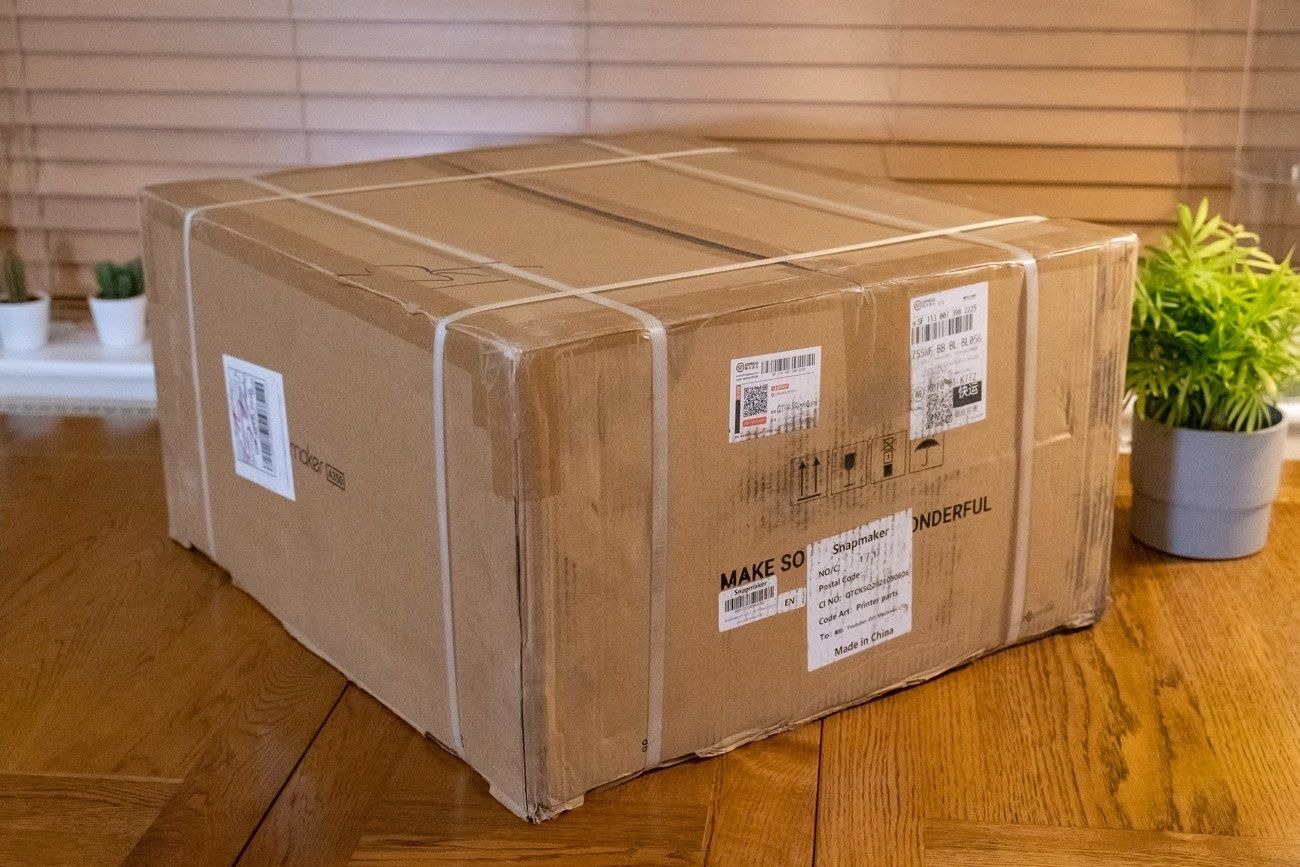
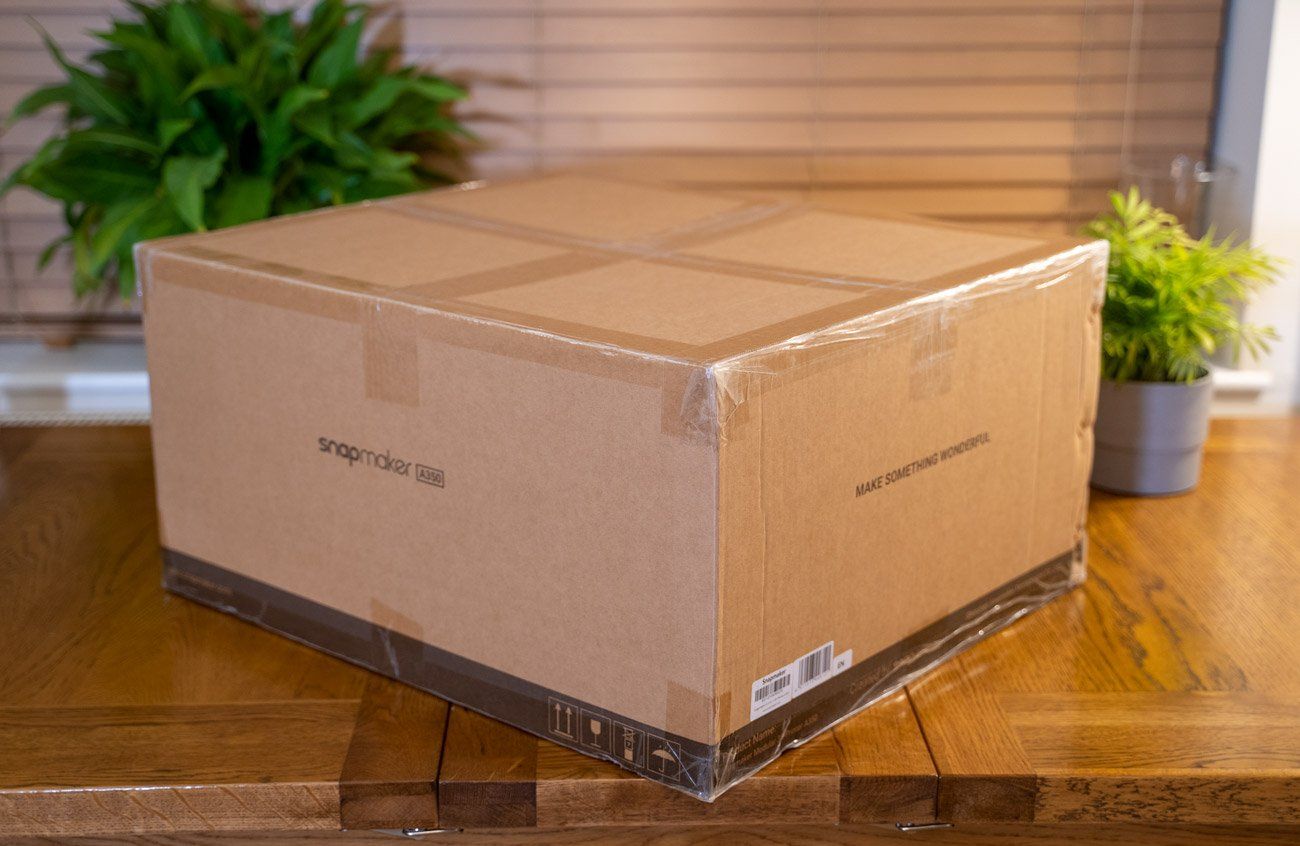
Shipping and Packing
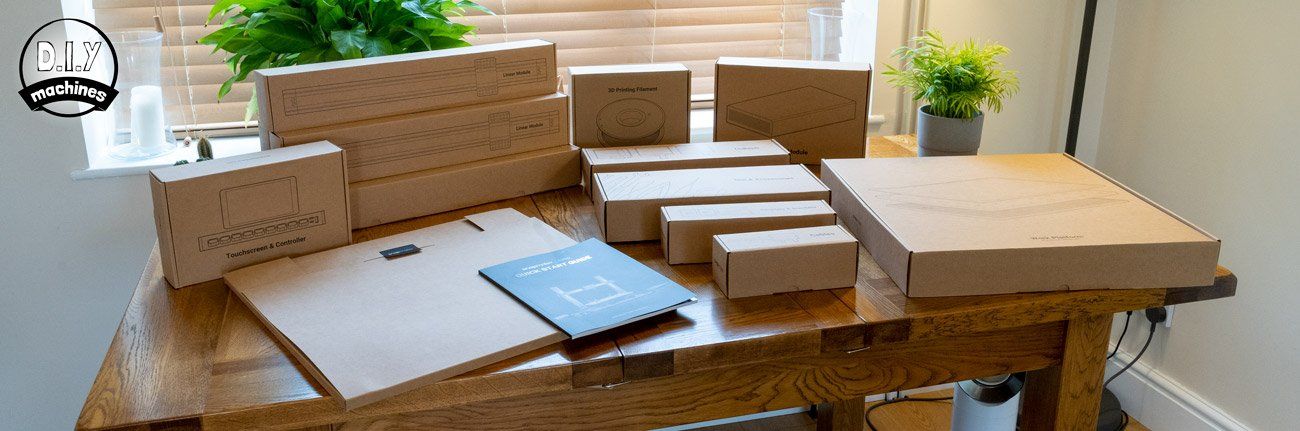
I've been fortunate enough to receive many machines to test or review over the last few years and have seen a variety of packaging design and quality. The Snapmaker, I have to say, has been the most well packed device yet. The boxes are high quality including a protective sleeve added during shipping. The parts inside are then packaged into well organised and labelled boxes of their own, each featuring the appropriate level of packing foam.


Inside these the parts are further organised in labelled bags. A rare treat is the fact that once you are done with the packaging, it makes for some great cardboard to practice the use of the Laser module on. :)
All in all there is a great deal of well organised parts. The instruction manual indicates which box and bag you'll find each part in as you assemble the Snapmaker. This certainly helped to keep my work area arranged well whilst assembling the machine.
What else is included?
A small toolbox is included with a very well stocked selection of all the tools possibly required to assemble the machine and maintain it during it's years of service. Each of the tools are well made (I think they have been custom designed like the rest of the machine looking at the style and material choices). I have to say that the impression so far is that you really do get everything you'll need. I know the machine is at a higher price point but no part of the experience leaves me sour about that yet.
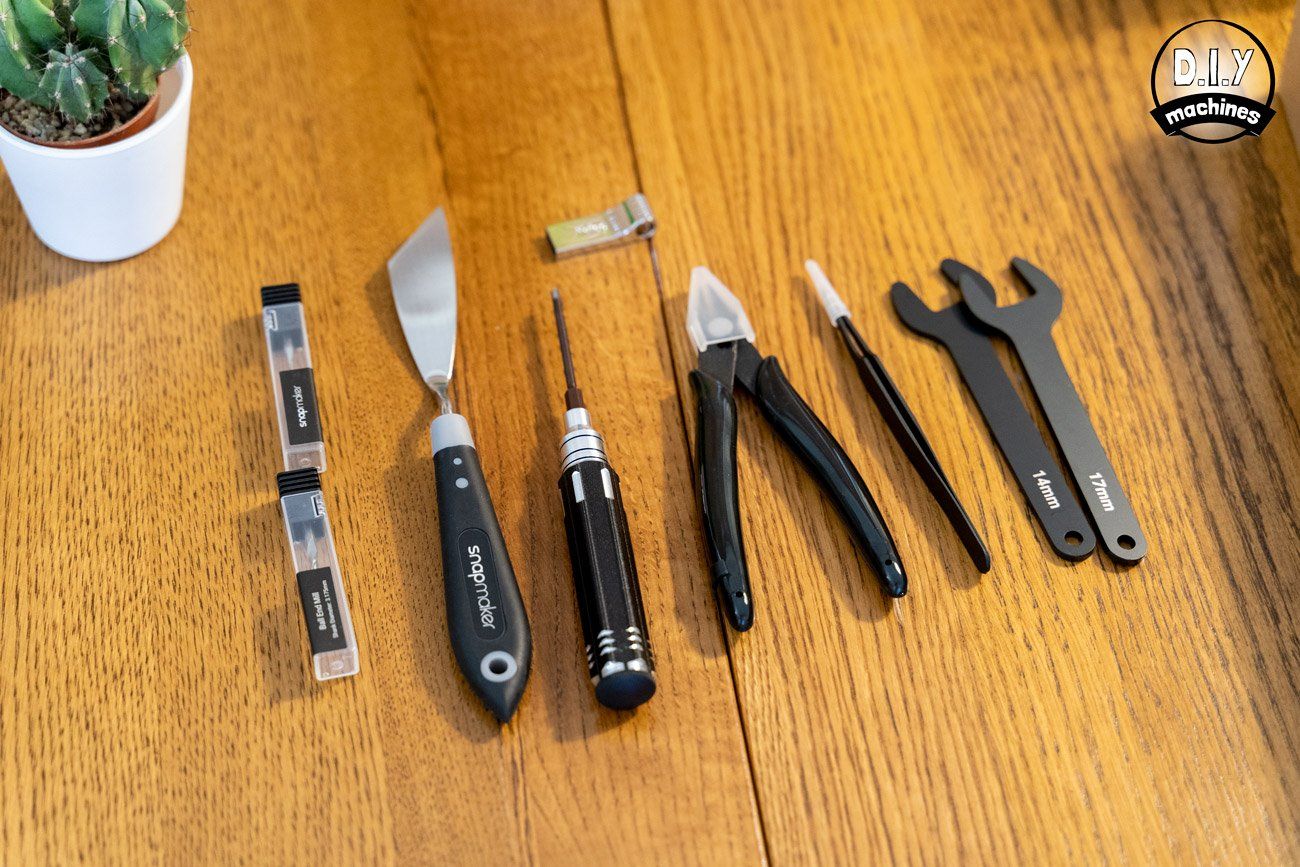


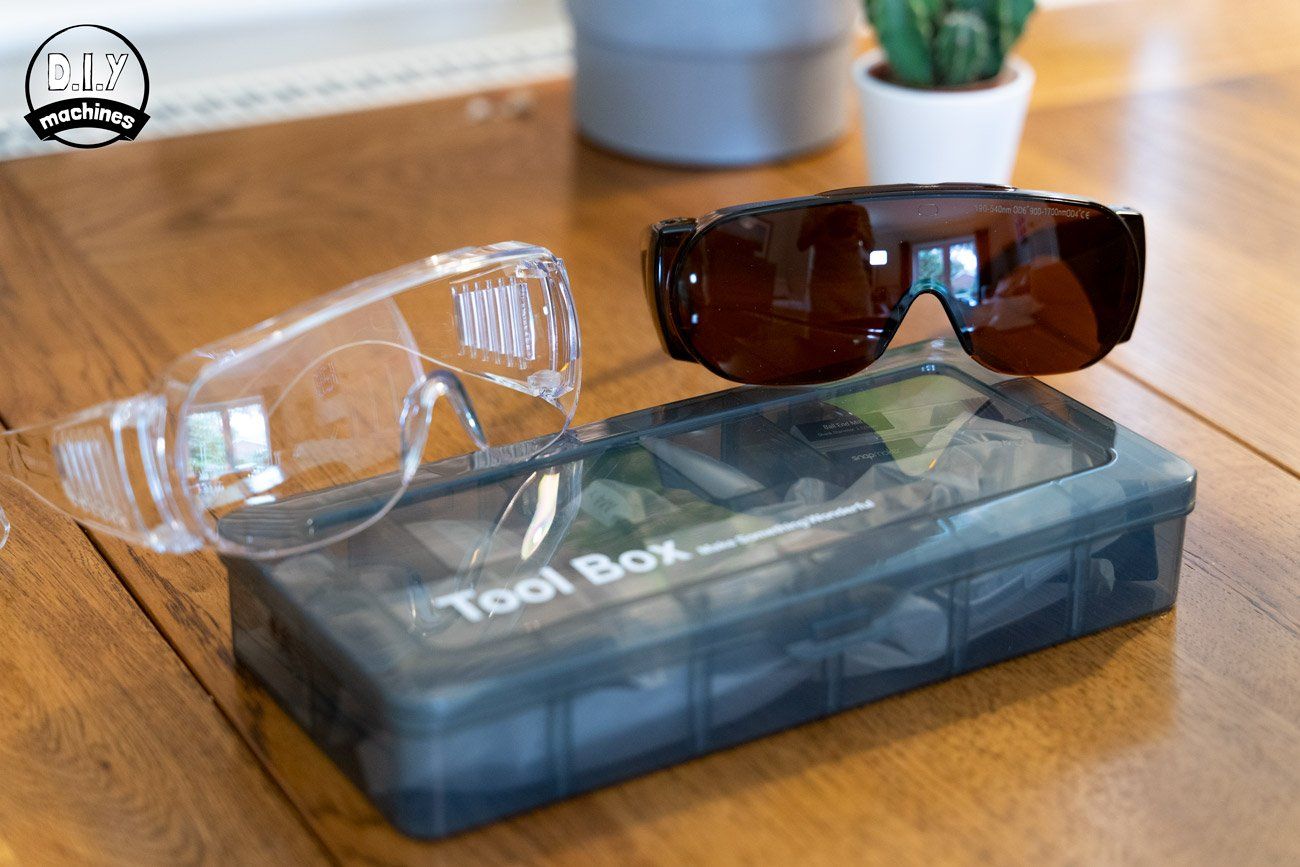
- Laser safety glasses
- CNC safety glasses
- PLA Filment
- USB Disk
- Printed setup and user manual
- Wrench (17mm and 14mm)
- CNC sample material
- Laser sample material
- Tweezers
- Diagonal flush cutters
- Two CNC bits (Flat and ball end)
- Calibration card
- Palette Knife
- Screwdriver with multiple tips stored inside the handle
- Hot end kit
- ER11 Collet and nut
- Wiping cloth
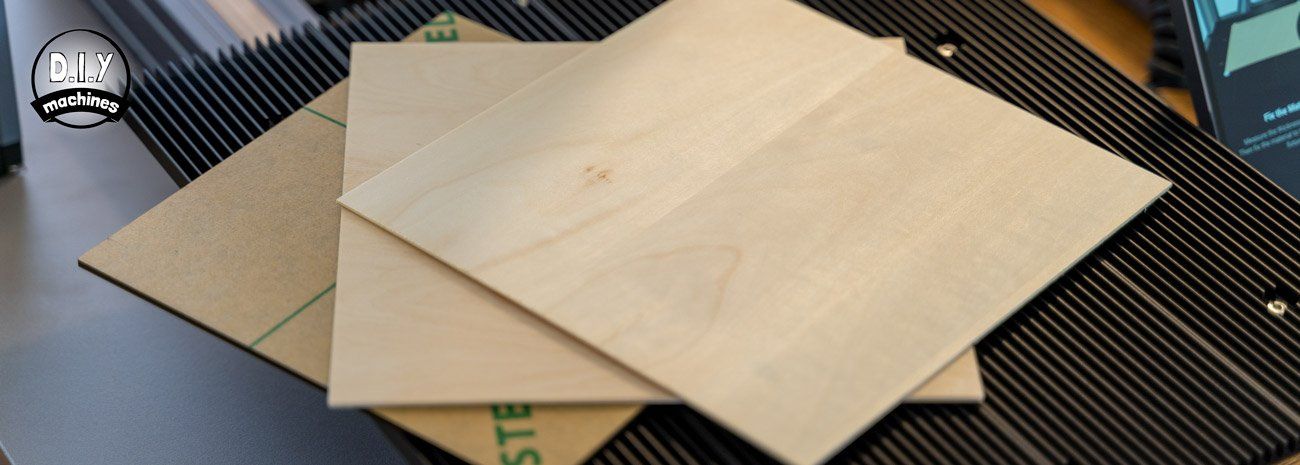
Snapmaker also include a sample pack of various materials so you can get working straight away with your new mini-factory such as wood sheets, acrylic sheets, and a roll of PLA plastic. Don't forget that you can also repurpose the aforementioned cardboard packaging with your laser module whilst you get to grips with it.
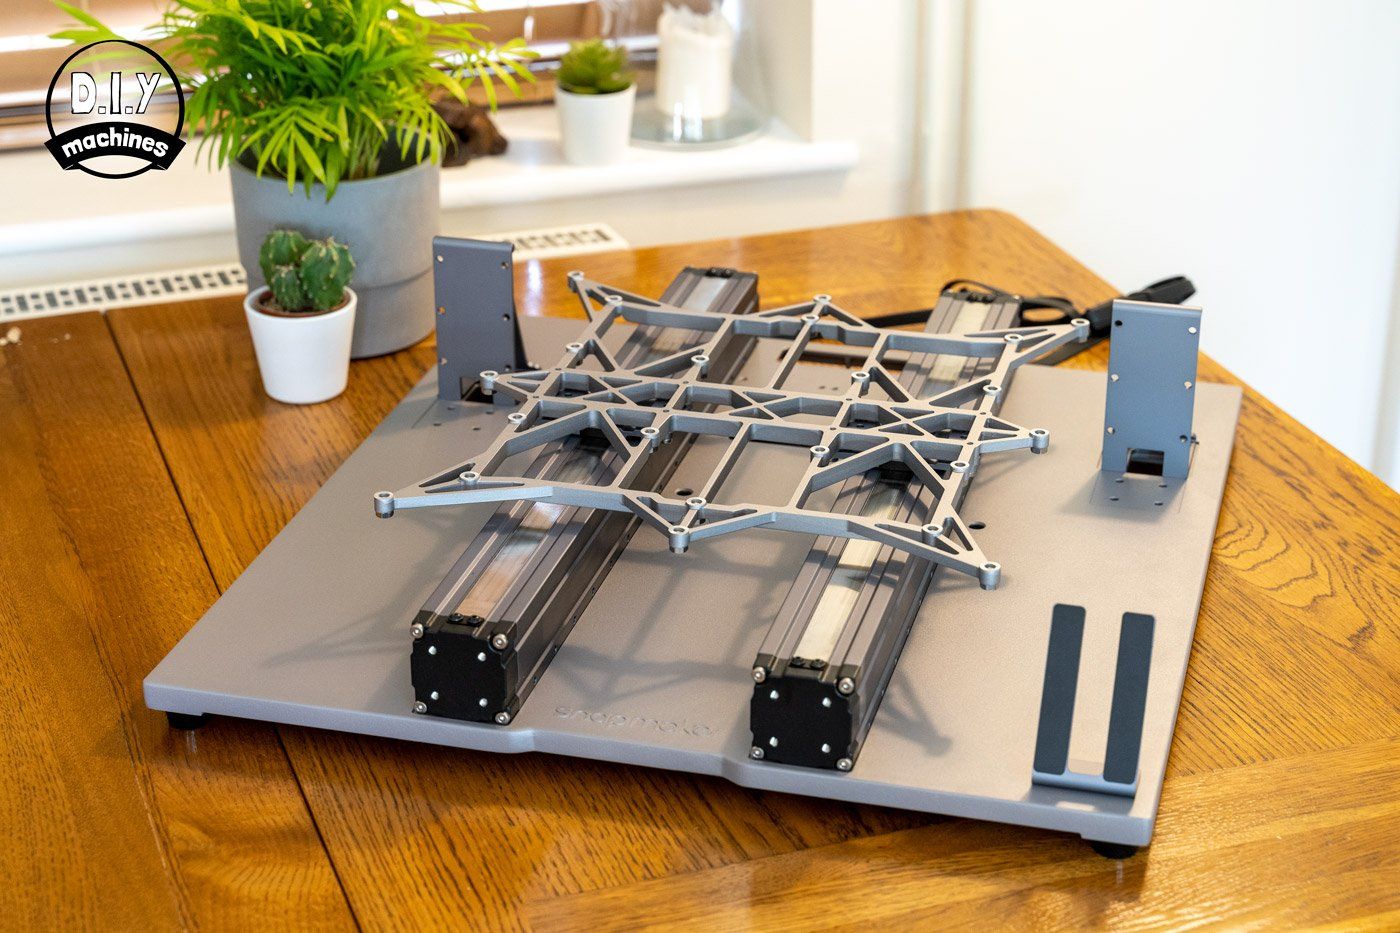
Assembly
There is a fair amount of assembly required for the A350T, but it is not difficult. You'll need to allow several hours and perhaps two to three cups of tea. A few of the steps were easier with the help of a second pair of hands, though manageable on your own if you're careful.
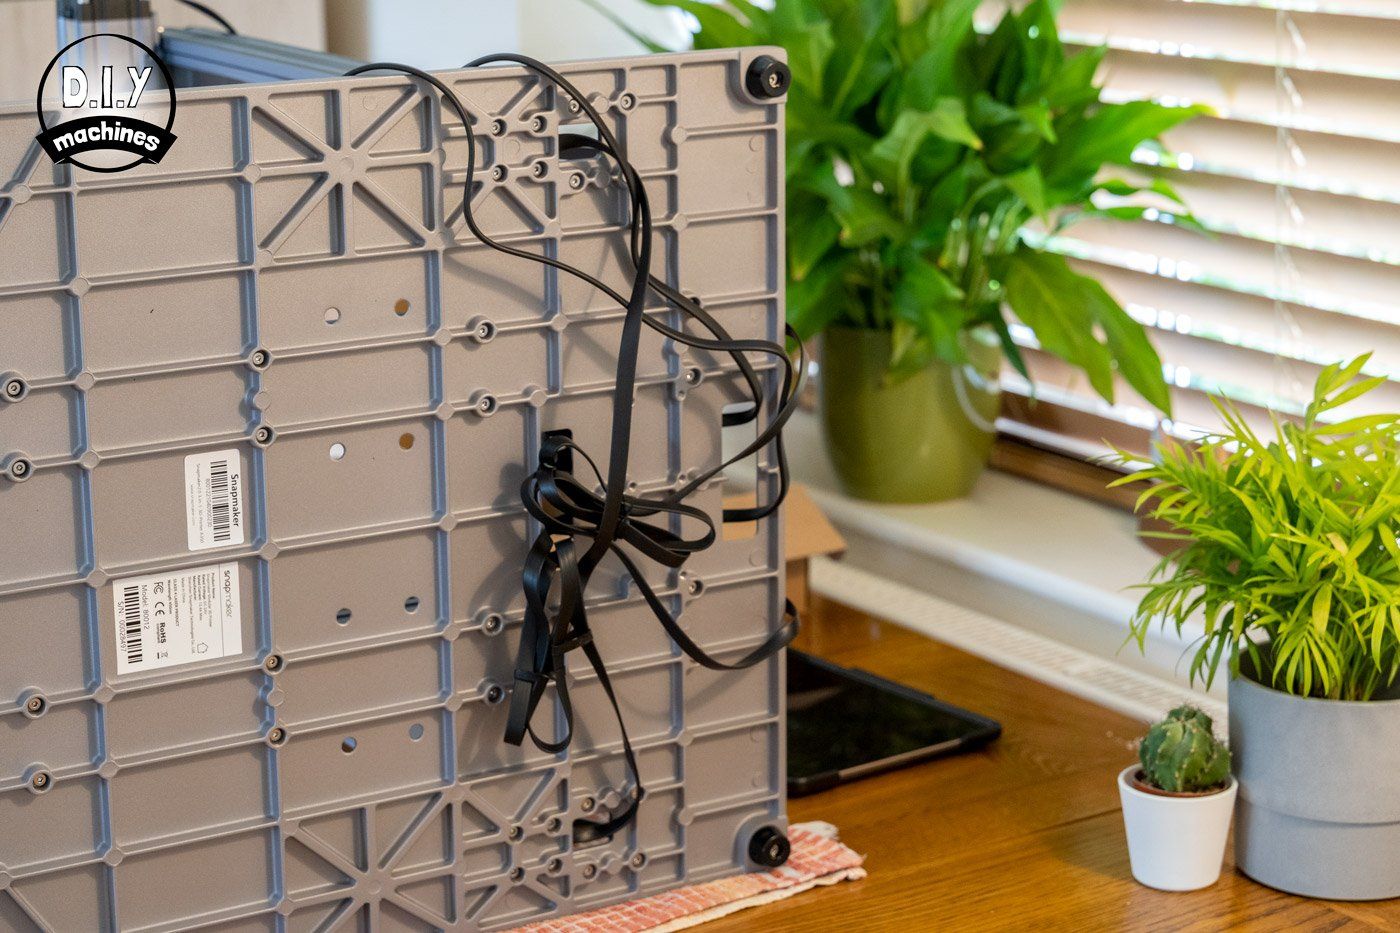
One thing that seemed to show little pre-consideration was the arranging of wires on the underside of the Snapmaker A350T. You can see in the second photo above that on the top surface of the platform everything appears tidy and well organised, the third image reveals the snake pit of wires on the underside.
Though it is not visible once complete, I just feel that compared to everything else which seems so solid and thoughtfully designed, the wiring for the underside was an afterthought if not forgotten about altogether. I fear that over time a cable will become pinched and fail, or the if I need to move the Snapmaker to another location I run the risk of snagging a dangling cable and damaging the machine.
Hopefully neither will come true but if I had to choose a weak point of the design - this would immediately spring to mind.
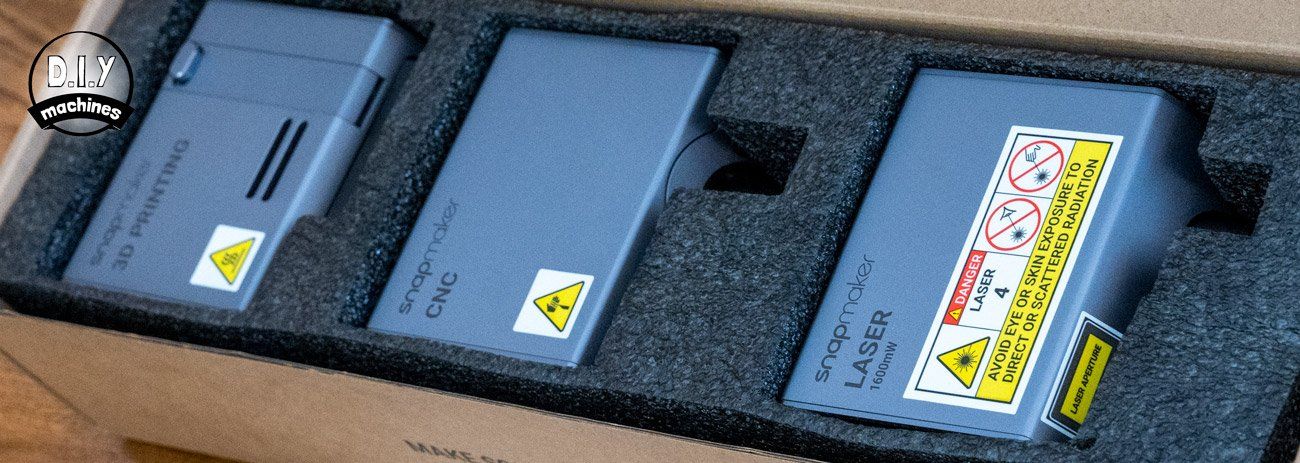
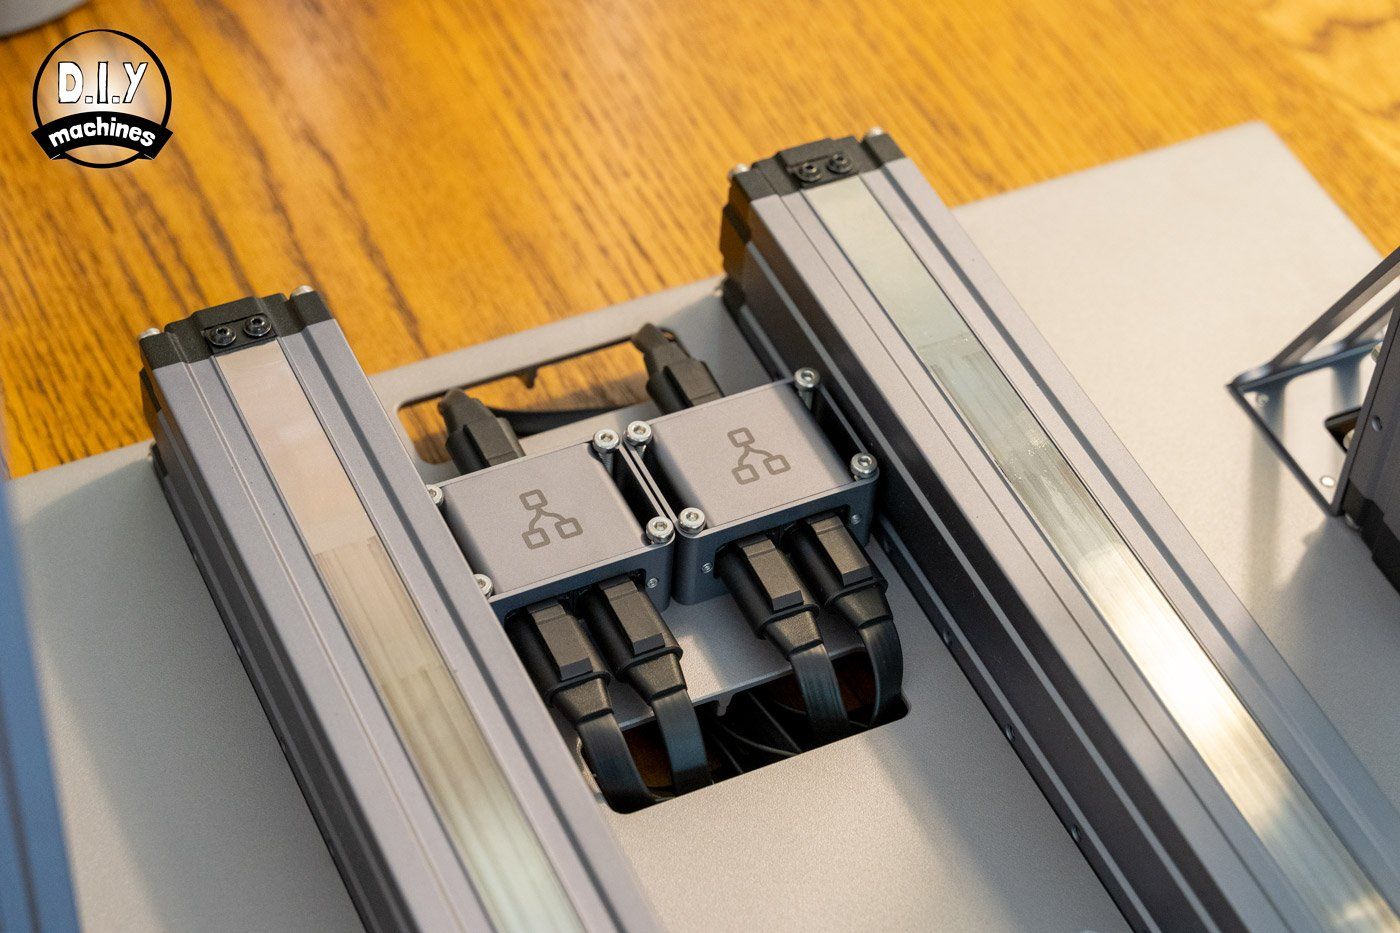
Once the machine's main framework is assembled there are just a few steps left to follow to prepare it for use. These last steps depend on wether you want to use the 3D Printing, CNC, or Laser module. To change between the different modes you undo the last few steps to revert the machine back to the common basic frame and then complete the last few steps for the other tool type. This usually involves attaching the tool head itself to the gantry and equipping the work platform with the correct bed system for the process at hand.
Instruction manual
The instructions are very detailed but spread out across many pages. This space coupled with high quality illustrations made it easy to follow the various stages of the assembly. Sadly there is a lack of the often humorous 'Chinglish', but the clarity of concise English is refreshing.
You can download a copy of the instructions to see for yourself if you would like, I've put a link to it adjacent for you. There are also numerous Youtube videos available.
Using the laser module
Naturally I went for the Laser module first, as I have plenty of experience of 3D printers and well, it's a Laser - who wouldn't?
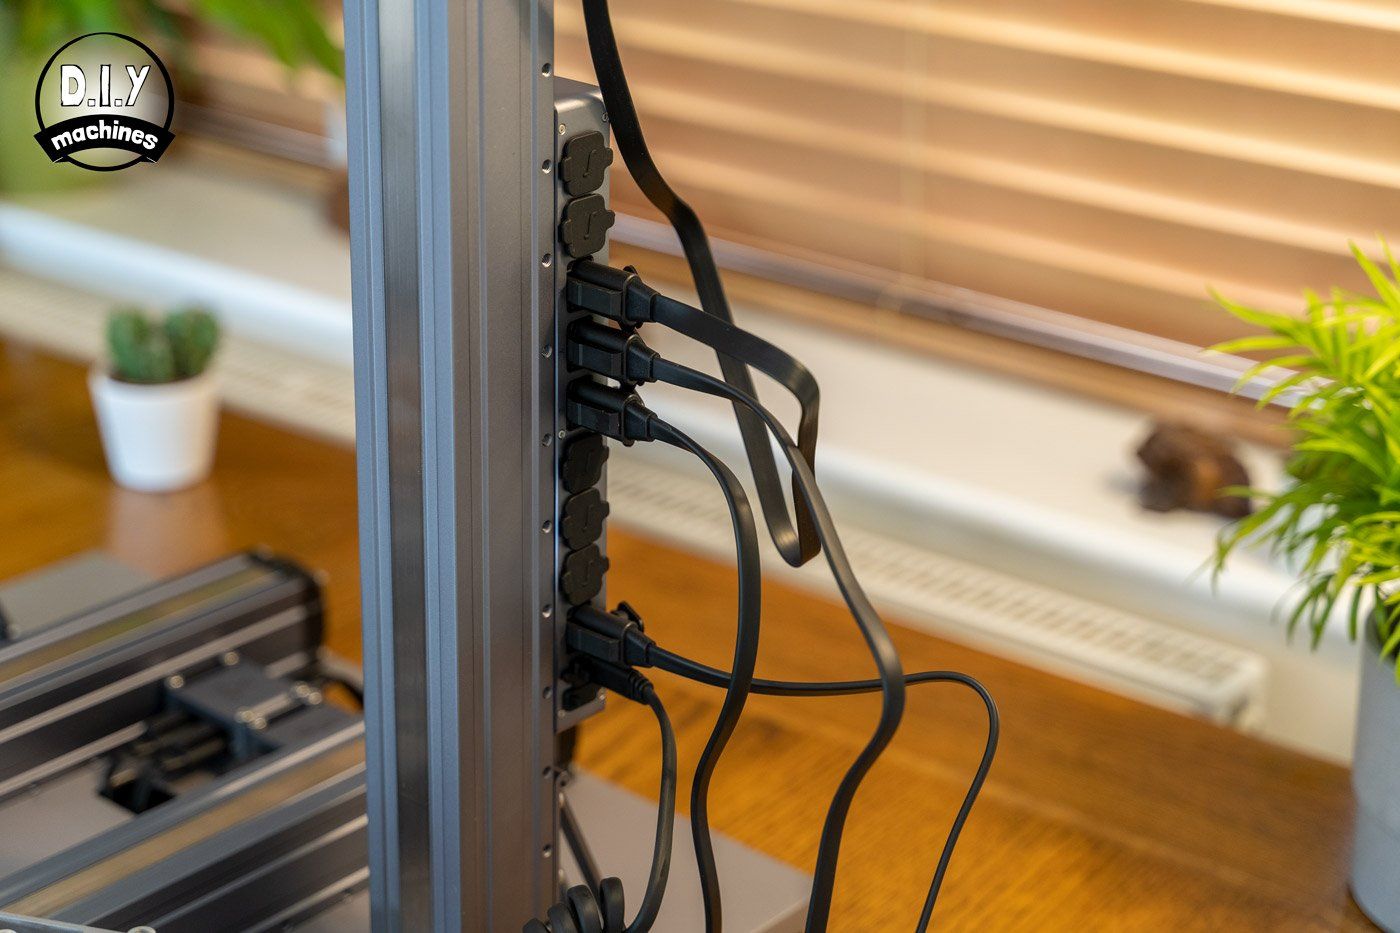
It took me around 5 minutes to fit the head to the gantry using four bolts and then. single cable to connect it to the electrical hub at the side of the machine.
Preparing to use the Laser
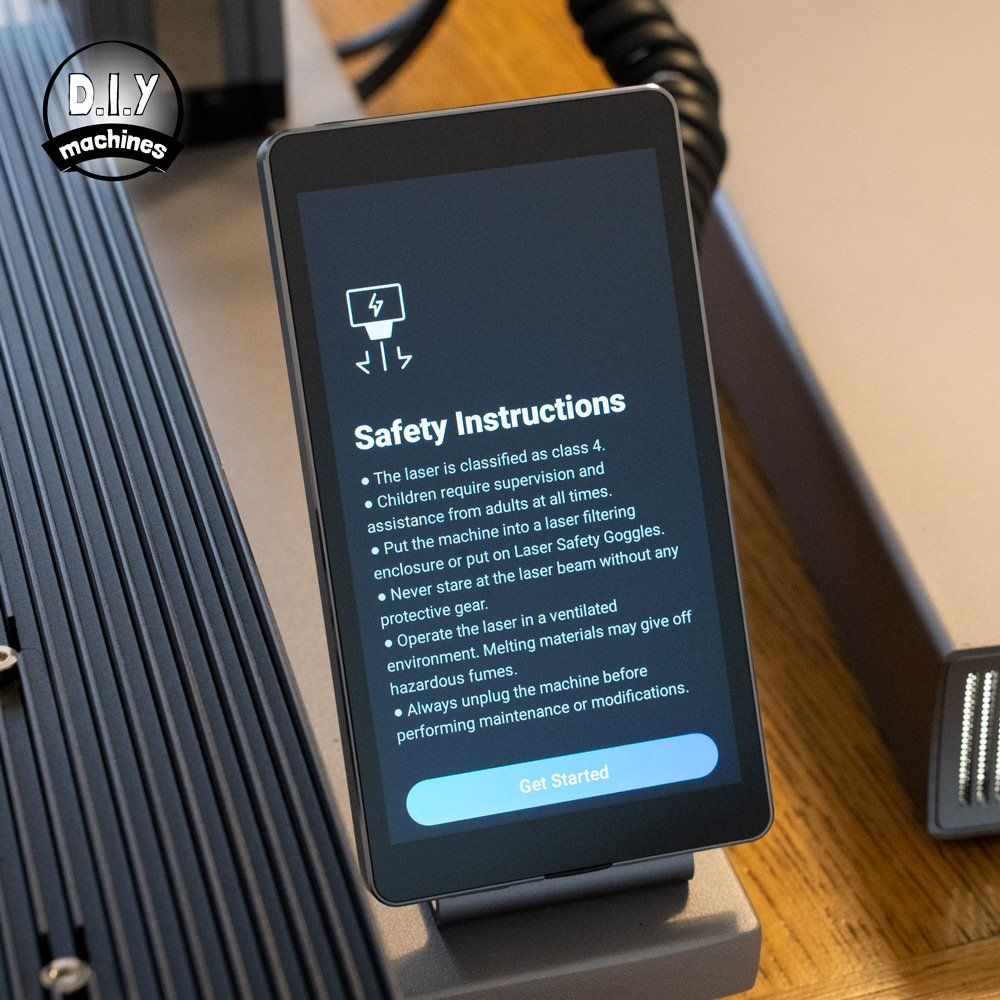
When you power on the machine after connecting the Laser Module the Snapmaker auto-detects it and presents you with some Safety Instructions. This is well worth a read and actually following. A lot of the dangerous energy from the module is at a wavelength you can't see - and I don't know about you, but I'm already on my last pair of eyeballs. That being said, don't fear it, respect it and you'll have a great time finding all sorts of uses for it.
The screen will then guide you through how to correctly secure material to the platform, enter the height of the material and then calibrate the laser. This calibration step burns a series of lines on the surface of wood (supplied with the Snapmaker) and then the camera model proceeds to evaluate the best setting automatically. If it fails to make a decision then the setup wizard will fall back to your judgement of which of the test lines appear the most focused.
There is also a one-time wizard to calibrate the camera which is later used in Snapmaker Luba software to help the placement of artwork onto materials placed on the machine platform.
All of the above only takes moments, thanks to the clear instructions on the machines screen which are echoed in the instruction manual for reference later if required.

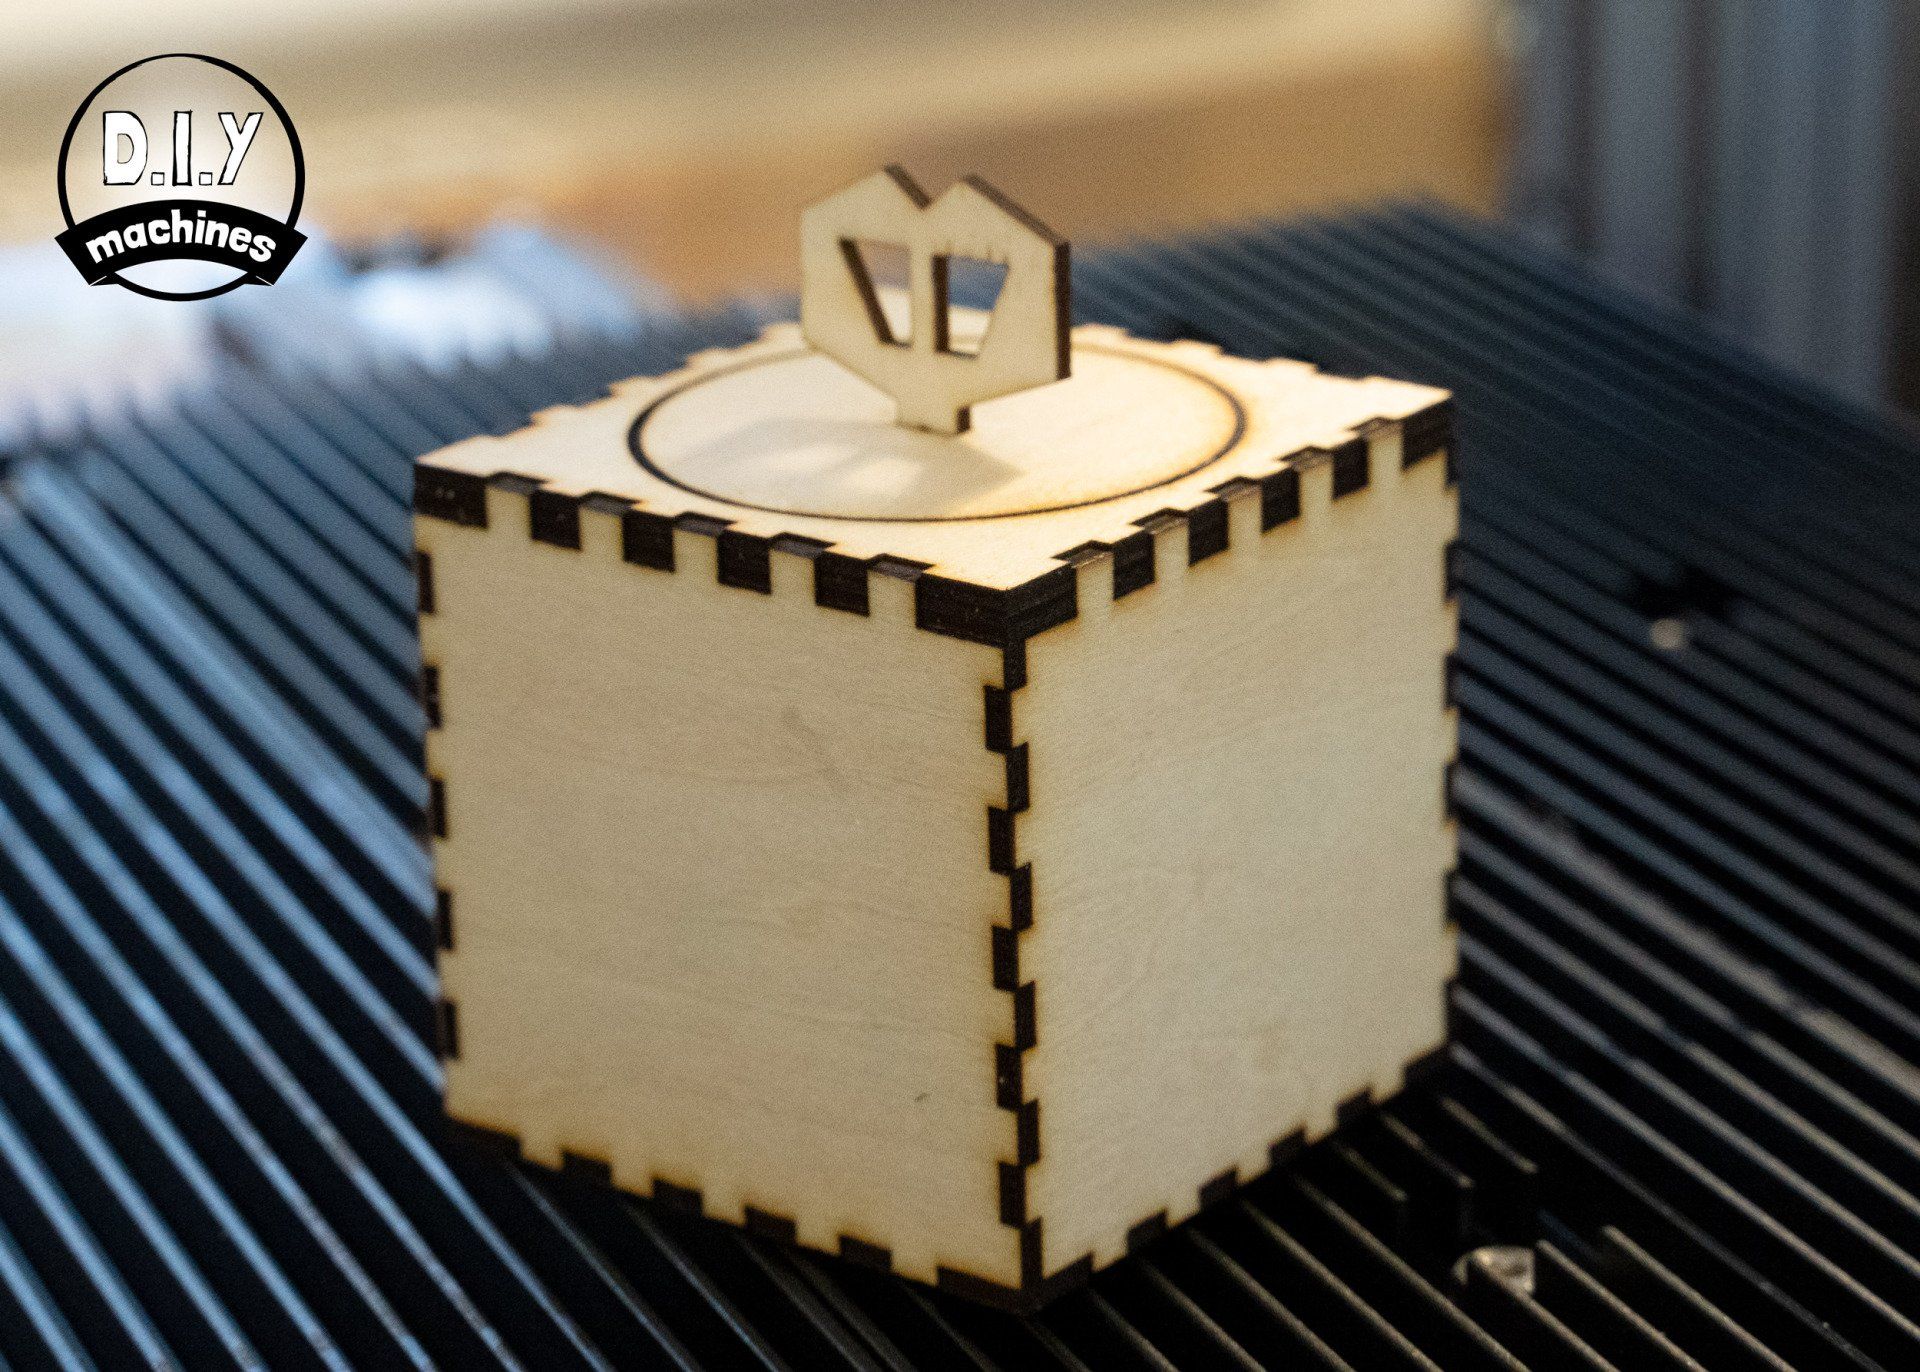
The first Laser Project
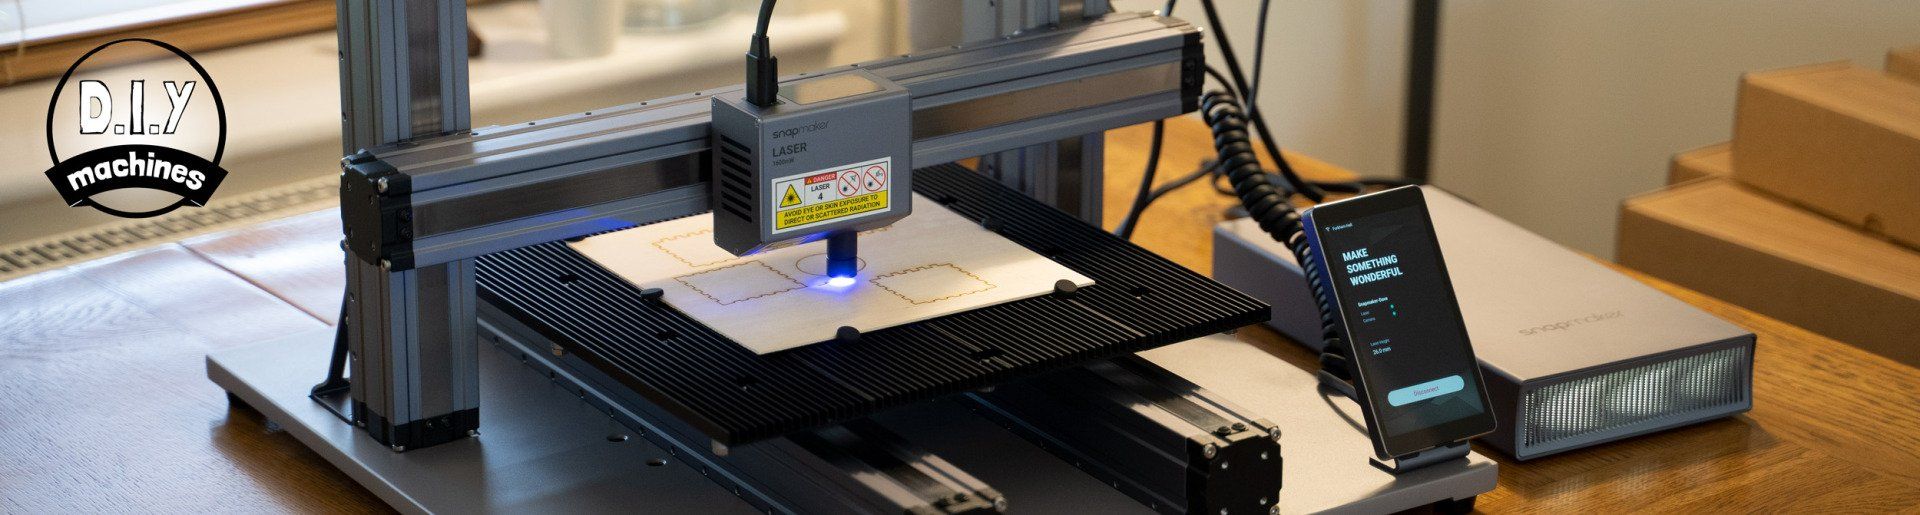
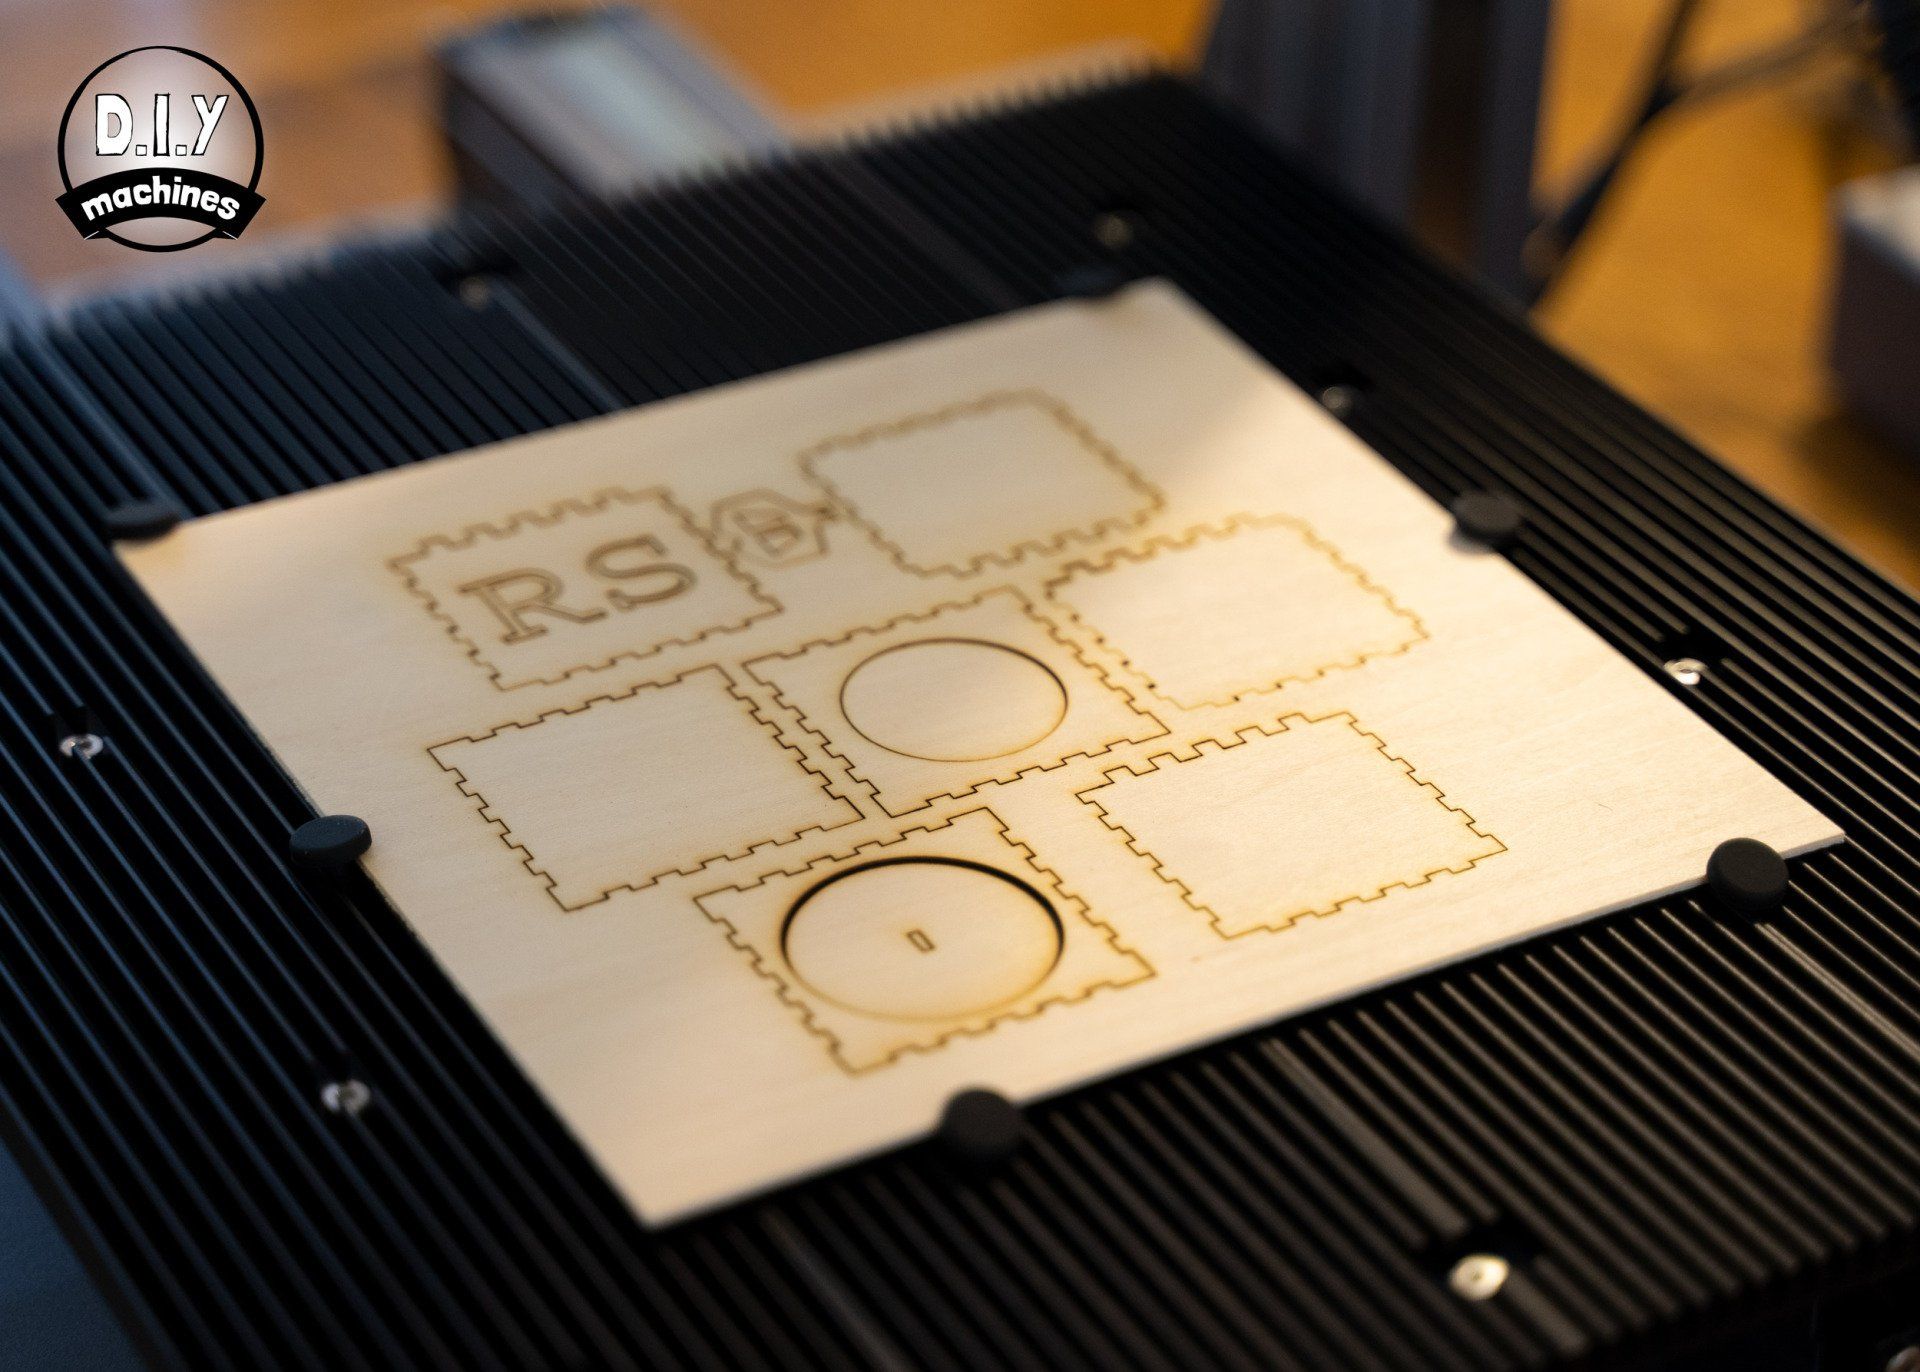
For my first laser made project I opted to use the included wood sample to create a small wooden gift box. Snapmaker's Luban software handily includes some example projects which are suitable for the included selection of sample materials. I'll go into more depth in regards to Luban later in the review.
After you have saved the file onto the USB drive and loaded it onto the Snapmaker you'll next need to show the machine where the 'origin' of your material is. The origin is the starting point from which Toolpaths movements begin from and is defined in the Luban software when saving the program. As I had set the origin in the top right I used the onscreen controls to send the laser head towards the top left of the wooden sheet. Once there you press 'Run Boundary' which will send the toolhead on an outline of the outermost edges of your program, this helps to ensure that you don't exceed the material size of run the risk of damaging the fixing points. Once you're happy that the area of the artwork is where you would like it you press 'Start'.
I kept a close eye (not too close) on the machine for its first job. It buzzed and whirred whilst it danced over the material, making several passes to cut through the wood. Once complete there was a burnt smell in the air despite having the windows open. (I now run the machine inside the Snapmaker enclosure which has an exhaust fan. This greatly reduces any traces of unpleasant odours.)
I took the sheet from the bed and the cut parts simply dropped out. I was expecting to need to pop them out with a little force but the Snapmaker successfully cut very well through the material. After a few seconds push fitting the parts together I was left feeling impressed with this very nifty little box.

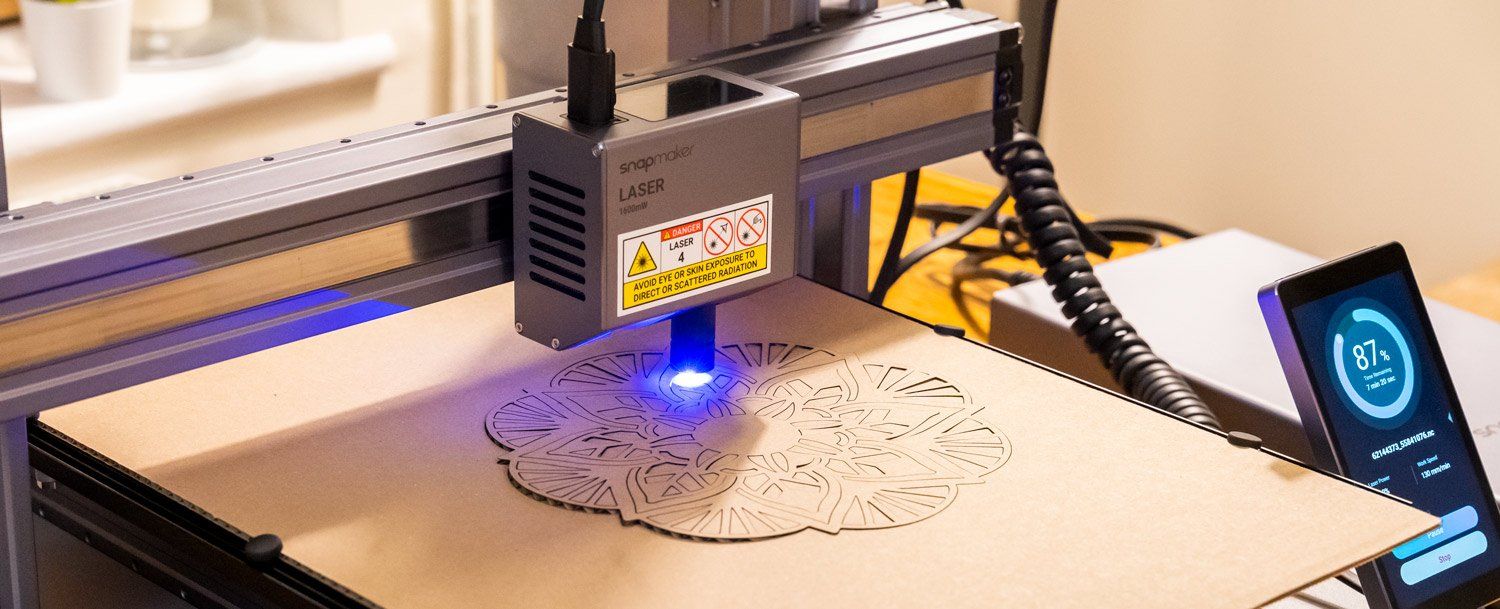
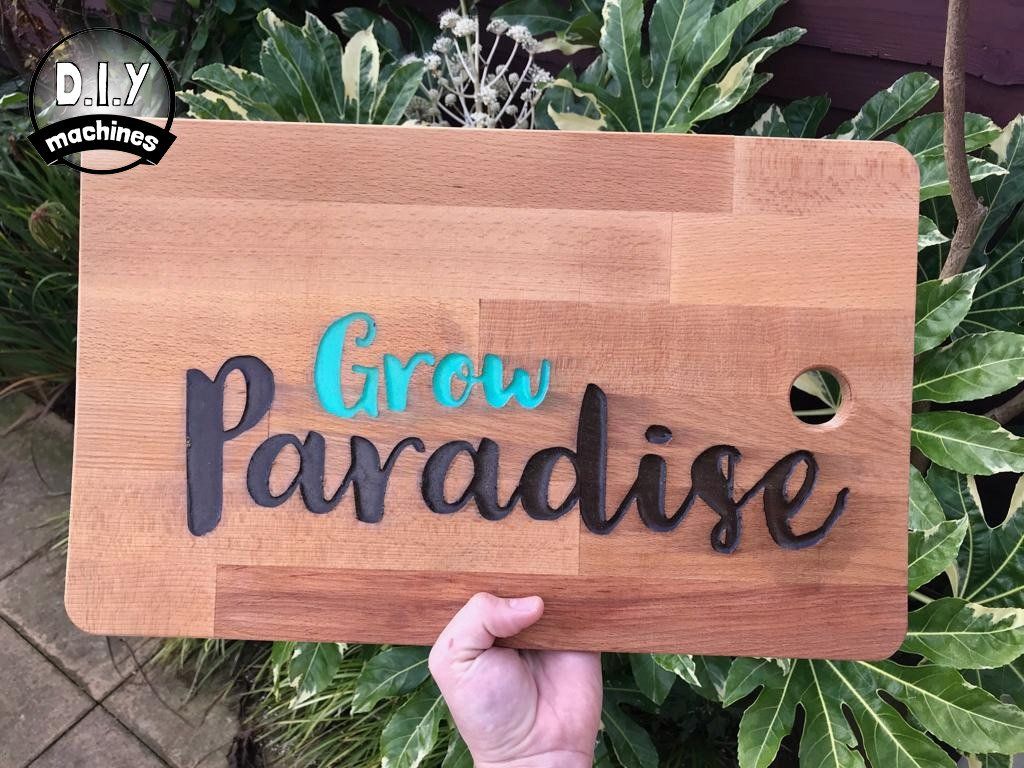
With the confidence of the assembled box I immediately jumped back into Luban and loaded an SVG mandala file which I had downloaded from the internet. As I did not have enough wood sheets to hand for a layered project such as the mandala I turned to some cardboard. With my very little (but growing) experience of Luban and Snapmaker's 'Definitive guide to laser engraving and cutting' to hand I fired the laser into life again and created this mandala. What a great use for all the cardboard the postie delivers.


The CNC Carving Module
The Snapmaker CNC module is one of the aspects of the machine which has been updated since the original version. This improved version of the CNC Carving module features the ability to cut faster with maintained precision and an ER11 collet. This last point, the collet, now makes it it easier to change the router bit and as it is a common standard, you can purchase machine bits from almost anywhere and there is a huge range of options to try. V-bits, tapered bits, end mills and more. If you're like me, these terms may seem alien to you at the moment - but after a couple of projects you'll be very quickly up-skilling your knowledge if you're new to CNC routing.
There is a large list of materials which you can cut or carve using the Snapmaker CNC module, both soft and hard. You'll be able to work with woods (such as Walnut, Birch, Oak etc), PCBs, Acrylic Sheets, POM (a plastic engineered to have great qualities for machining), carbon fibre sheets and more.
The module, much like the 3D printing and Laser modules, requires you to fit the tool head itself to the gantry with four bolts and a single electrical cable connecting it to the control centre.
The CNC process also gets its own purpose built base. This comes in the form of a large wooden 'sacrificial' board with a grid of markings for alignment and pre-threaded holes to attach clamps for securing the work material.
The board is deemed sacrificial as when you cut all the way through a piece of material you will also machine away some of this wooden baseboard. If you set the height of your material and cutting well then this only needs to be about a single millimetre or two. Judging by the rate I'm eating away at my baseboard it will be some time before a replacement is needed. I've already taken a look and they can be easily bought from Snapmaker for a sensible price or from a huge range of resellers so I don't see this as a problem.
The work material is held in place with some simple aluminium clamps. They look like skeletal arches with one end sat on the base board and the other on the workpiece. This is then pulled downward by a long bolt fitted into the baseboard (there are plenty of points you can do this) and a wing nut hand tightened on top.
Snapmaker include a sample piece of black acrylic and a suitable sample project - a mobile phone holder. Since I had the material and file already this is what I started with. After fitting the toolhead and powering on the machine I was greeted with a screen explaining some safety precautions and recommendations. I inserted the memory stick and loaded the file on the touchscreen.
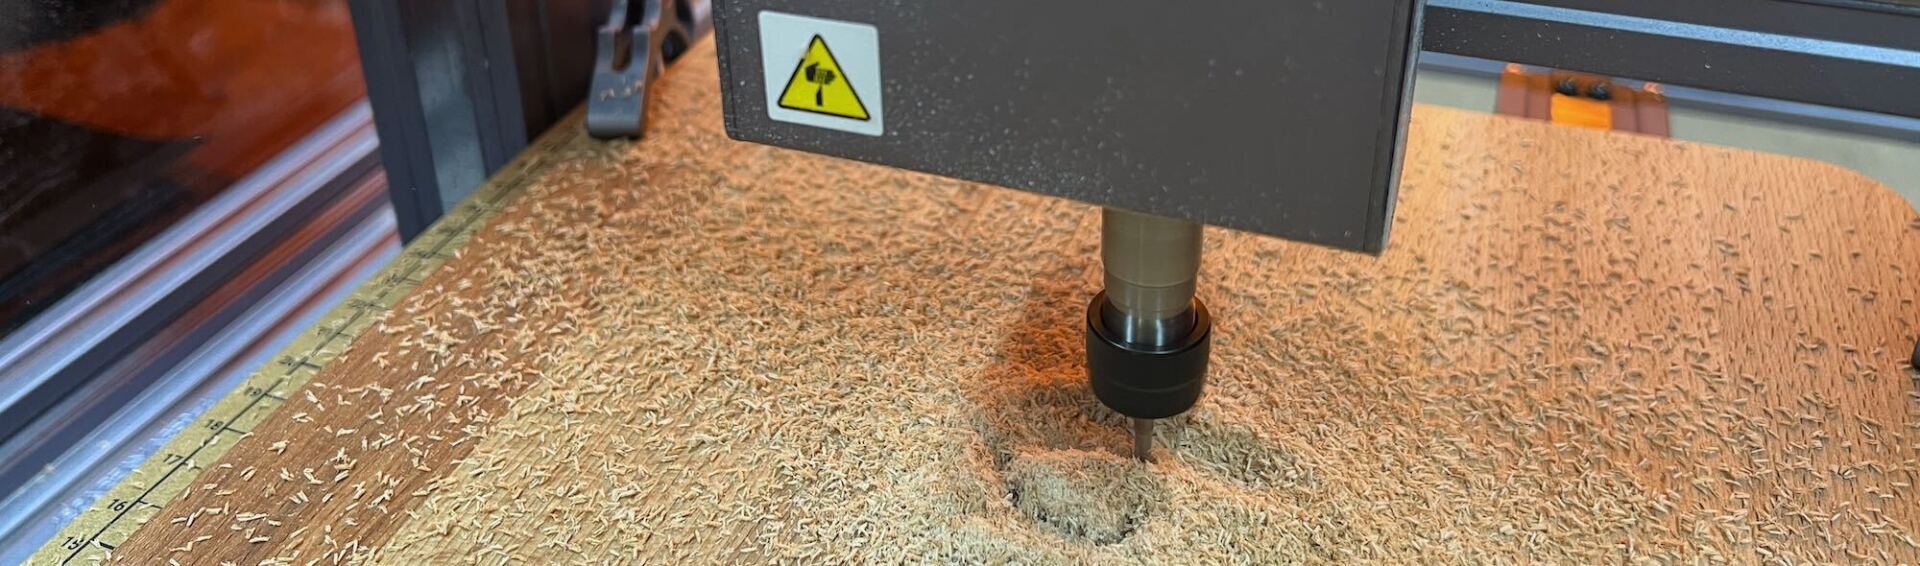
At this point you need to find the origin of your work piece. This is more involved than the Laser module but nothing tricky. Briefly summarised you lower the CNC bit towards the material using the touchscreen until it just grips a piece of paper being slid between it and the work material. You can then save this Z axis (height) position before moving it towards the starting position of your job. I had selected centre the time so I guided it towards the centre and set this as the origin.
Before you can press 'Start' though, you'll want to ensure that non of your clamps are in within the tool paths of the program you are about to run. The sturdy clamps will certainly snap a small router bit if it collides, and worse still may happen with stronger bits.
To check this we can use the 'Run Boundary' feature again after we temporarily raise the head above the height of the clamps. If you're happy it doesn't look like it should bump into anything you can lower the head and I'd recommend checking again, once you're absolutley sure - it is time to press Start. All of this is explained both in the manual and in a handy series of instructional videos Snapmaker have created.
There is a fair amount of noise, very little from the machine itself, but mostly from the process of carving the bits against the materials. An enclosure helps to dampen the noise but I'm sure this is not an issue only of the Snapmaker - any machine cutting through solid materials with a high speed tool makes the same noise.
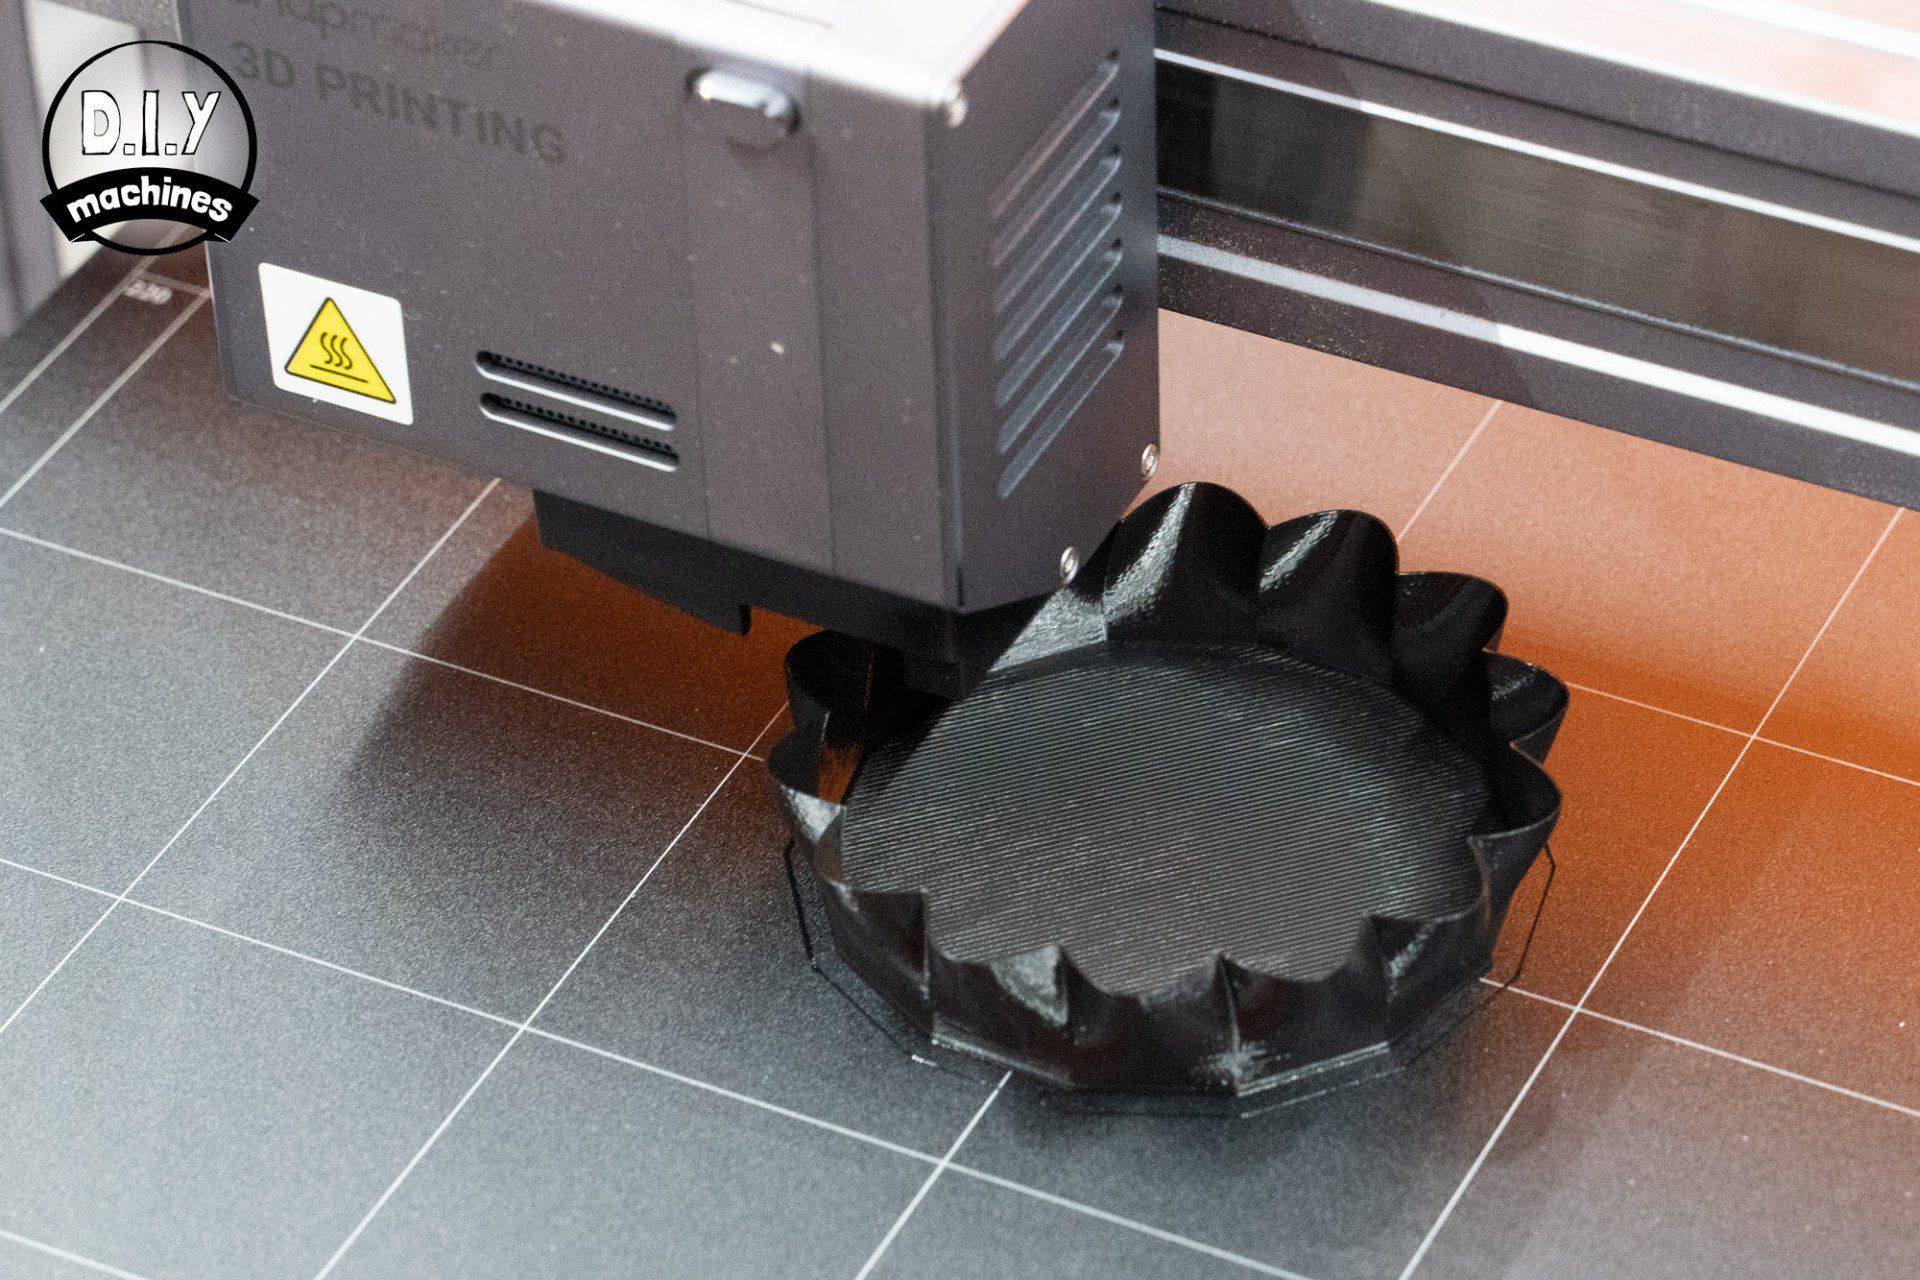
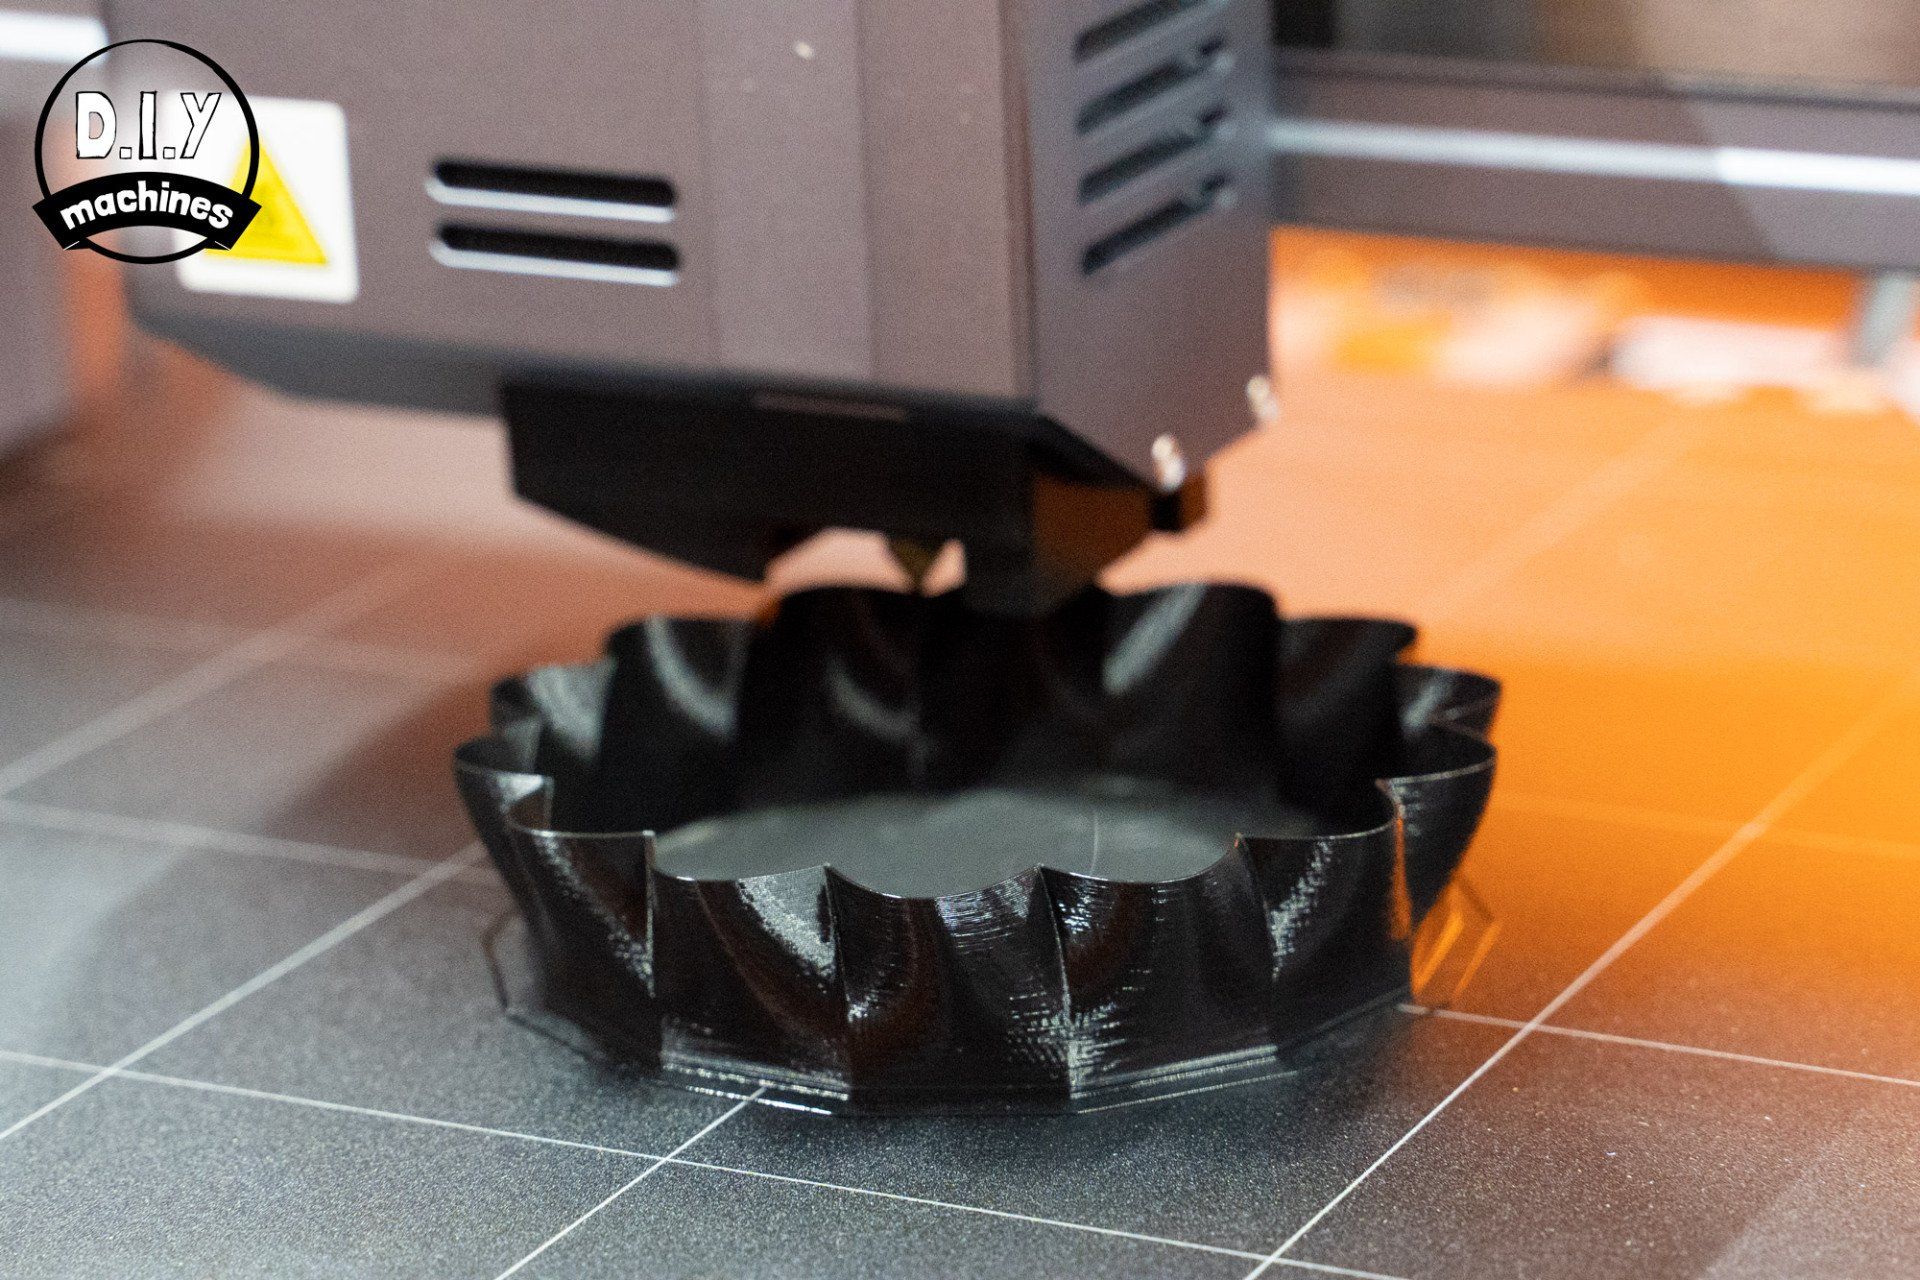
Here is the end results of the sample project, a mobile phone holder, made from the provided sheet of acrylic (click to see larger):


I was becoming hooked on my new ability to cut materials, especially organic items such as wood. They have a classic feel to them and the materials are readily available. I can purchase wood in the small town I live in, but would not be able to source plastic filament without ordering it online and waiting for shipping.
I set about using some scrap wood I found around the home and I bought some new material from town. What you see here are some of my 'experiments'. With each project, my ability to achieve a greater quality finish is rapidly improving, at the moment my limits are not the Snapmaker itself but my knowledge of CNC routing which I am very much enjoying learning about.


The above projects were designed and exported from within Fusion 360. Snapmaker have created a detailed and easy to follow video guide on how to create machining files from within Fusion 360. You can see it here for yourself.
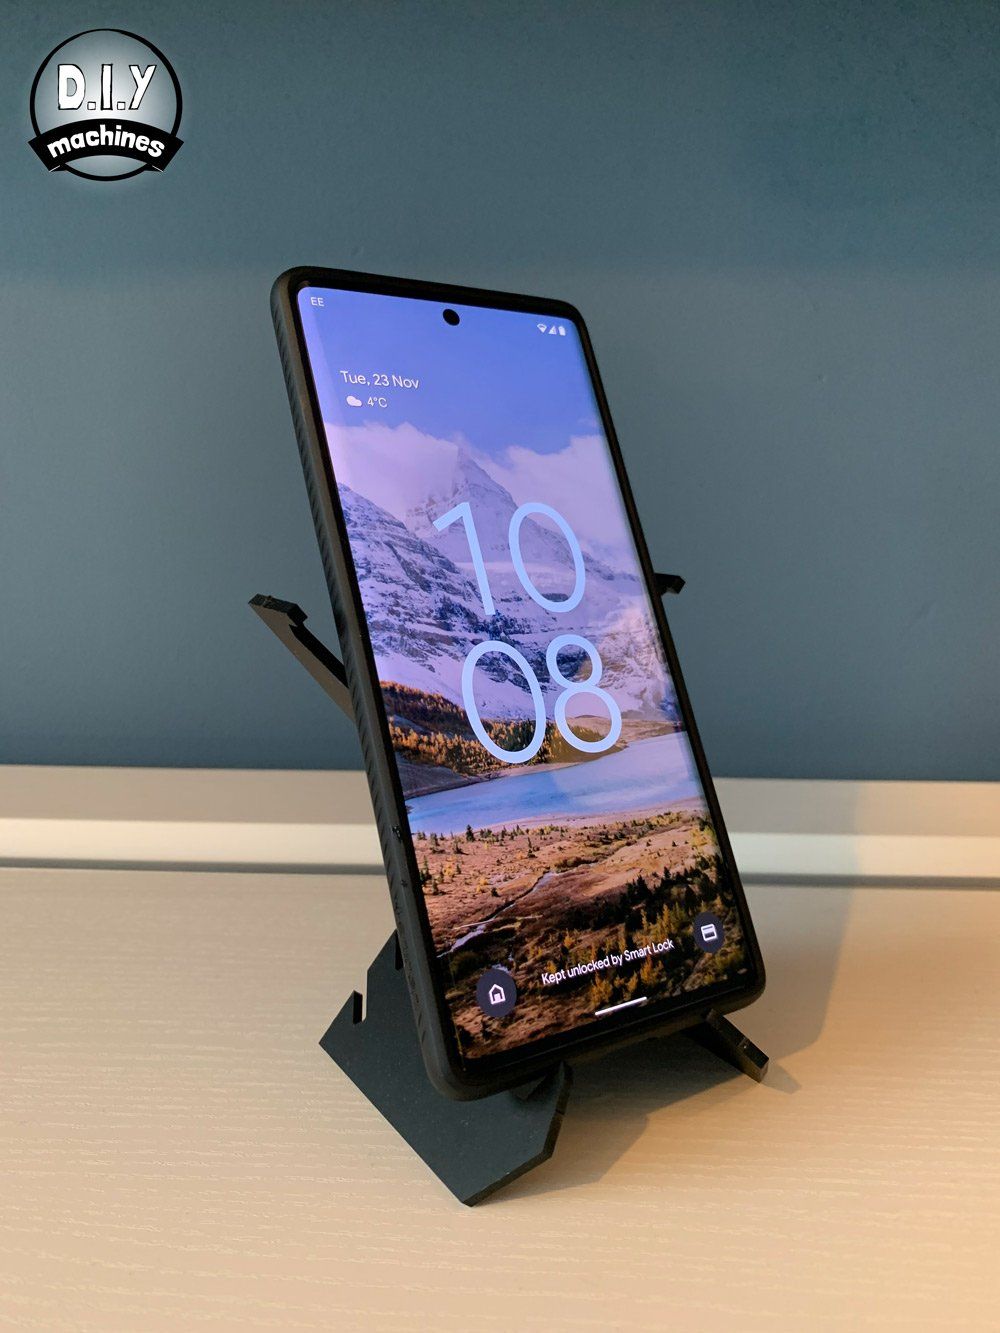
3D Printing Module
3D printing is where I have a lot more experience, and I was prepared to point out many faults of the Snapmaker. A machine that tries to be 3 in 1 often needs to make some tradeoffs with each of the features, it seemed like an unavoidable compromise. There is one, but it's not a big deal - speed.
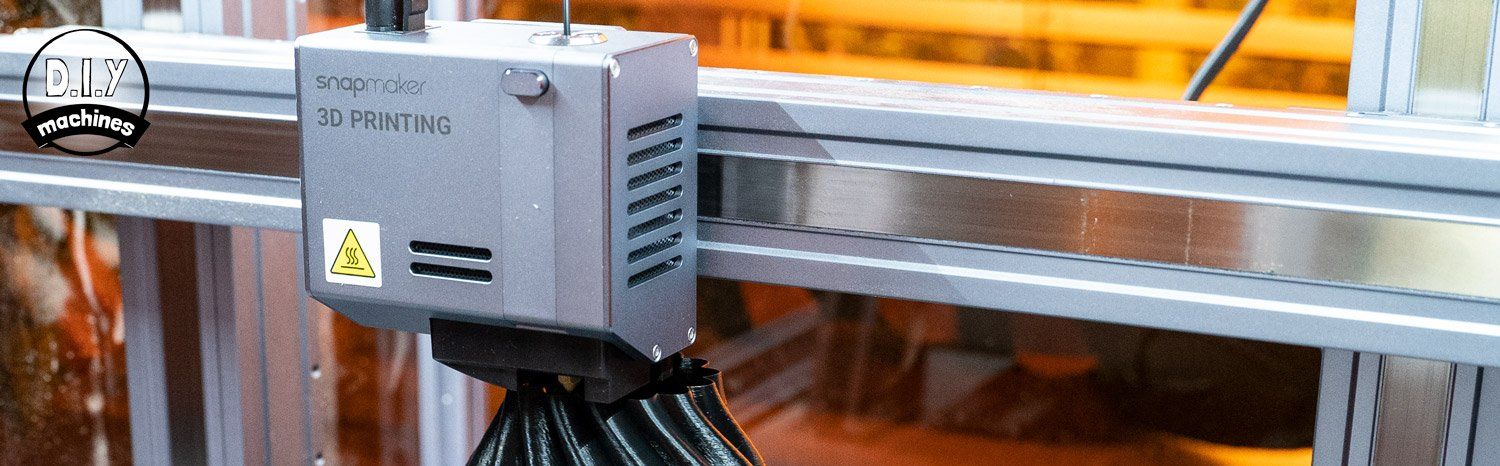
Before we can start 3D printing there is a new toolhead module to fit to the gantry. You're spotting a pattern now? By now the in and out of four bolts followed by reconnecting the electronics cable had become second nature. Same goes for the work platform which this time also required connecting to the electronics using a single push-fit connector which enables it to heat up to improve bed adhesion and minimise warping.
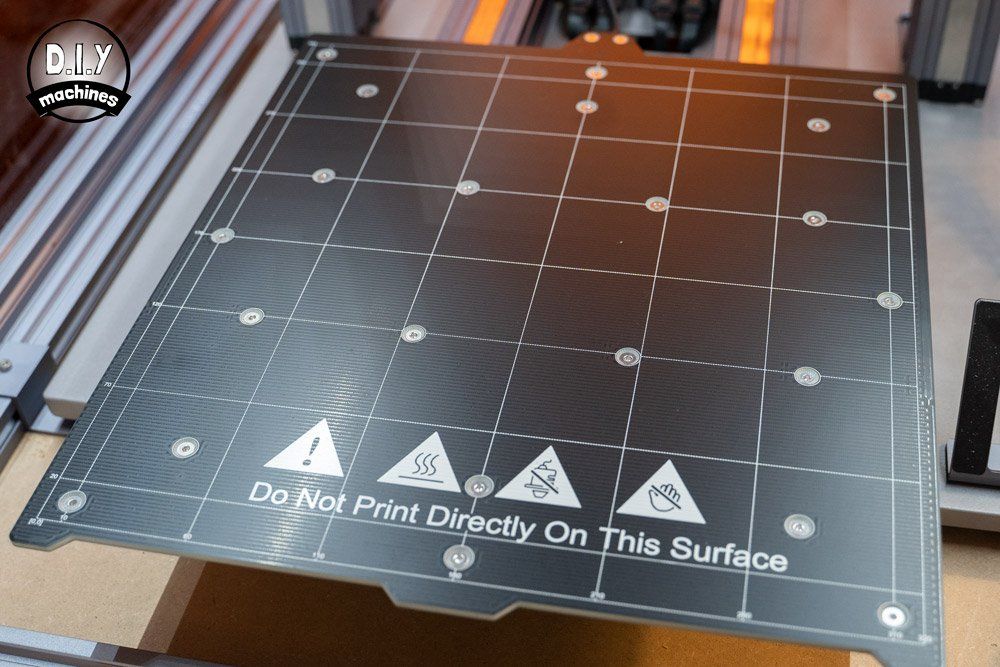
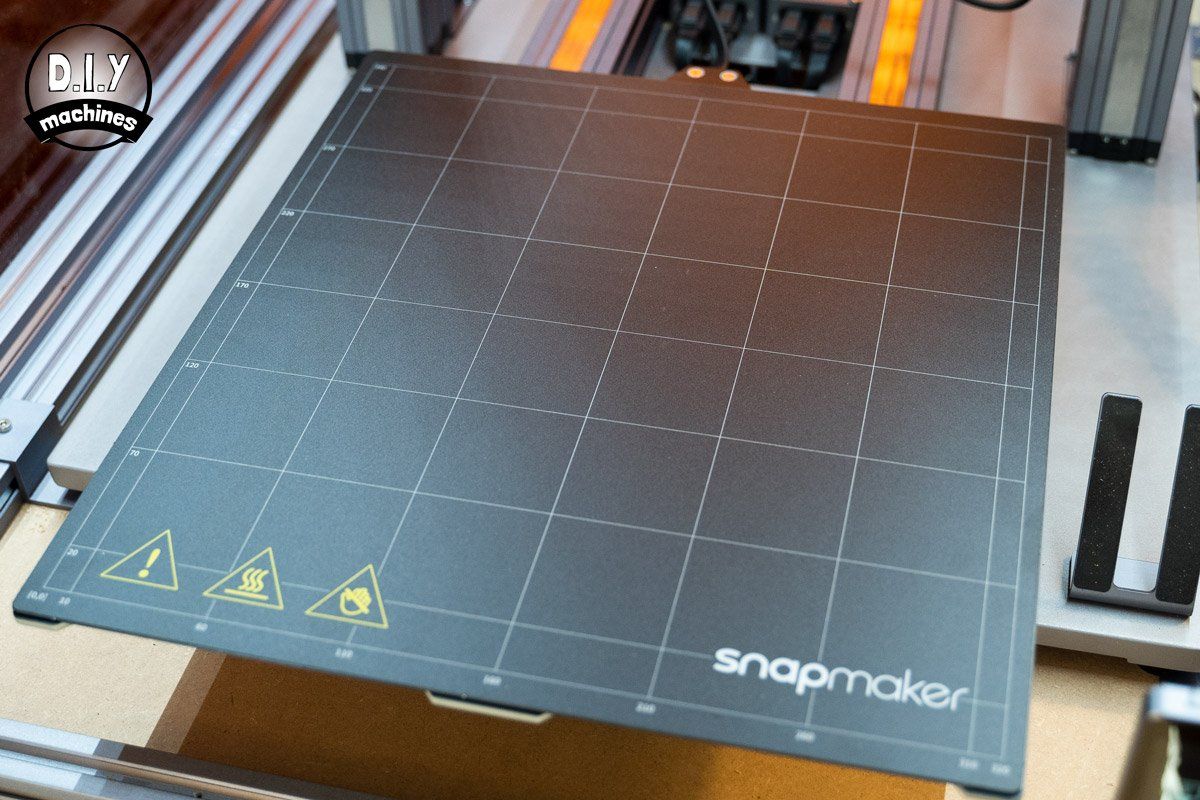
This time we fitted no fewer than 22 screws. Whilst 3D printing, a level print bed is very important to help ensure a successful first layer. 22 screws will certainly keep it down as it heats and cools. On top of this goes a Prusa style flexible and magnetic print sheet. I love these, it makes removing prints later so much easier.
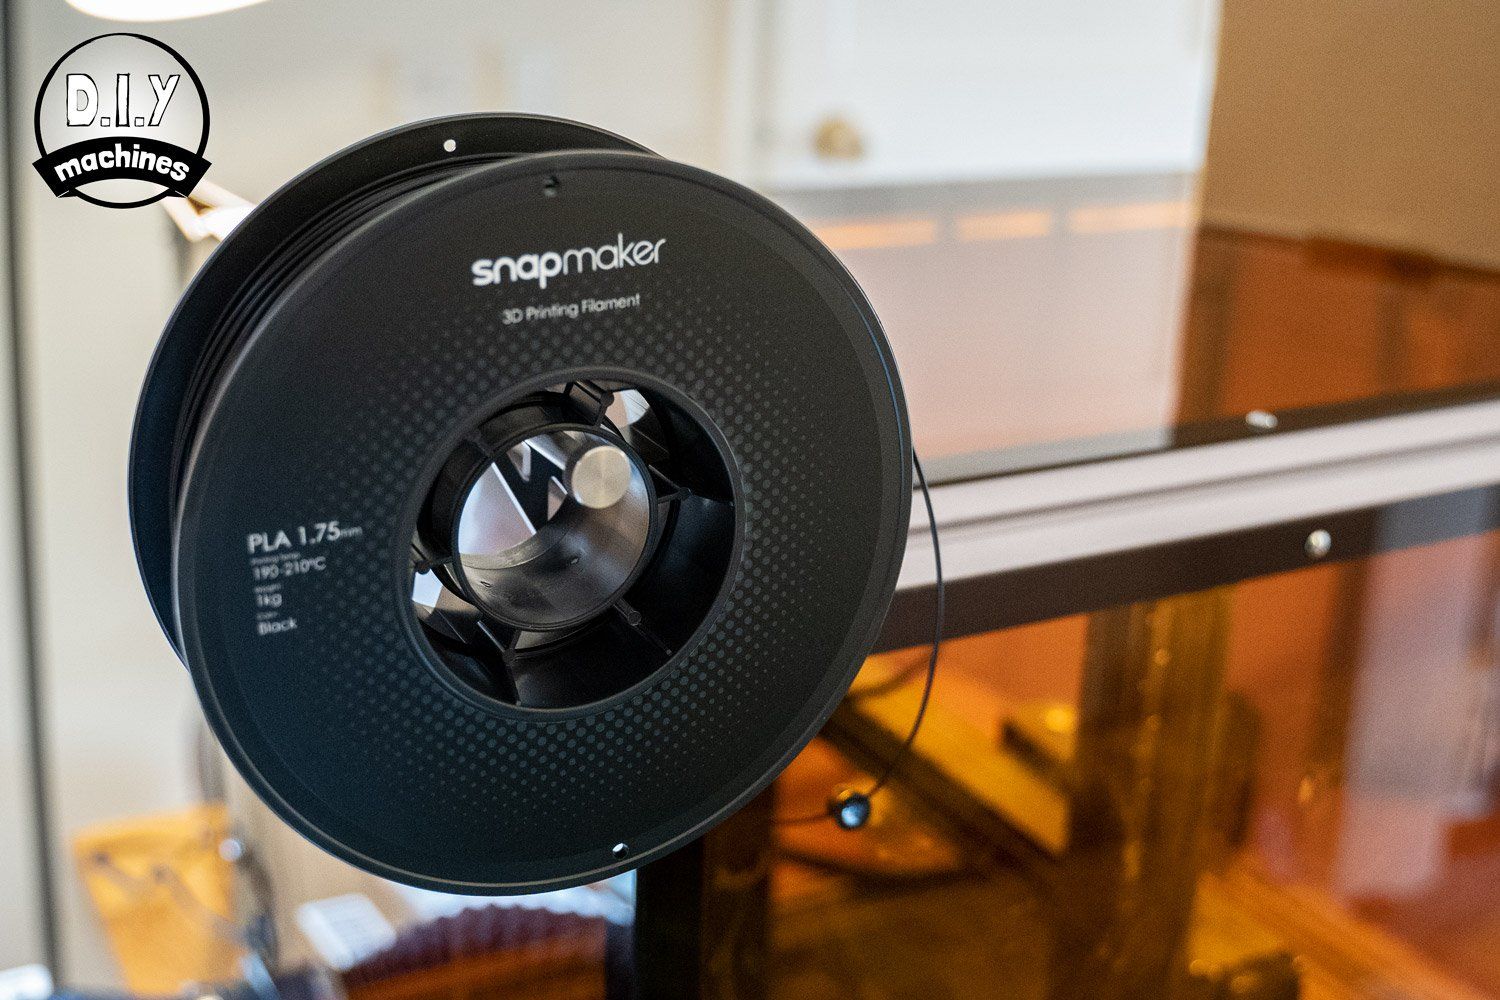
With the bed and toolhead installed I powered on the Snapmaker which automatically recognised I had prepared the machine to do some 3D printing. At this point I also fitted the spool holder and mounted the included 1kg roll of PLA plastic. I had the Snapmaker enclosure installed so this mounted on the outside of the case and was threaded through a hole and then towards the printhead for loading in short while.


To help with the levelling of the first layer the Snapmaker has an Auto Levelling feature, coming in most mid range and upwards 3D printers. This automatically moves a probe across several (9) locations along the print surface and measures the exact height of the bed. The computer software then does some very fancy calculations and adjusts the printing program to more accurately follow any minute variations in the height of the surface.
Once this is complete we need to manually adjust the Z offset. This sets the height of the 9th point as a starting height. The machine need your help for this, it requires simply sliding a piece of paper back and fourth under the nozzle whilst slowly lowering the print head. Once you feel resistance when pulling the paper and it wrinkles up when pushing it you have found the correct height. Press Save and then load the filament. This is all illustrated and well explained to you on the touchscreen.
You're then guided through loading the filament, another simple process. The machine preheats the nozzle (200 °C for PLA), you insert the plastic into the opening at the top of the nozzle and push it gently whilst pressing 'Load' on the display. Shortly after you'll feel the machine grip the filament and pull it though. Done.
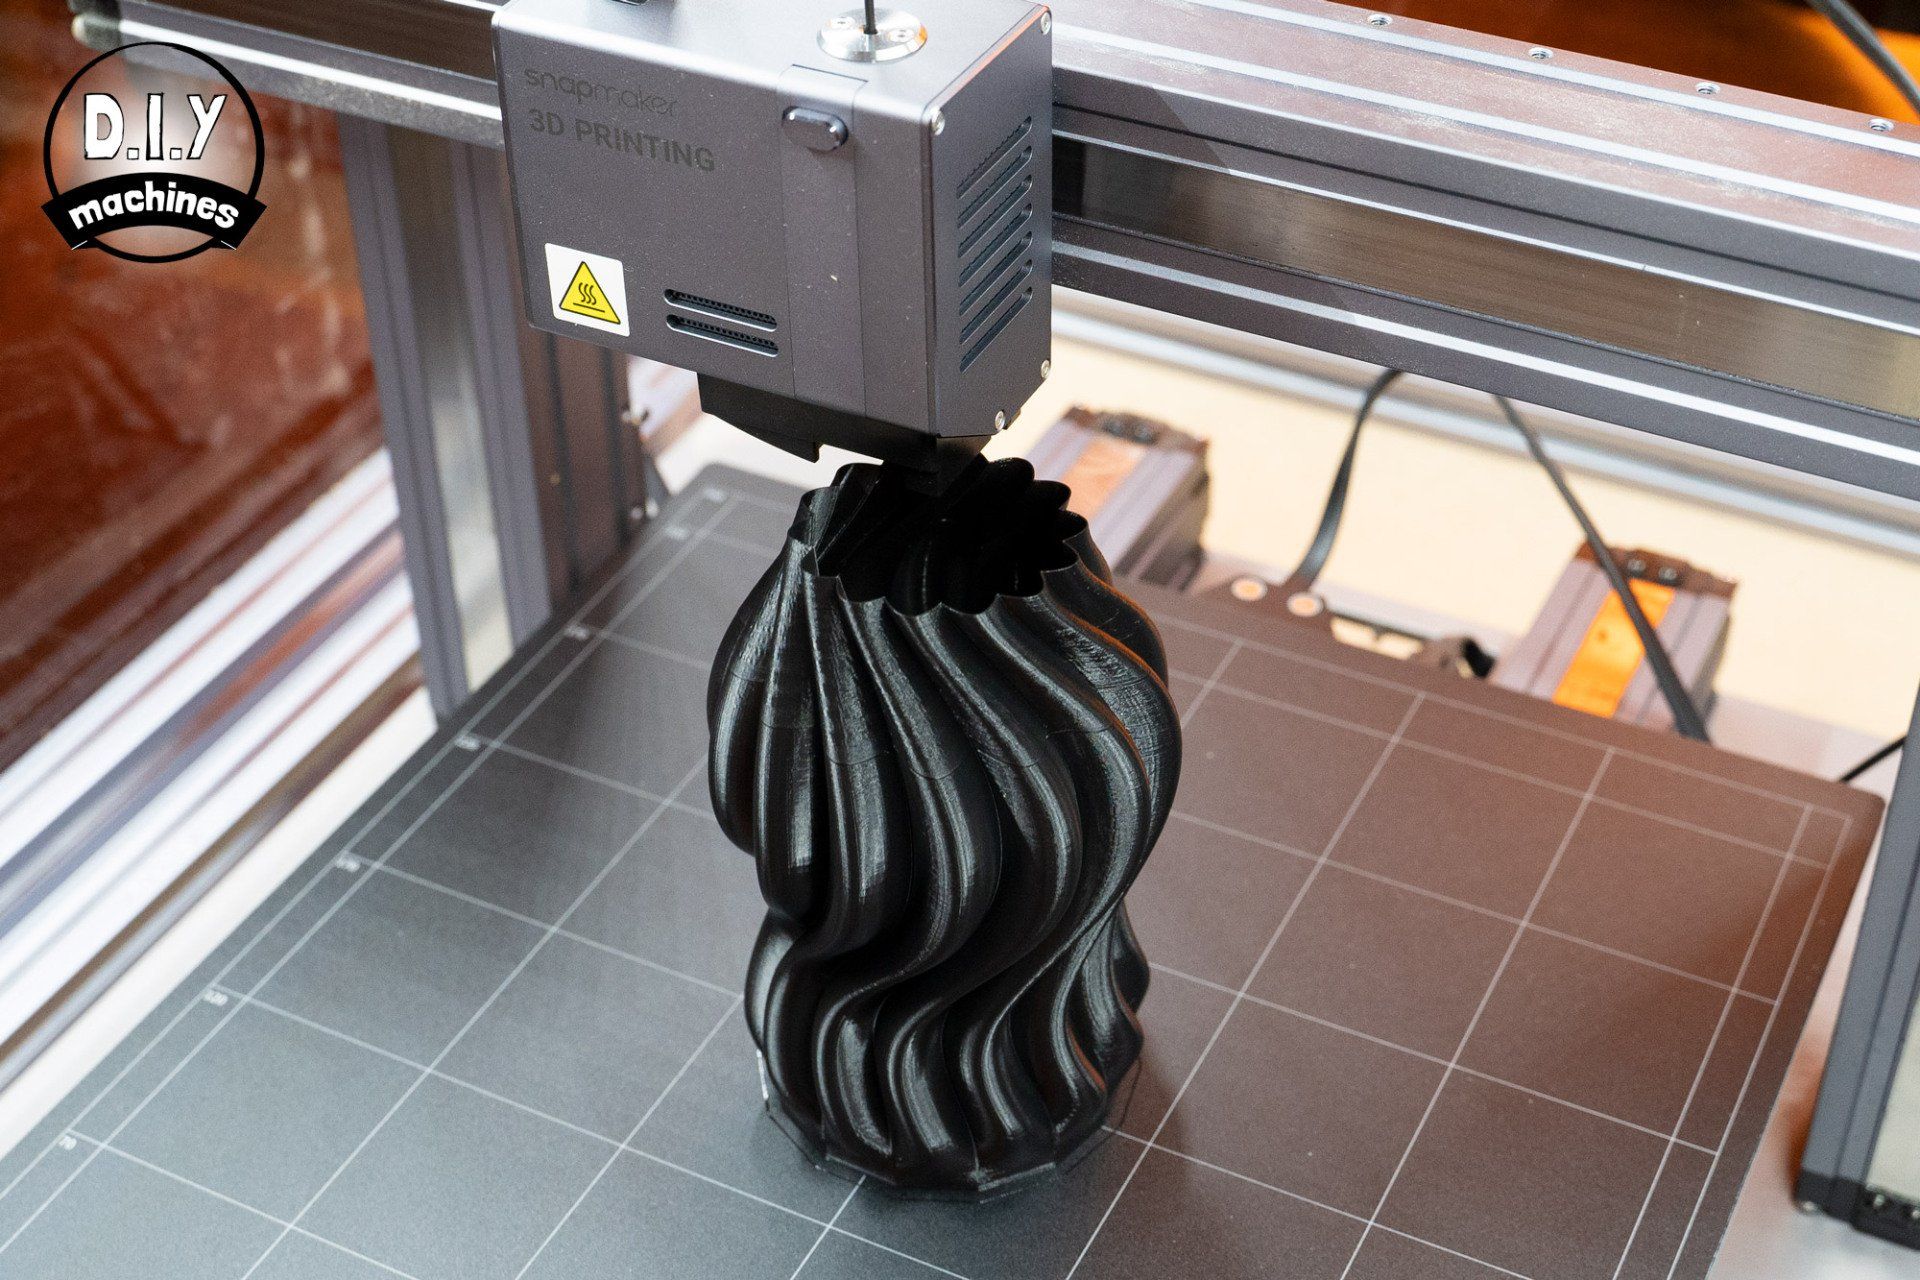
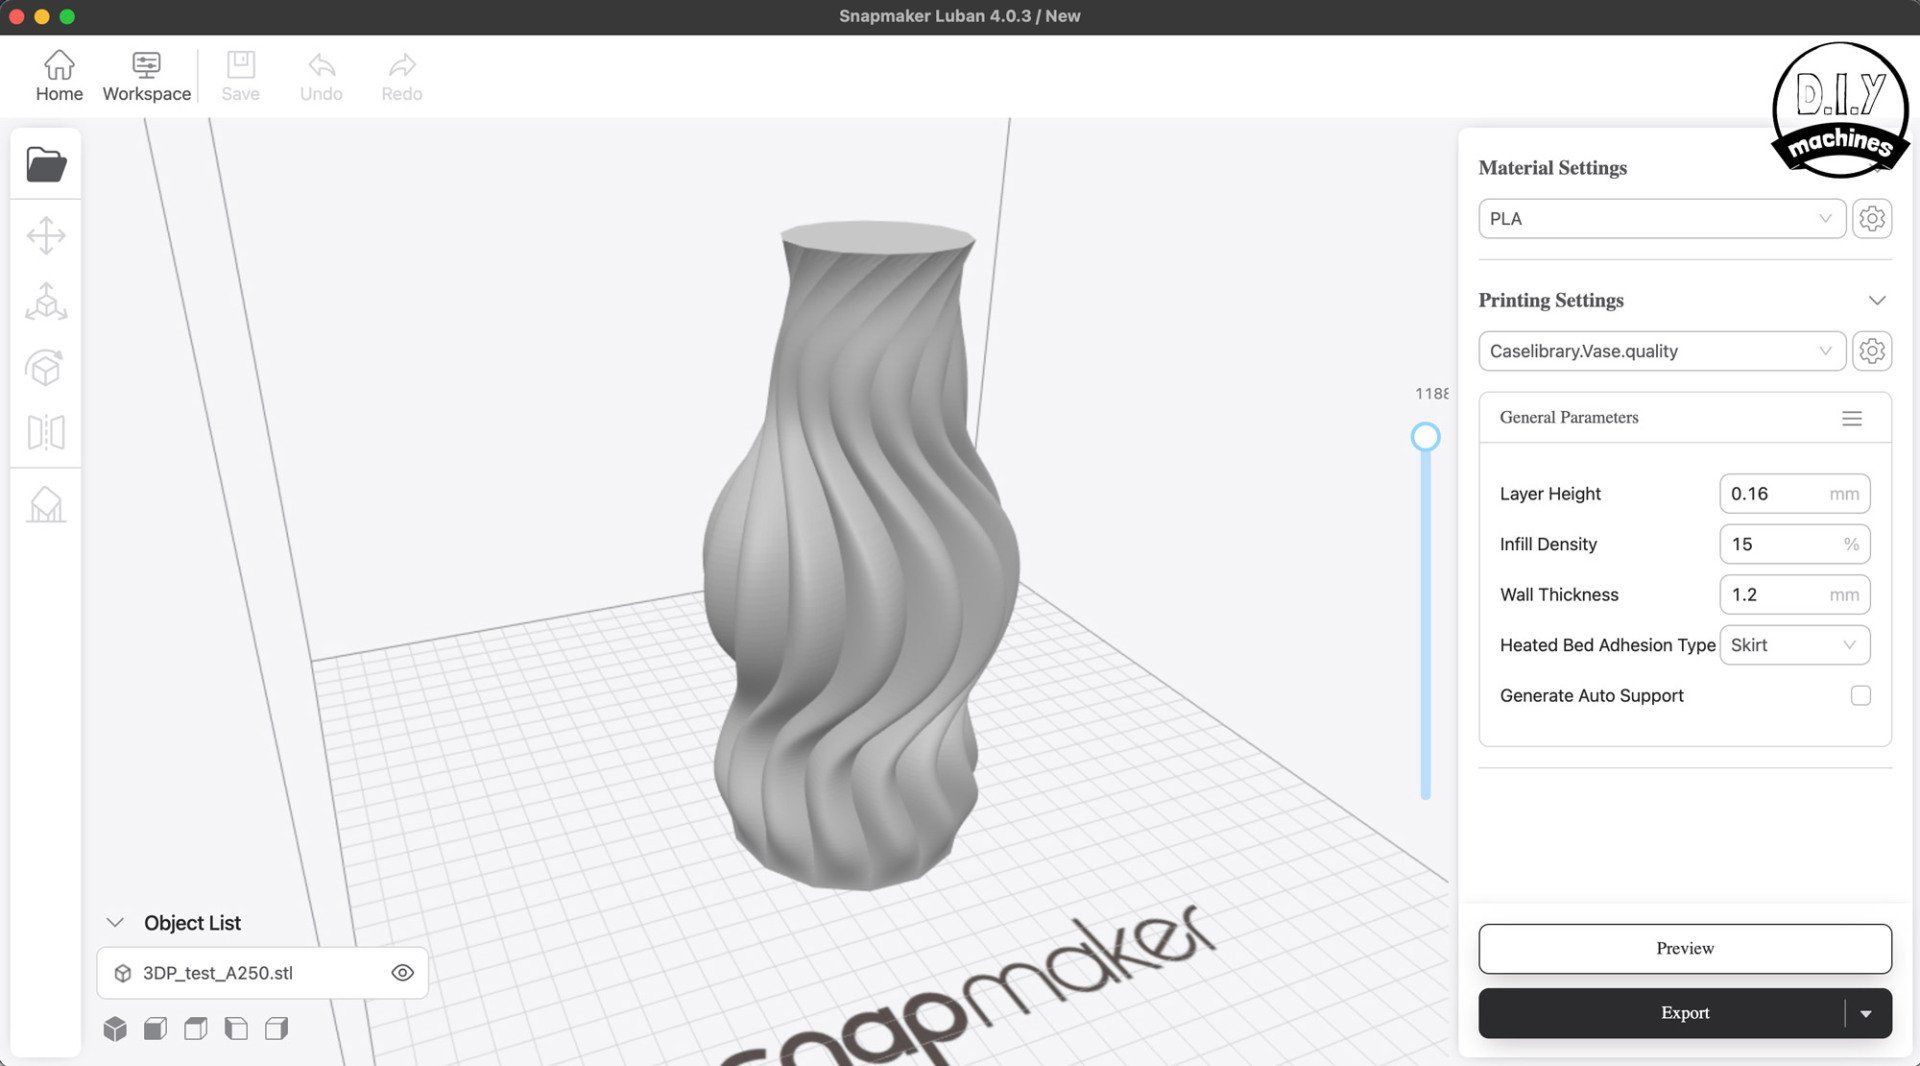
I opened up the included Luban software again on my laptop and this time chose their sample vase print. This was easily sliced (converting the 3D model into hundreds or thousands of 2D layers/slices to be printed in succession by the Snapmaker) and transferred to the printer this time via Wifi. This was convenient and is likely to become my preferred way of transferring the files.
One gripe I have is how long it took the print bed to pre-heat. It took several minutes whereas my Prusa does this in about a minute. Though the print bed size on my Prusa is only 250 x 210mm. The print bed on the Snapmaker A350T is a much larger 350 x 320mm. I suspect the smaller models, A250 and A150 heat quicker. I do know they are capable of achieving I higher temperature.
That aside, the machine whirred into life and started successfully printing the vase. There were no hiccups in getting the first layer down. As mentioned at the beginning, the print speed of the updated "T" models is much improved. This makes the biggest difference when using the 3D printing module. AN impressive feat considering all the same linear movement systems still require strength for CNC routing solid materials.
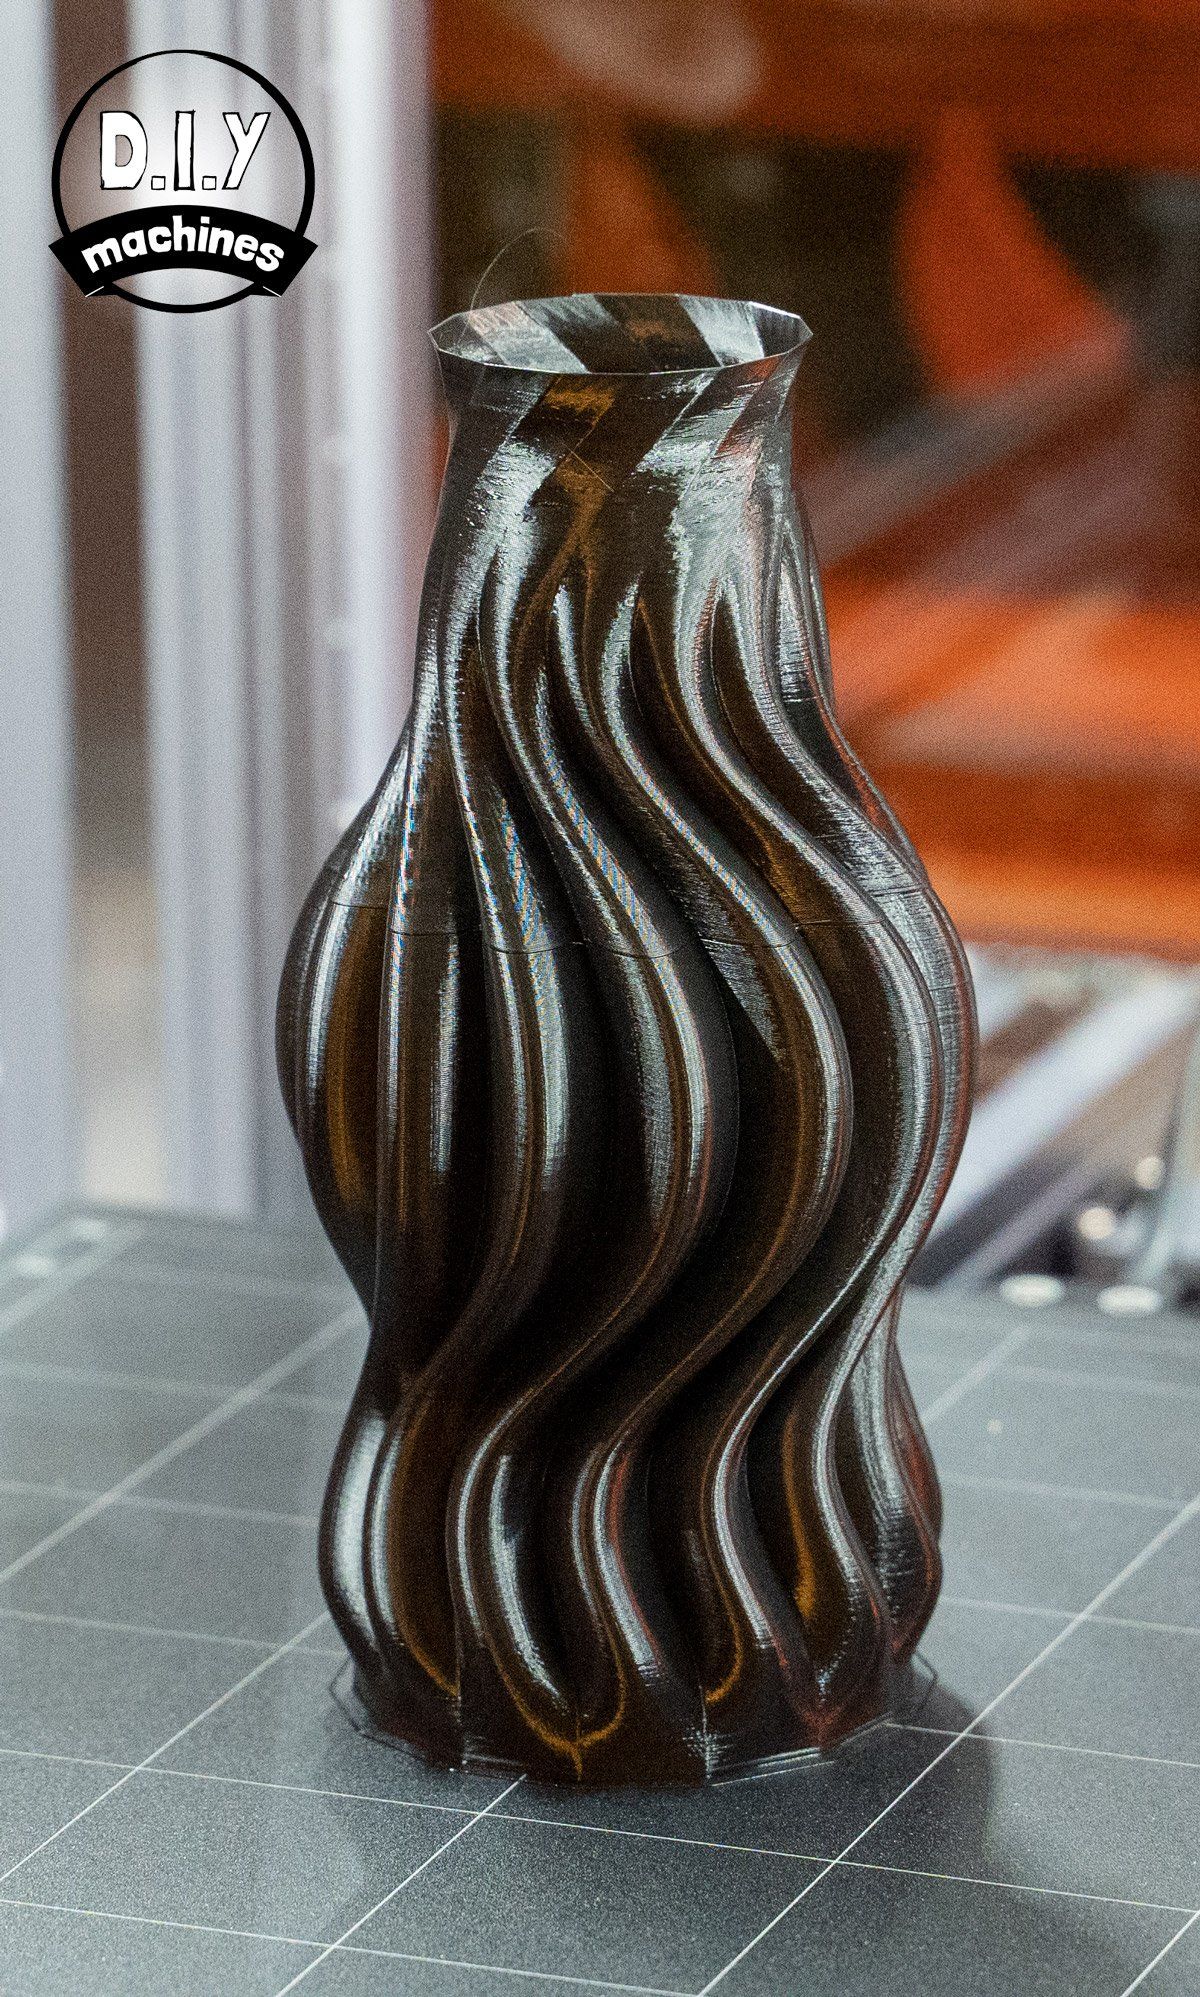
I set about doing some other work at home and then checked in on the 3D printing Snapmaker a bit later. It was about two thirds through the print and had stopped. A quick glance at the touchscreen showed that the automatic filament run out sensor had been triggered. Sure enough, somehow the filament strand had broken between the spool and printhead and it had ran out of filament to print with.
As frustrating as this was, this frustration it turned out was quickly remedied. The display guided me though the steps of reloading the filament into the 3D printing module before it merrily continued to successfully finish the print. If you take a look at the vase in the image above you can see a horizontal band about two thirds of the way up. Apart from this cosmetic mark the vase completed successfully - a welcome relief and proof that their Resume feature does work.
Software - Luban 4
Snapmaker maintain their own GCODE generating software, Luban, to help you prepare your artwork for 3D printing, CNC machining or Laser etching/cutting. It's available for free and runs on all the major operating systems. Mac, Windows, and Linux.

For those of you who are interested, the software itself was built on the codebase of cncjs and uses the CuraEngine as the backend 3D slicing engine. Luban itself is open source and hosted on Github.
Its development alongside the Snapmaker hardware means that features such as the camera capture for the Laser module are easy to locate and use. Though I don't have the optional Rotary Module I can see that they have also taken care of including an appropriate specialised workspace to aid in the creating of 4-axis machine code.
Since the fourth major version of Luban, they have also worked to make the software more intuitive. I've seen some images of the third version and can see that the fourth version is headed in the right direction but I have come across a few little bugs. Nothing major, one example is the where you setup your origin and workspace (it's Snapmaker equivalent of page setup in Microsoft Word). If you enter the work space height and width, then change the origin your recently specified height and width are reset and you need to re-enter them. (This has been fixed with an update - proof that they do continue to work on refining the software alongside the hardware revisions.)
Since I installed Luban though, I have seen at least two minor updates get pushed so they are continuously working to refine and enhance the software. Thanks to the community based attitude of Snapmaker, you're not constricted to use only their own Luban software. For example, I can use PrusaSlicer to prepare models and then print them on the Snapmaker.
Final thoughts
I believe I am just scrapping the surface of what can be achieved with the Snapmaker.
The expectation was that each mode was going just about pass off as adequate. This is not the case - it has proven itself as a surprisingly capable machine in all disciplines. Let's touch on each one:
3D printing: It has all the features of mainstream non-budget printers. Auto-levelling, filament run out sensors, heated bed, removable and flexible print sheet. With it's main caveat as a printer being its slightly reduced print speed, unless your printing non-stop it isn't really a major issue for most people.
Laser module: This is the first one I tested and I have since gone back to use it for many personal projects. I've engraved the names of the tea onto each of my tea caddies, I even (just about) engraved a friends name onto a stainless steel whistle. My biggest issue with the laser module was the fumes it produces. The addition of an extraction fan venting outside has resolved this. There is also the concern of Laser safety, but providing you wear the included safety glasses and treat it with respect it should not cause any harm.
CNC Routing: Here is where I am most surprised and delighted. I feel I owe this module a personal thank you - it genuinely has sparked a huge interest in CNC routing for me. The quality of the carvings from a desktop machine continues to impress me. I expected the process of fitting tools to the Snapmaker and preparing models to be incredibly involved. But after just a few projects the process has become second nature.
Perhaps my four to five years of 3D printing have worn away the wonder of printed plastic. But without a 3-in-1 machine like the Snapmaker I would have never found the space to keep a CNC router (or Laser for that matter) and would not have the opportunity to expand my knowledge of these two new disciplines and vastly increase the range of processes and materials I can call upon when designing my next project.
If you have the space for three separate machines, then perhaps I might go down that route. If you're looking for simplicity in a surprisingly compact machine then I would happily recommend a Snapmaker. As your interest grows, you're also able to look to their optional add-ons and upgrades such as a 10W laser (vs the standard 1.6W) and Rotary Module for four-axis machining.
Where to buy:
- Snapmaker direct: https://bit.ly/3D8sTSp
Technical Details:
| Control | 5 Inch Touch Screen |
|---|---|
| Connectivity | USB memory stick and wifi |
| Processing | Android OS, Quad Core A7 CPU @ 1.1GHz |
| Software | Free 3-in-1 Software: Snapmaker Luban |
| 3D Printing Module | |
| Layer height | 50 - 300 microns |
| Nozzle Diameter | 0.4mm |
| Materials | PLA, ABS, PETG, TPU, wood filled PLA |
| Nozzle Temp | 275°C |
| Bed Temp | Max 80°C |
| Printable Volume | 320 x 350 x 330 (W x D x H) |
| Print surface | Removable flexible build magnetic build sheet |
| Features | Self levelling, power loss recovery, replaceable hot end, filament runout recovery |
| CNC Router Module | |
| Shank Diameter | 0.5–6.35 mm |
| Collet | Standard ER11 Collet |
| Spindle speed: | 6,000–12,000 rpm |
| Included bits | |
| Working platform | MDF Board & Clamp Sets for CNC Carving |
| Suitable materials | Wood, acrylic, PCB, carbon fiber sheet, jade |
| Working area / size | 320 × 350 × 275 mm (W x D x H) |
| Laser Engraving and Cutting | |
| Camera | Built-in camera |
| Laser Power | 1600 mW |
| Wavelength | 450 nM |
| Safety Class | Class 4 |
| Suitable materials | Wood, leather, plastic, fabric, paper, cardboard, non-transparent acrylic |
| Working platform | Aluminum Grid Table for Laser Engraving and Cutting |
| Working area / size | 320 × 350 × 275 mm (W x D x H) |


